

Any art piece plays with the 7 elements of art and design. Whether it is the colour, form, or lines, it depends on the artist. Frequently the artist, for example, Mark Rothko, plays with the value of colour to define a delectable balance in the overall composition. But how do you alter the value when they have already been put on the canvas? Well, if you use drawing pencils, coloured pencils, or charcoal sticks, you can play with the value of the colour using blending stumps.

What Is A Blending Stump
A blending stump is a drawing tool which resembles a drawing pencil. It is essential in an artist’s toolbox to smudge, smear, and blend charcoal marks. Seldom, do people swap the term blending stump pencil with tortillion. Although they eerily share quite a few similarities, blending stump and tortillion are only different in their size and shape. A blending stump is longer, thicker, and has two pointy ends. A tortillion on the other hand is shorter, has only one pointy end, and is hollow. Hence, they produce different textures while blending.
How To Make A Blending Stump
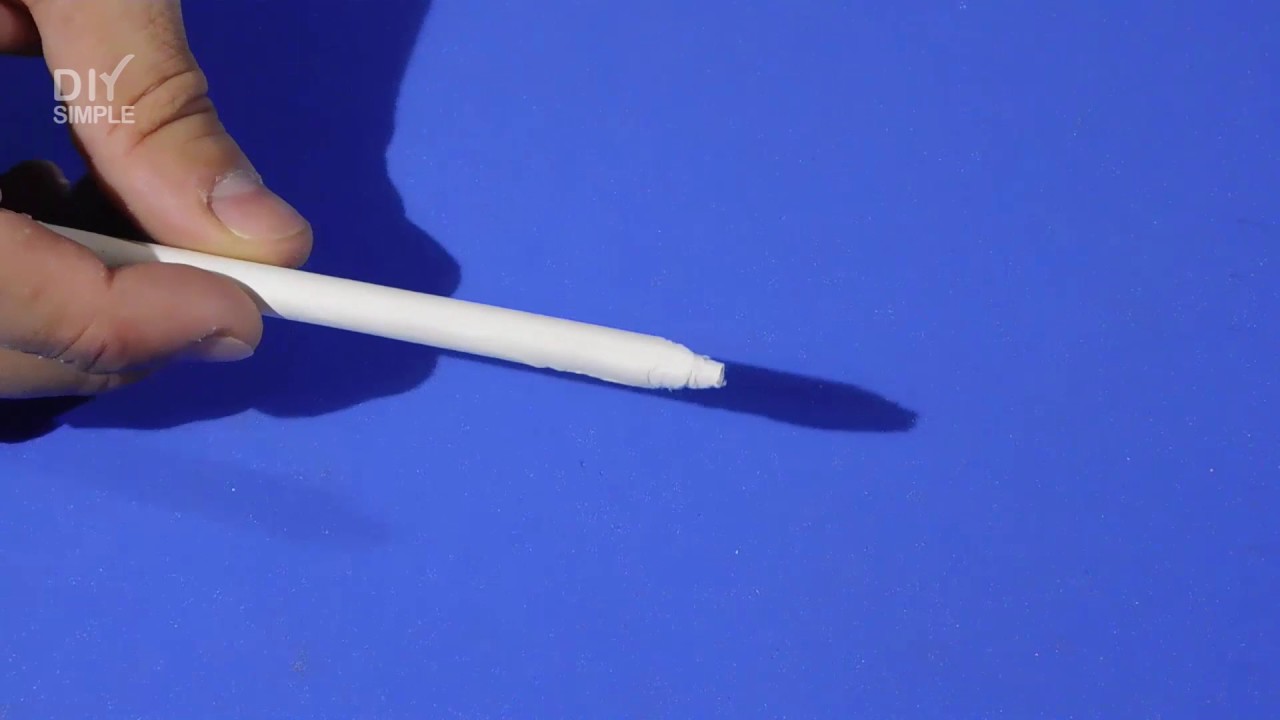
A blending stump is essentially a paper rolled into a cylinder. Although often made of cardstock, one can make them out of any paper. While you may buy a blending stump at your local art supply shop, making a DIY blending stump at home is far more convenient. It gives you control over the softness and type of the paper. From a single sheet of paper, you can get at most two blending stumps. Here are the steps to make a blending stump, or rather a tortillion.
- Split a paper of your choice into two. You want a quadrangle, not a triangle. Hence, leave 1 inch from the width of the paper.
- Starting from the shorter side, roll the paper as tightly as you can. Pinch the edge once you have rolled the entirety so that it will not come undone.
- From one end, poke the blending stump with the tip of a pencil or a toothpick to make the other end pointed.
- Tape the loose ends. Don’t forget to secure the base.
- Using a craft knife or a box cutter sharpen the end to make a pointy tip.
Et voila! Your blending stump for drawing is ready to be used.
How To Use Blending Paper Stumps
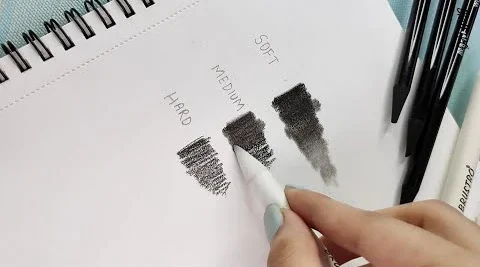
A blending stump picks up graphite particles, which may then be used for smearing, smudging, or blending. Using the side, one can cover a larger area. The tip of the blending stumps helps in blending smaller surfaces which require more precision. There are many different approaches that you can use with a blending stump. They have been mentioned below. A disclaimer — use different blending stumps for different values. If you are using different mediums on a single drawing, alternate between the blending stumps.
Blending Stump for Shading and Blending
You can use a blending stump to shade your canvas. To do so, simply scribble on a rough piece of paper to produce shavings. Now rub the blending stump onto them so it picks it up. Now use light strokes to shade the area, ensuring that they align in the same direction. To blend, simply move the blending stump back and forth across the charcoal drawing, till you reach the desired effect. To create light values, always use clean blending stumps. You may need to sand it multiple times.
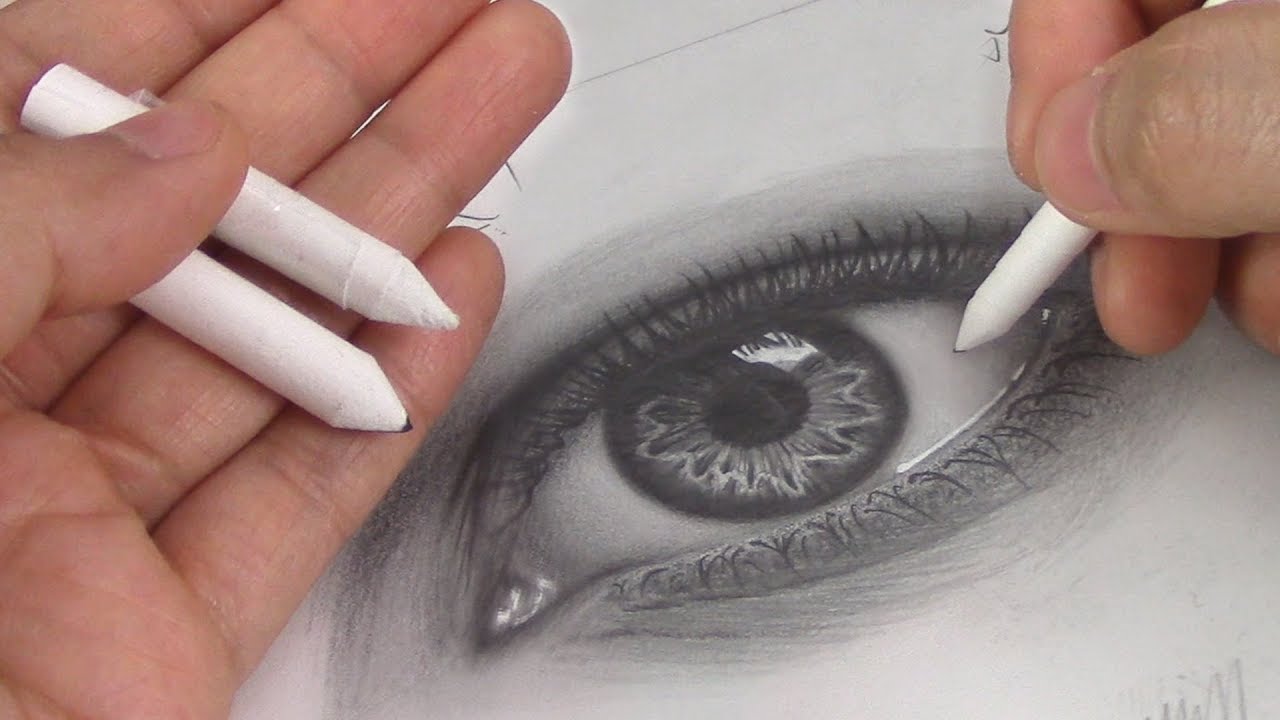
Blending Stump For Drawing
Believe it or not, you can even use blending stumps for drawing. For this, you must rub the tip of the blending stump on the Conté crayon or graphite marks. Now push the tip of the blending stump onto a clean paper and start shading. It must be noted that a blending stump cannot replace a drawing or mechanical pencil. The best you will get out of a blending stump when used for drawing, is a shaded, smeared, or blurry subject. Hence, it is mostly used as an additional tool to elevate an outline, rather than creating one.
How To Clean An Art Blending Stump
Since paper blending stumps pick up the residual shavings of coloured pencils, they become dirty quite easily. Additionally, with the pressure, the tip is prone to disorientation. Hence, it is imperative that you clean and sharpen your blending stumps. You may do this by removing the dirty surface entirely with a paper cutter, craft knife, or even a nail clipper. Alternatively, try rubbing it on an abrasive surface such as sandpaper to remove the residue. After cleaning the blending stumps, the tip becomes fuzzy, which assists in shading.
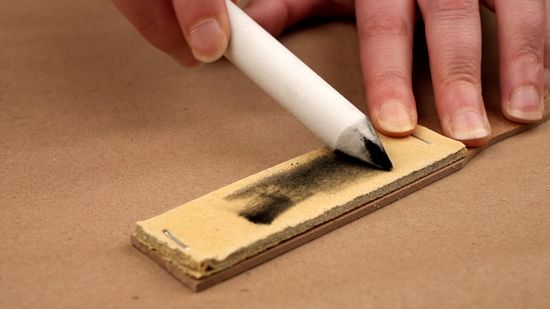
Image Courtesy – Art News
The Art of Book Painting: Erasures, Adult Colouring Books and Much more.


