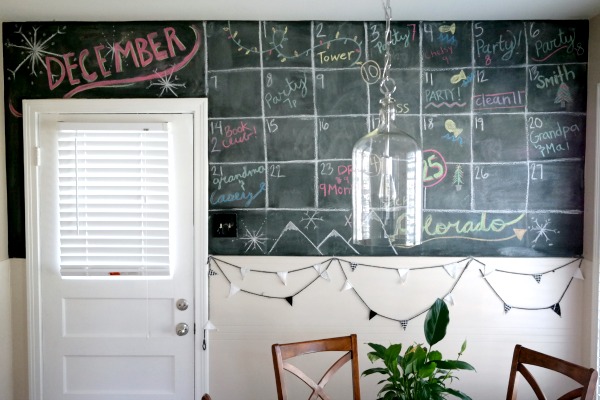
Our home is our sanctuary. It represents security, stability, and comfort. This is a place where we can relax after a hectic day. But relaxation is a commodity which cannot be bought. Until and unless our home represents us, it cannot provide us with the comfort we so desperately need. To eradicate it, decorating becomes a necessity. While most people invest in expensive products to enhance the beauty of their house, there are definitely some who lend their artistic talents to their house. Whether it is creating chalkboard walls or creating intricately designed walls, we have seen many people who like to do it all by themselves. A fad which has been taking homeowners by storm is popcorn wall texture.
What are Popcorn Textured Walls?
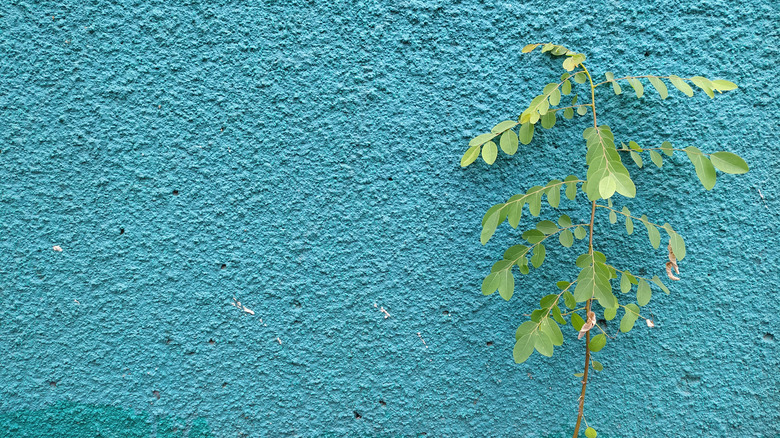
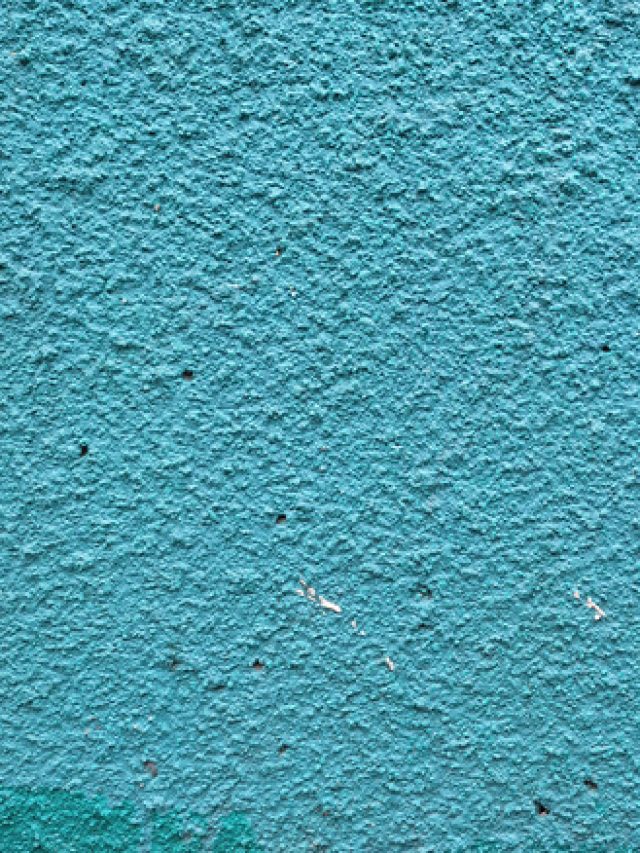
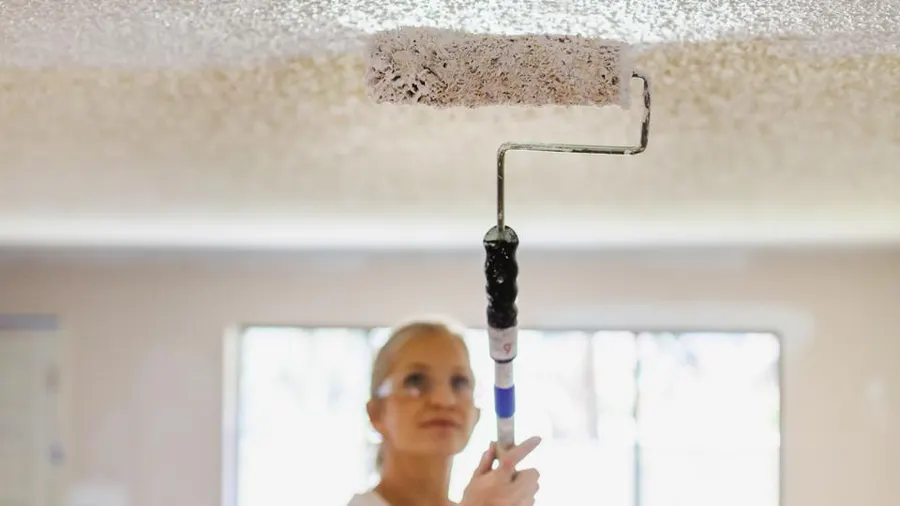
Textured walls elevate your boring walls. As the name suggests, popcorn textured walls resemble popcorn. The popcorn texture on the walls creates dramatic peaks, which create an exquisite play of light and shadow. They can also hide any imperfections (bumps, bruises, depressions, or cracks) on your wall, which would otherwise be visible on a smooth wall. Popcorn walls were created in the 1960s, and suffice to say, are still in trend. The popcorn texture on walls is quite affordable and cancels noise, therefore increasing the overall sound quality of the room. It is also durable and doesn’t shed easily.
How to Make Popcorn Textured Walls?
Popcorn Walls aren’t a Herculean task and can be done easily, provided you have all the materials, time, and patience. Since you are dealing with paint, make sure to open all the windows and doors to enable ventilation. You may even invest in a respirator, goggles, and a suit. If you follow the given steps, we can assure you, that you will have a popcorn wall texture in no time.
Things You Need
Run to your nearest Home Depot and check out all the items in the following list.
- Drywall Primer
- Texture Paint
- Stipple Brush/ Textured Roller
- Paint Tray
- Masking Paper
- Painters Tape
- Respirator, Goggles, Suit (for safety)
STEP 1: Cover All Surfaces
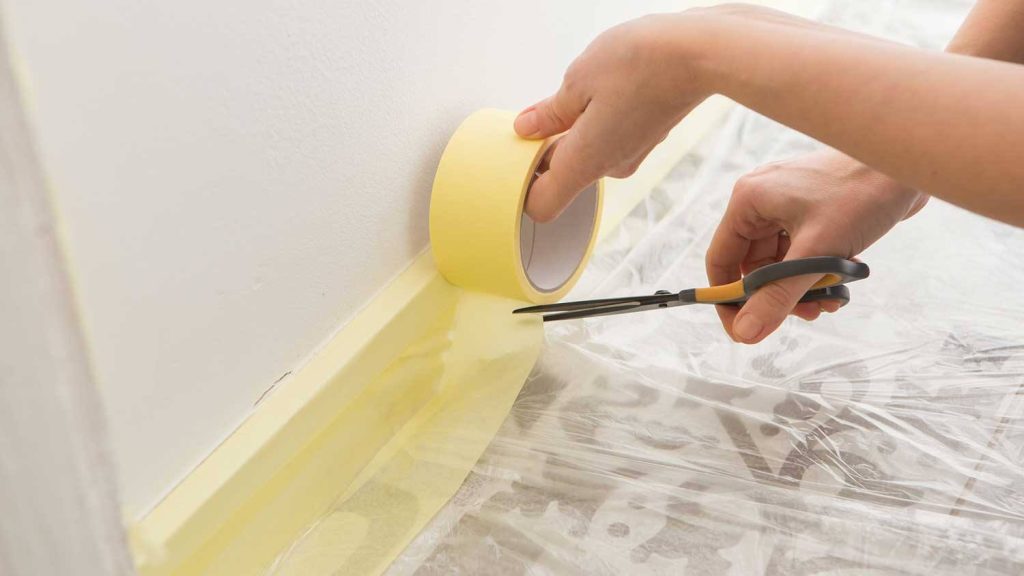
Make sure that you remove all the furniture sitting next to the walls you wish to paint. Use masking paper and painter’s tape to cover the adjacent walls, the ceiling, and the floor, lest the paint drips on them.
STEP 2: Prepare The Wall
With a warm soapy solution and a sponge gently wipe your walls to remove dust and grime. Once the wall has been cleaned, check for any cracks or bruises. This is your time to repair them. Since the popcorn wall texture will cover up the imperfections you do not need to obsess over it and may apply a coat of drywall primer. The primer acts as an adhesive ensuring that the popcorn texture paint sticks to the wall. Even though an average primer dries in about 4 to 6 hours, it is advised to let it rest for at least 24 hours.
STEP 3: Pop the Corn
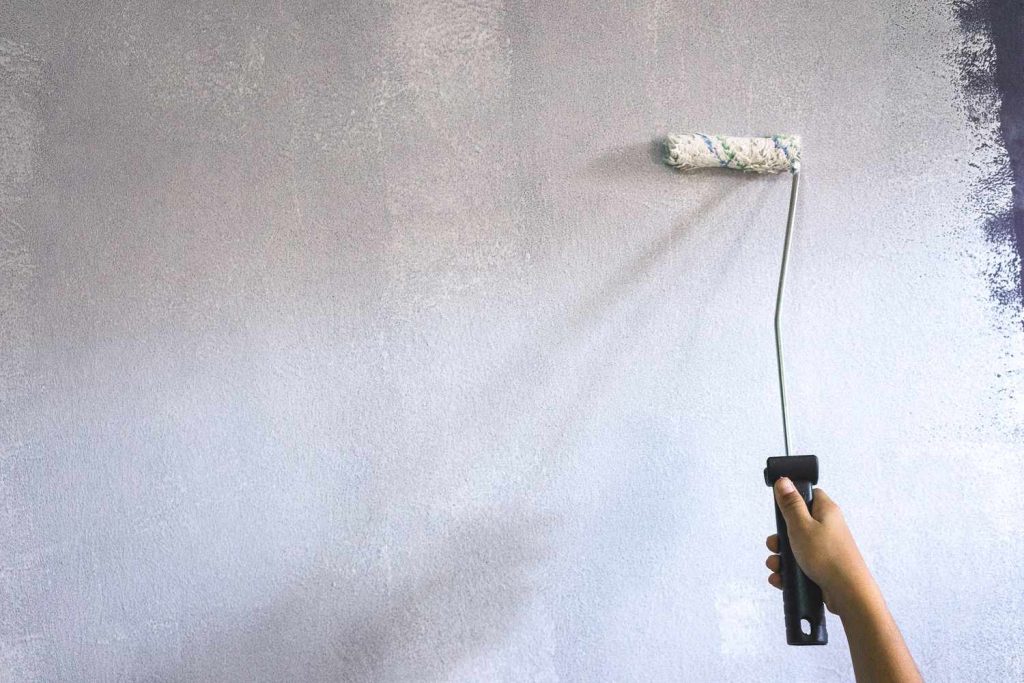
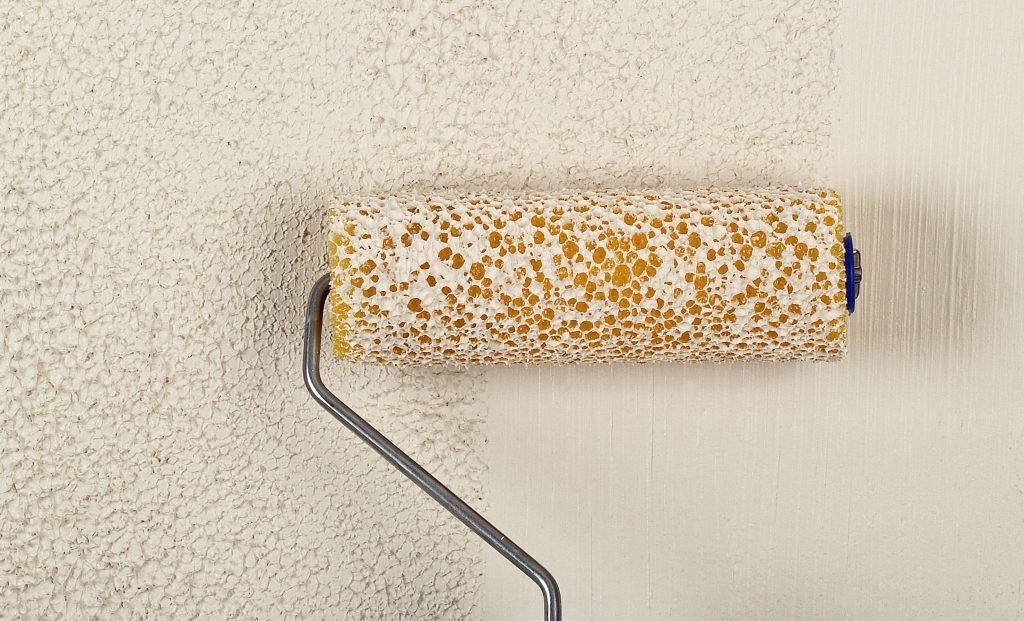
It is a new day and you are finally ready to put up the wall popcorn texture. Since the textured paint is thick, mix it with a little water. Texture paint is usually white, but you can also find coloured texture paints. Pour the mixture into the tray for easy access. Dip the textured roller/ stipple brush into the paint and roll it all over the wall. Continue doing so until the entire wall is covered. Let it dry.
STEP 4: Pop the Corn Again? (Optional)
Once you are done, you will have an equally spread popcorn texture wall. However, if you wish to go heavy, you absolutely can. Just repeat the last step again.
And voila, you have a beautiful, gorgeous, splendid, (we are running out of adjectives now) popcorn wall. While it will undoubtedly enhance the beauty of your house on its own, you may hang a few paintings to liven it even more.
Image Courtesy – Shutterstock

