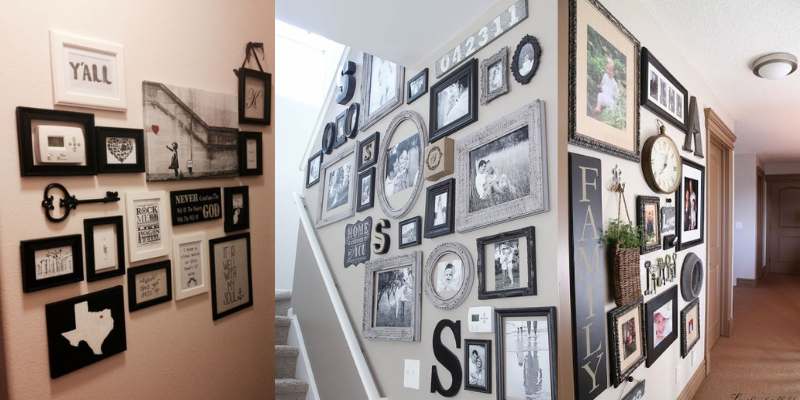
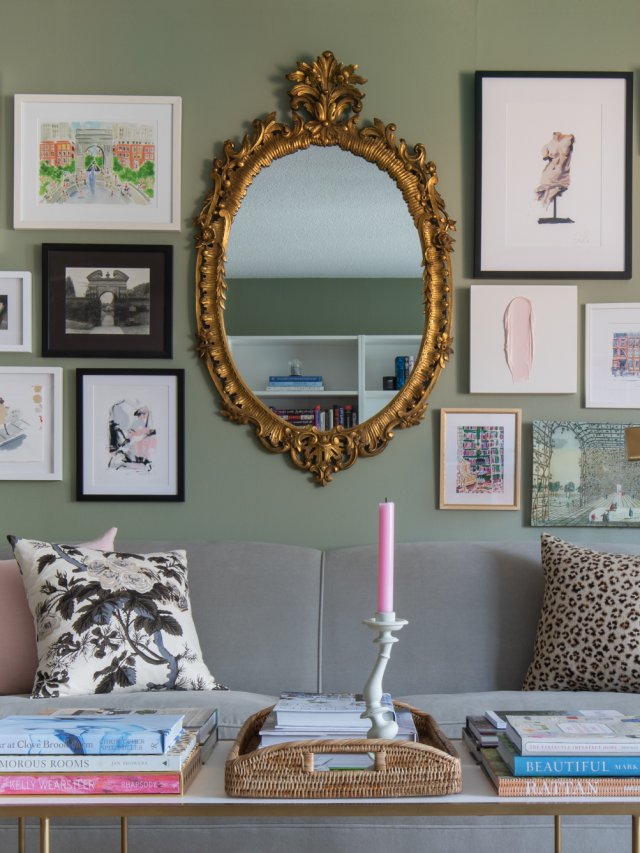
There’s no place like home. If you’re lucky enough to have a place to call home, you must not compromise in decorating it as your own. And what better way to make a place feel yours than embellishin’ it with memories. Picture walls or Gallery Walls are a great way to make a new house feel like home. The following article gives you steps to follow and additional ideas to make a perfect picture gallery.
Materials Needed
)
- Picture frames of various sizes and styles
- Photos, artwork, or prints
- Hammer and nails or picture hanging strips
- Level
- Pencil
- Measuring tape
Steps On How To Make A Gallery Wall
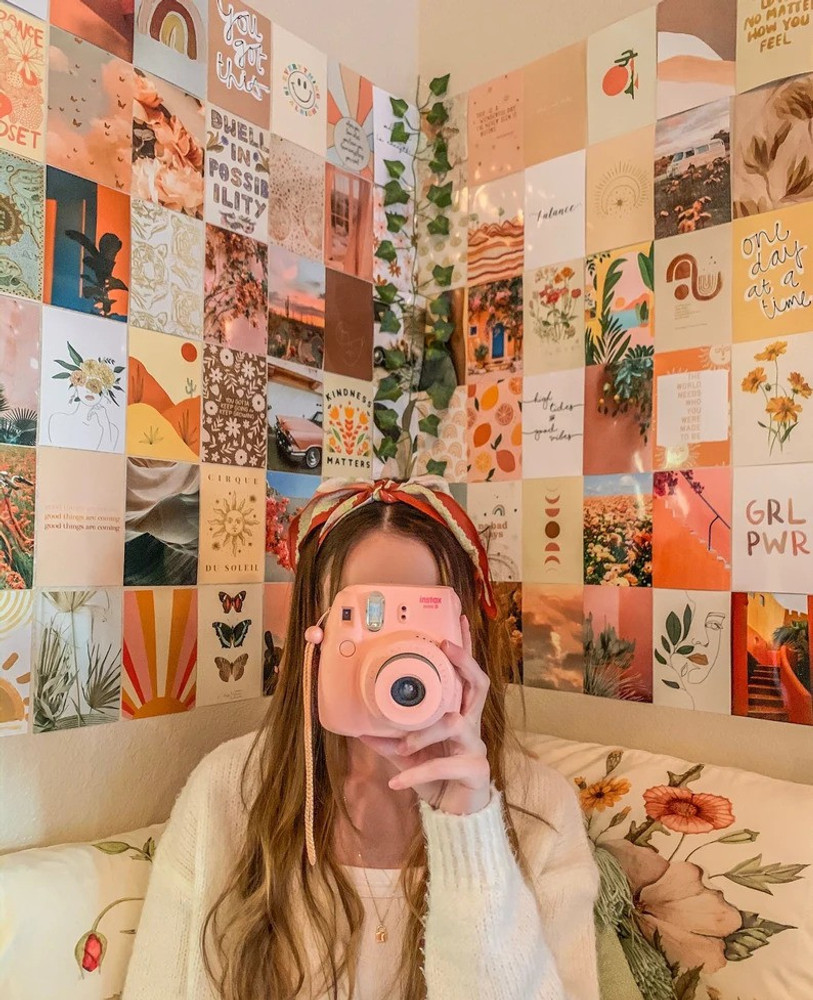
Select a Theme or Style: Choose a theme or style for your picture wall to create a cohesive look. It could be based on a colour scheme, a particular subject, or a mix of various elements.
- Plan the Layout: Lay out your frames and items on the floor to plan the arrangement before hanging them on the wall. Consider the balance of shapes, sizes, and colors.
- Create a Focal Point: Choose one or two larger or eye-catching pieces to serve as a focal point for your picture wall. This helps anchor the display.
- Measure and Mark: Measure the wall space and mark the dimensions on the floor with a pencil or painter’s tape. This will help you visualize how much space you have to work with.
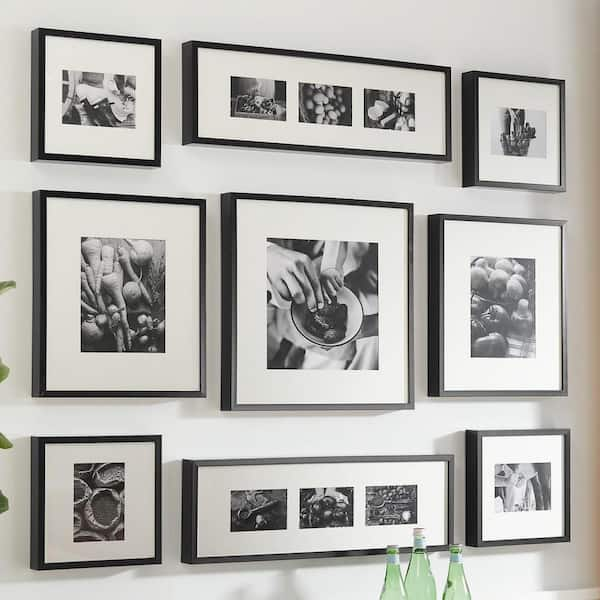
- Start Hanging: Begin hanging your items from the center and work your way out. This helps maintain balance. Use a level to ensure your frames are straight.
- Mix Frame Styles: Consider using a mix of frame styles and colors to add visual interest. You can also choose frames that complement the colors in your photos or artwork.
- Add Personal Touches: Include personal touches such as decorative items, quotes, or even 3D elements to make your picture wall unique and meaningful.
- Leave Space: Allow for some space between frames to avoid a cluttered look. This negative space can enhance the overall aesthetic.

Read Also:

