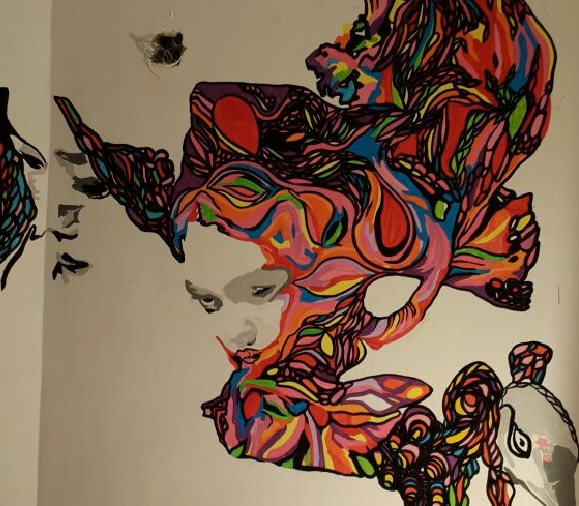
The simple artistic method of stencil drawing, which is sometimes overlooked, has the ability to turn your imaginative creations into stunning works of art. This article explores stencil drawing’s many variations, necessary art supplies, and beginner-friendly step-by-step instructions to help them get started with this fascinating form of art.
Types of Stencil Drawing
Stencil drawing is a versatile art form with numerous styles to choose from. Here are some popular types of stencil drawing:
- Traditional Stencil Drawing
In this traditional design, stencil materials like paper or plastic are manually cut into shapes, patterns, or designs. After being cut, the stencil is set up on a surface and painted or inked over to produce precise, even lines. For producing detailed details or repeated patterns, traditional stencils are ideal.

- Graffiti Stencil Art
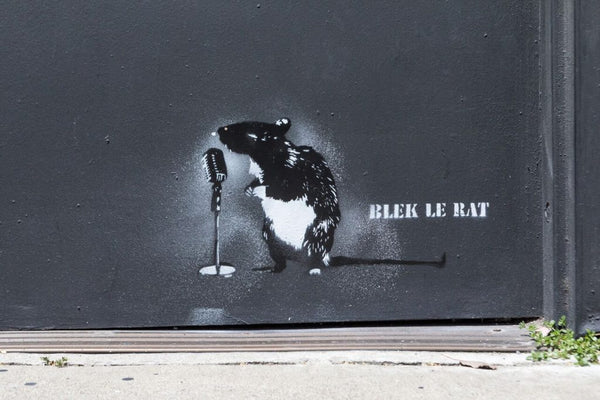
Stencils are frequently used by street artists to swiftly duplicate their distinctive artwork on diverse surfaces. Simple, striking graphics to intricate, multi-layered compositions can be created using these stencils. Graffiti stencil art fuses the accuracy of stencilling with the gritty, edgy feel of street art.

- Screen Printing
This process, also known as silk screen printing, involves transferring ink through a stencil affixed to a screen onto a substrate (usually fabric or paper). T-shirts, posters, and other commercial art prints are frequently made with it. Screen printing is renowned for its durability and ability to produce vivid colours.
- Digital Stencil Art
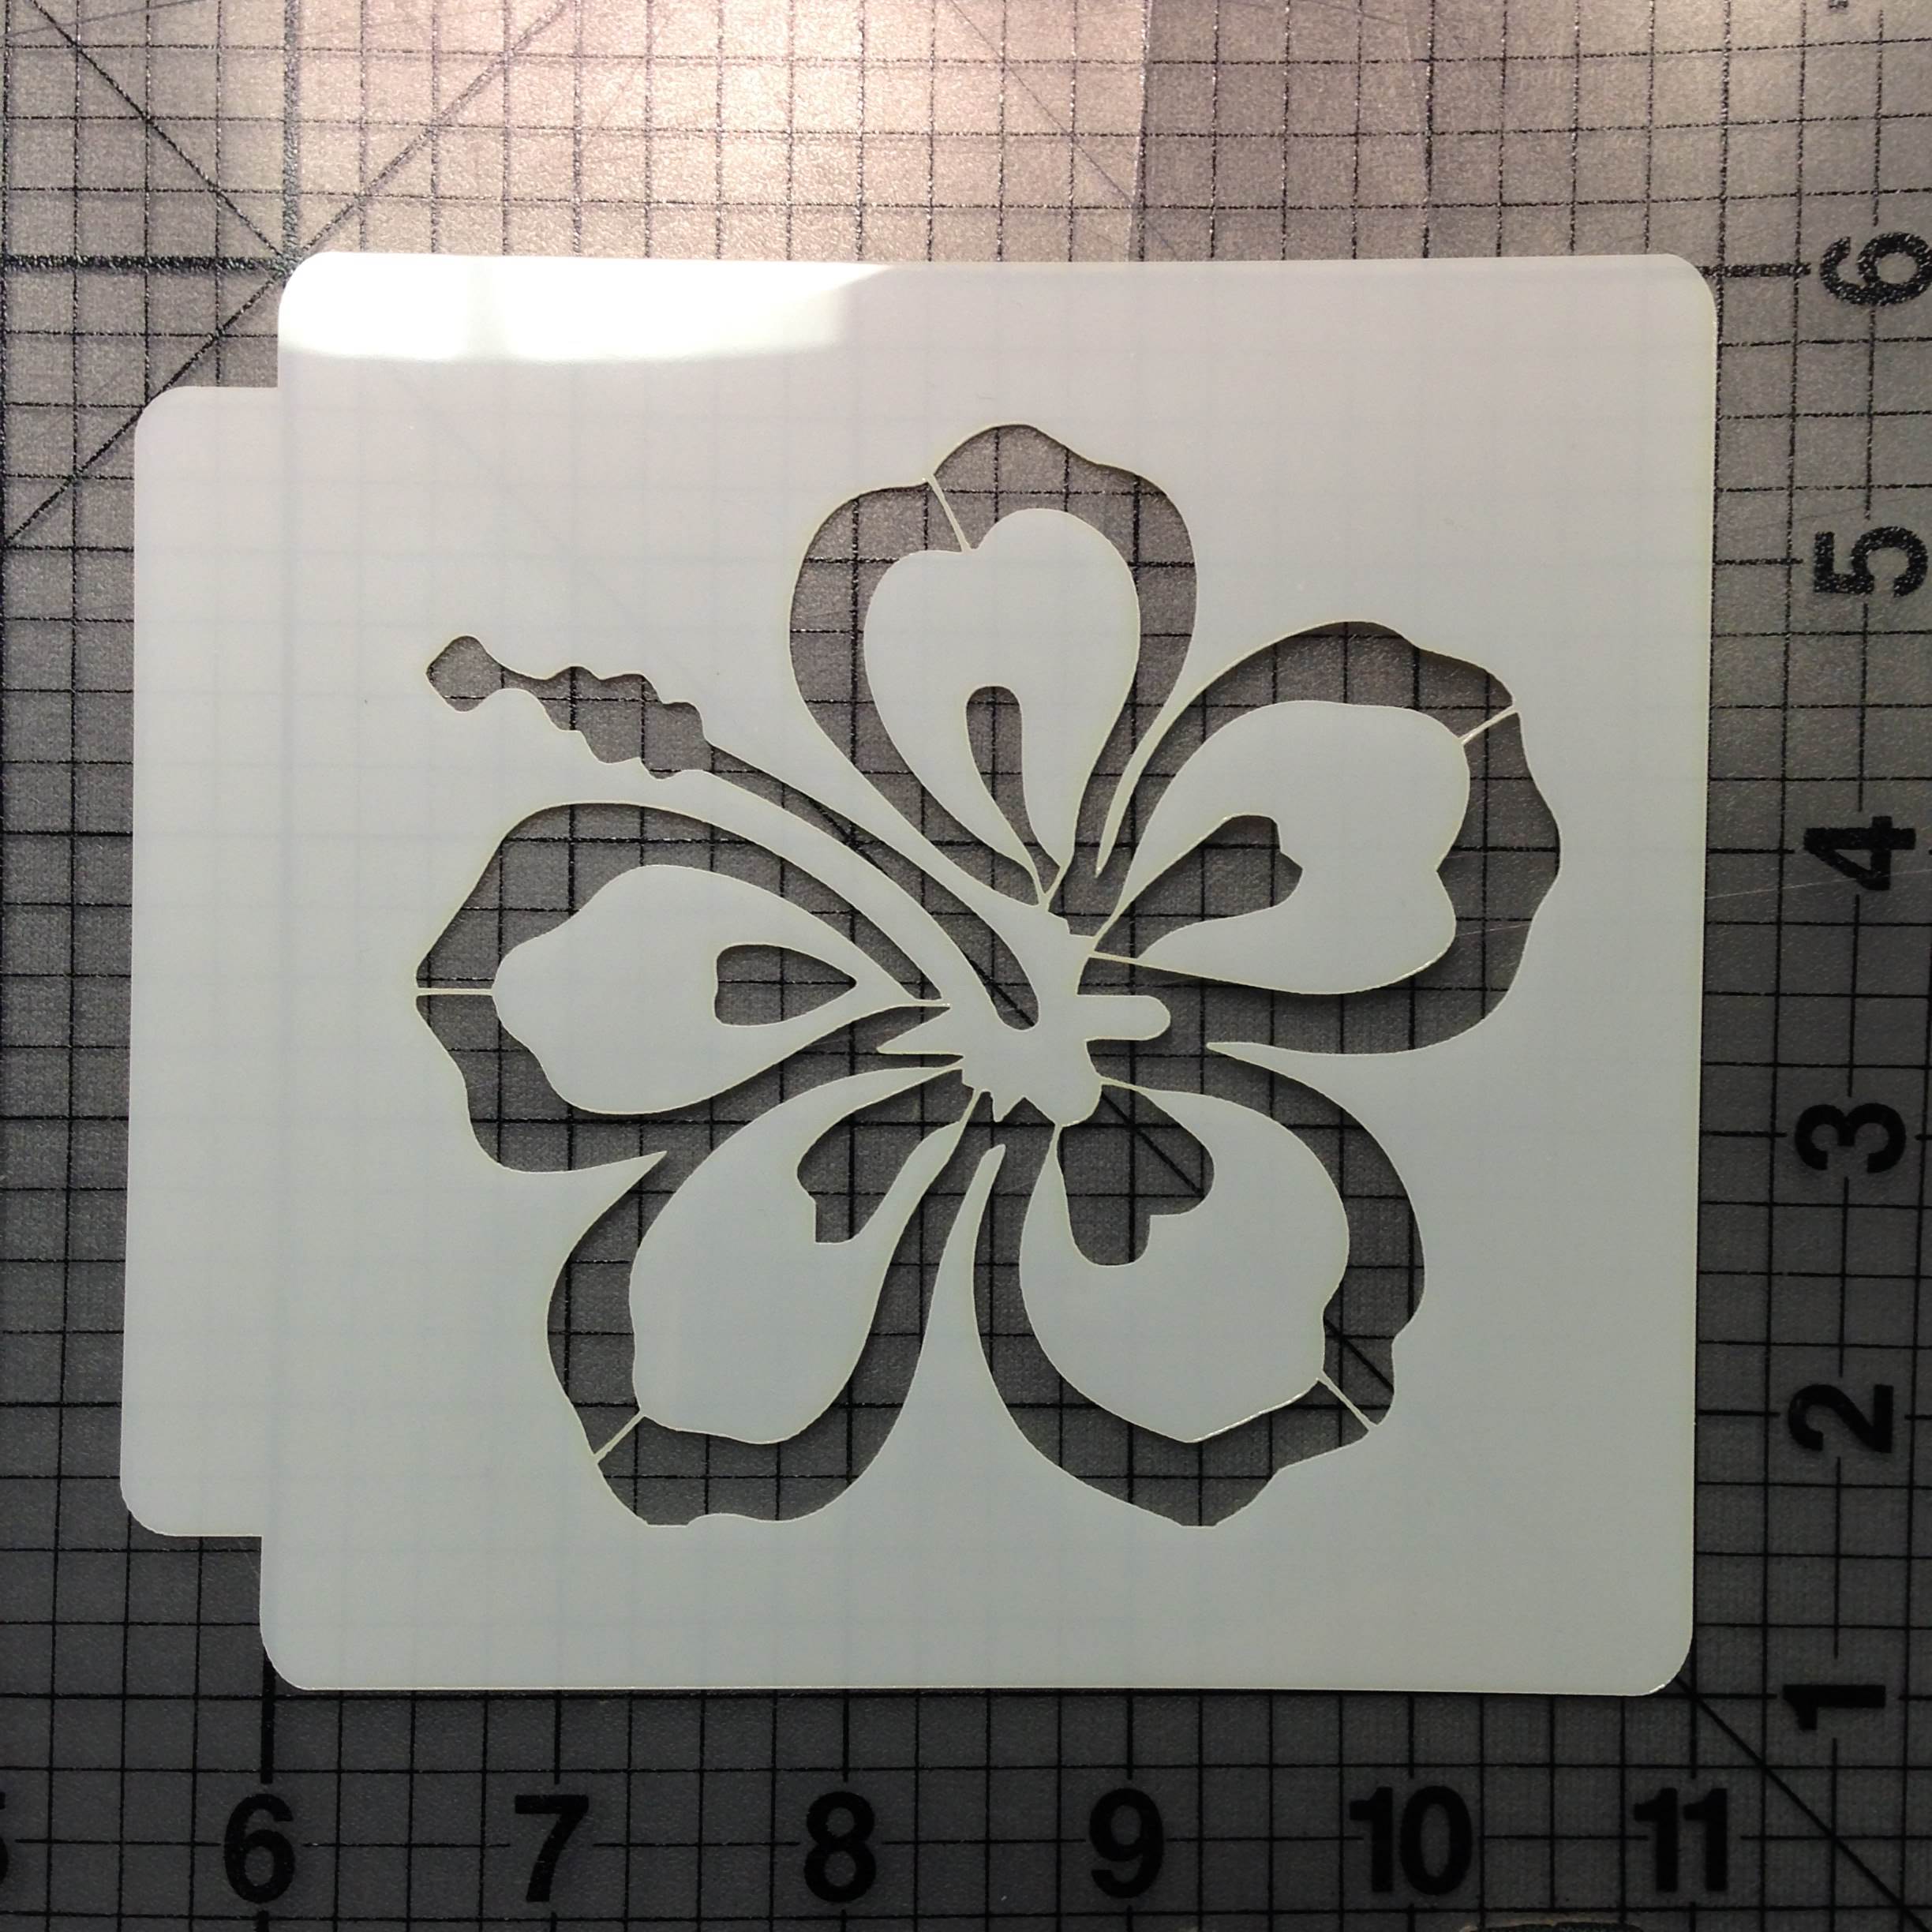
In the modern era, artists have embraced technology by employing software to make stencil art. They use digital cutting tools to create exact stencils after designing complicated stencils on their computers. This technique enables complex, detailed designs that are simple to scale and alter.

- Mixed Media Stenciling
To create mixed media artworks, many artists blend stencil drawing with other media like acrylics, watercolours, or collage. This strategy gives the finished product depth and texture and creates countless opportunities for creative experimentation.
Essential Art Tools for Stencil Drawing
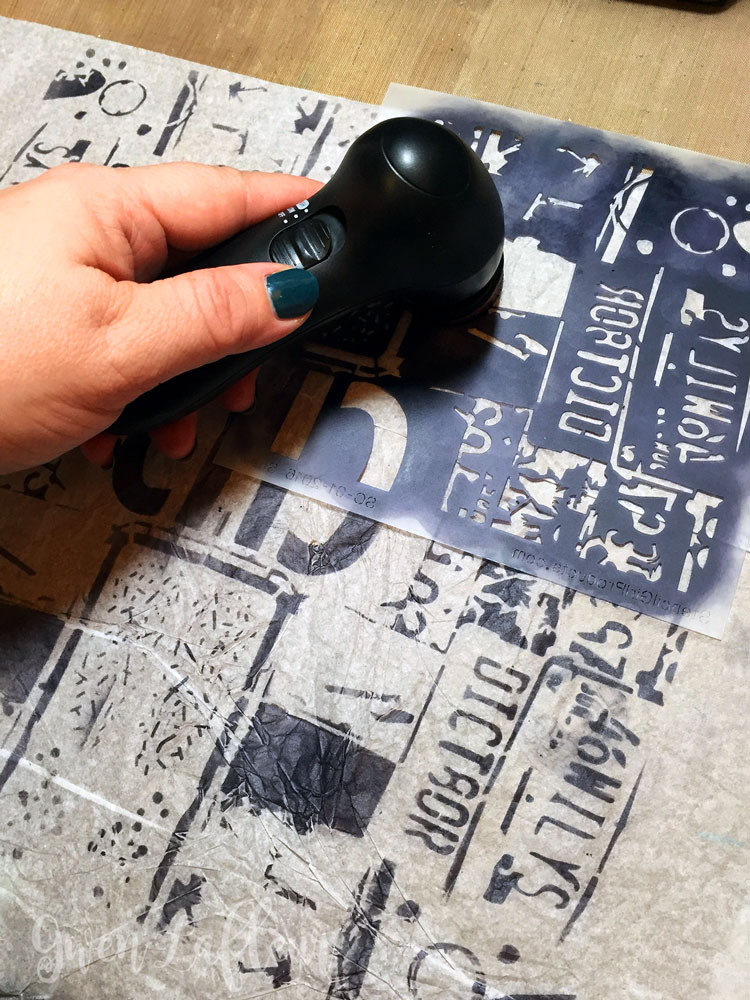
Before you embark on your stencil drawing journey, gather the following essential art tools:
- Stencil Material : A range of stencil materials are available for you to select from, depending on your preferences and project. Paper stencils are simple to cut, but they might not last as long. Sheets made of plastic, mylar, or stencils are more durable and reusable.
- Cutting Tools: For accurately cutting out your stencil patterns, you’ll need a precision cutting instrument, such as an X-Acto knife or stencil cutter. A cutting mat will help to keep your work surface safe.
- Paints and Inks: For stencil drawing, acrylic paints, spray paints, fabric paints, and inks are excellent options. Based on the desired surface and finish, choose the appropriate paints.
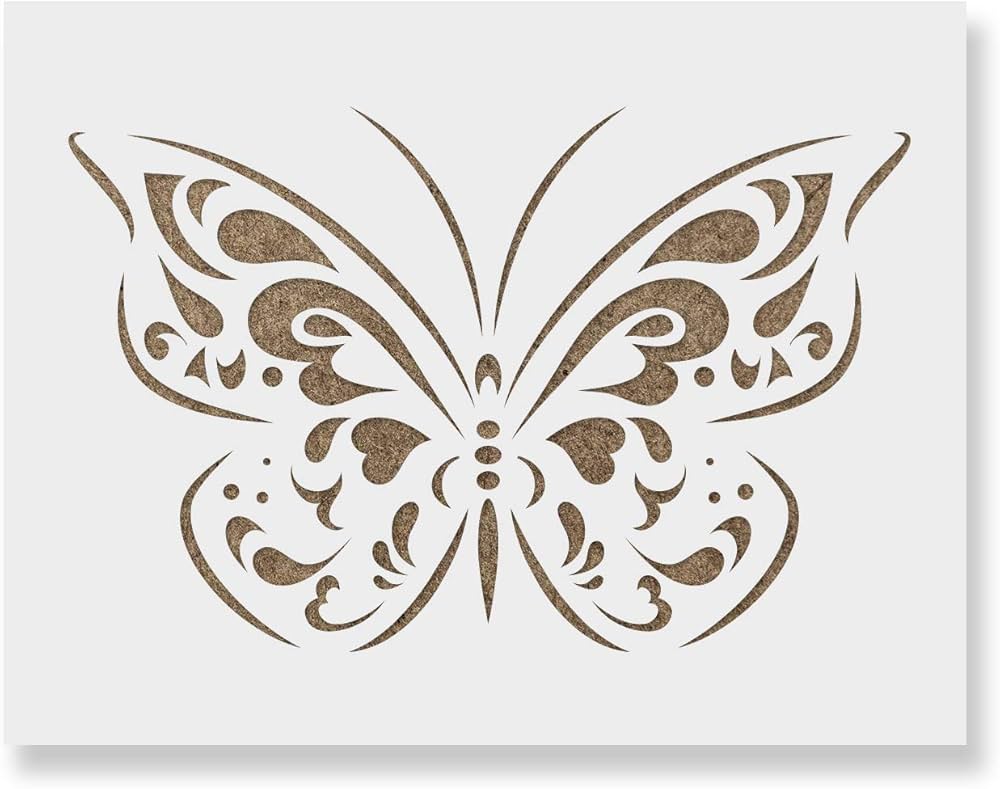
- Brushes and Sponges: To cover your stencil in paint or ink, you’ll need brushes or sponges. Sharp lines and preventing bleeding are best achieved with stencil brushes with firm bristles.
- Tape or Adhesive: To keep your stencil from moving while you work, fix it using masking tape or sticky spray.
- Surface: To ensure that your paints adhere well, properly prime your chosen surface, whether it is paper, canvas, cloth, or a wall.
Stencil Drawing for Beginners: Step by Step Guide.
Now that you’ve gathered your tools, it’s time to dive into stencil drawing. Here’s a step-by-step guide for beginners:
Step 1: Design Your Stencil: Begin by drawing a rough sketch of your design on some paper. If you’re new to stencil drawing, keep things basic. Once you’re happy with your design, print it out on the stencil material of your choice.
Step 2: Cutting Your Stencil:Use your precision cutting tool to carefully cut out your pattern from the stencil material that you have placed on a cutting mat. Take your time and be as accurate as you can, especially when dealing with complex facts.
Step 3: Prepare Your Surface: Make sure your chosen surface is dust- and debris-free while you clean and prepare it. To improve paint adhesion, if necessary, use a priming or base coat.
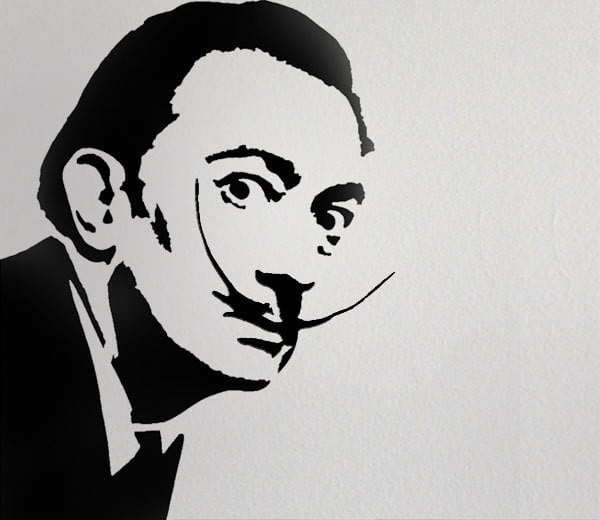
Step 4: Secure Your Stencil: Use masking tape or adhesive to fix your stencil into place on the surface. A smooth surface without any crevices where paint could leak through is ideal.
Step 5: Apply Paint: Dip your brush or sponge into the paint or ink of your choice, being careful not to overdo it. To avoid paint seeping underneath the stencil, apply the paint evenly over the stencil while dabbing or stippling.
Step 6: Remove the Stencil: While the paint is still wet, gently peel the stencil off. Wait for each layer of a multi-layer stencil to dry completely before adding the next.
Step 7: Cleanup and Finish: After using, clean your brushes and stencils right away. Prior to incorporating any extra features, details or embellishments, give your artwork time to thoroughly dry.
Conclusion
The engaging art style of stencil drawing enables artists of all ability levels to produce spectacular, visually arresting works. The options are boundless, regardless of whether you’re drawn to classic stencils, digital artwork, or mixed-media experimentation. So what are you waiting for? Grab your tools, start cutting, and use stencil drawing to unleash your creativity.
Read Also:

