Introduction
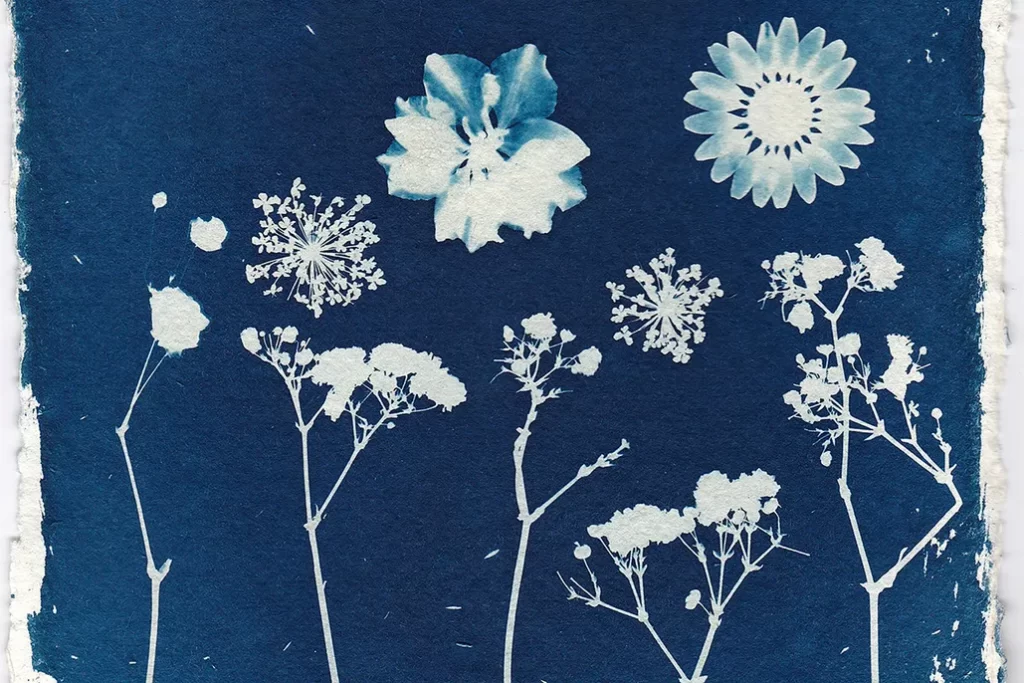
Since its invention in 1842, cyanotype printing—a photographic printing technique that yields a cyan-blue print—has been a favourite among photographers and painters. Cyanotype printing, which is well-known for its ease of use and the dreamy appearance of its output, has expanded beyond its conventional limitations to encompass a range of media, such as paper and cloth. This post will explain how to make stunning cyanotype prints on fabric, which are ideal for personalising clothing and making one-of-a-kind home décor pieces. Here are some instructions for creating your own cyanotype sun prints along with a closer look at the cyanotype printing procedure.
Understanding Cyanotype Printing
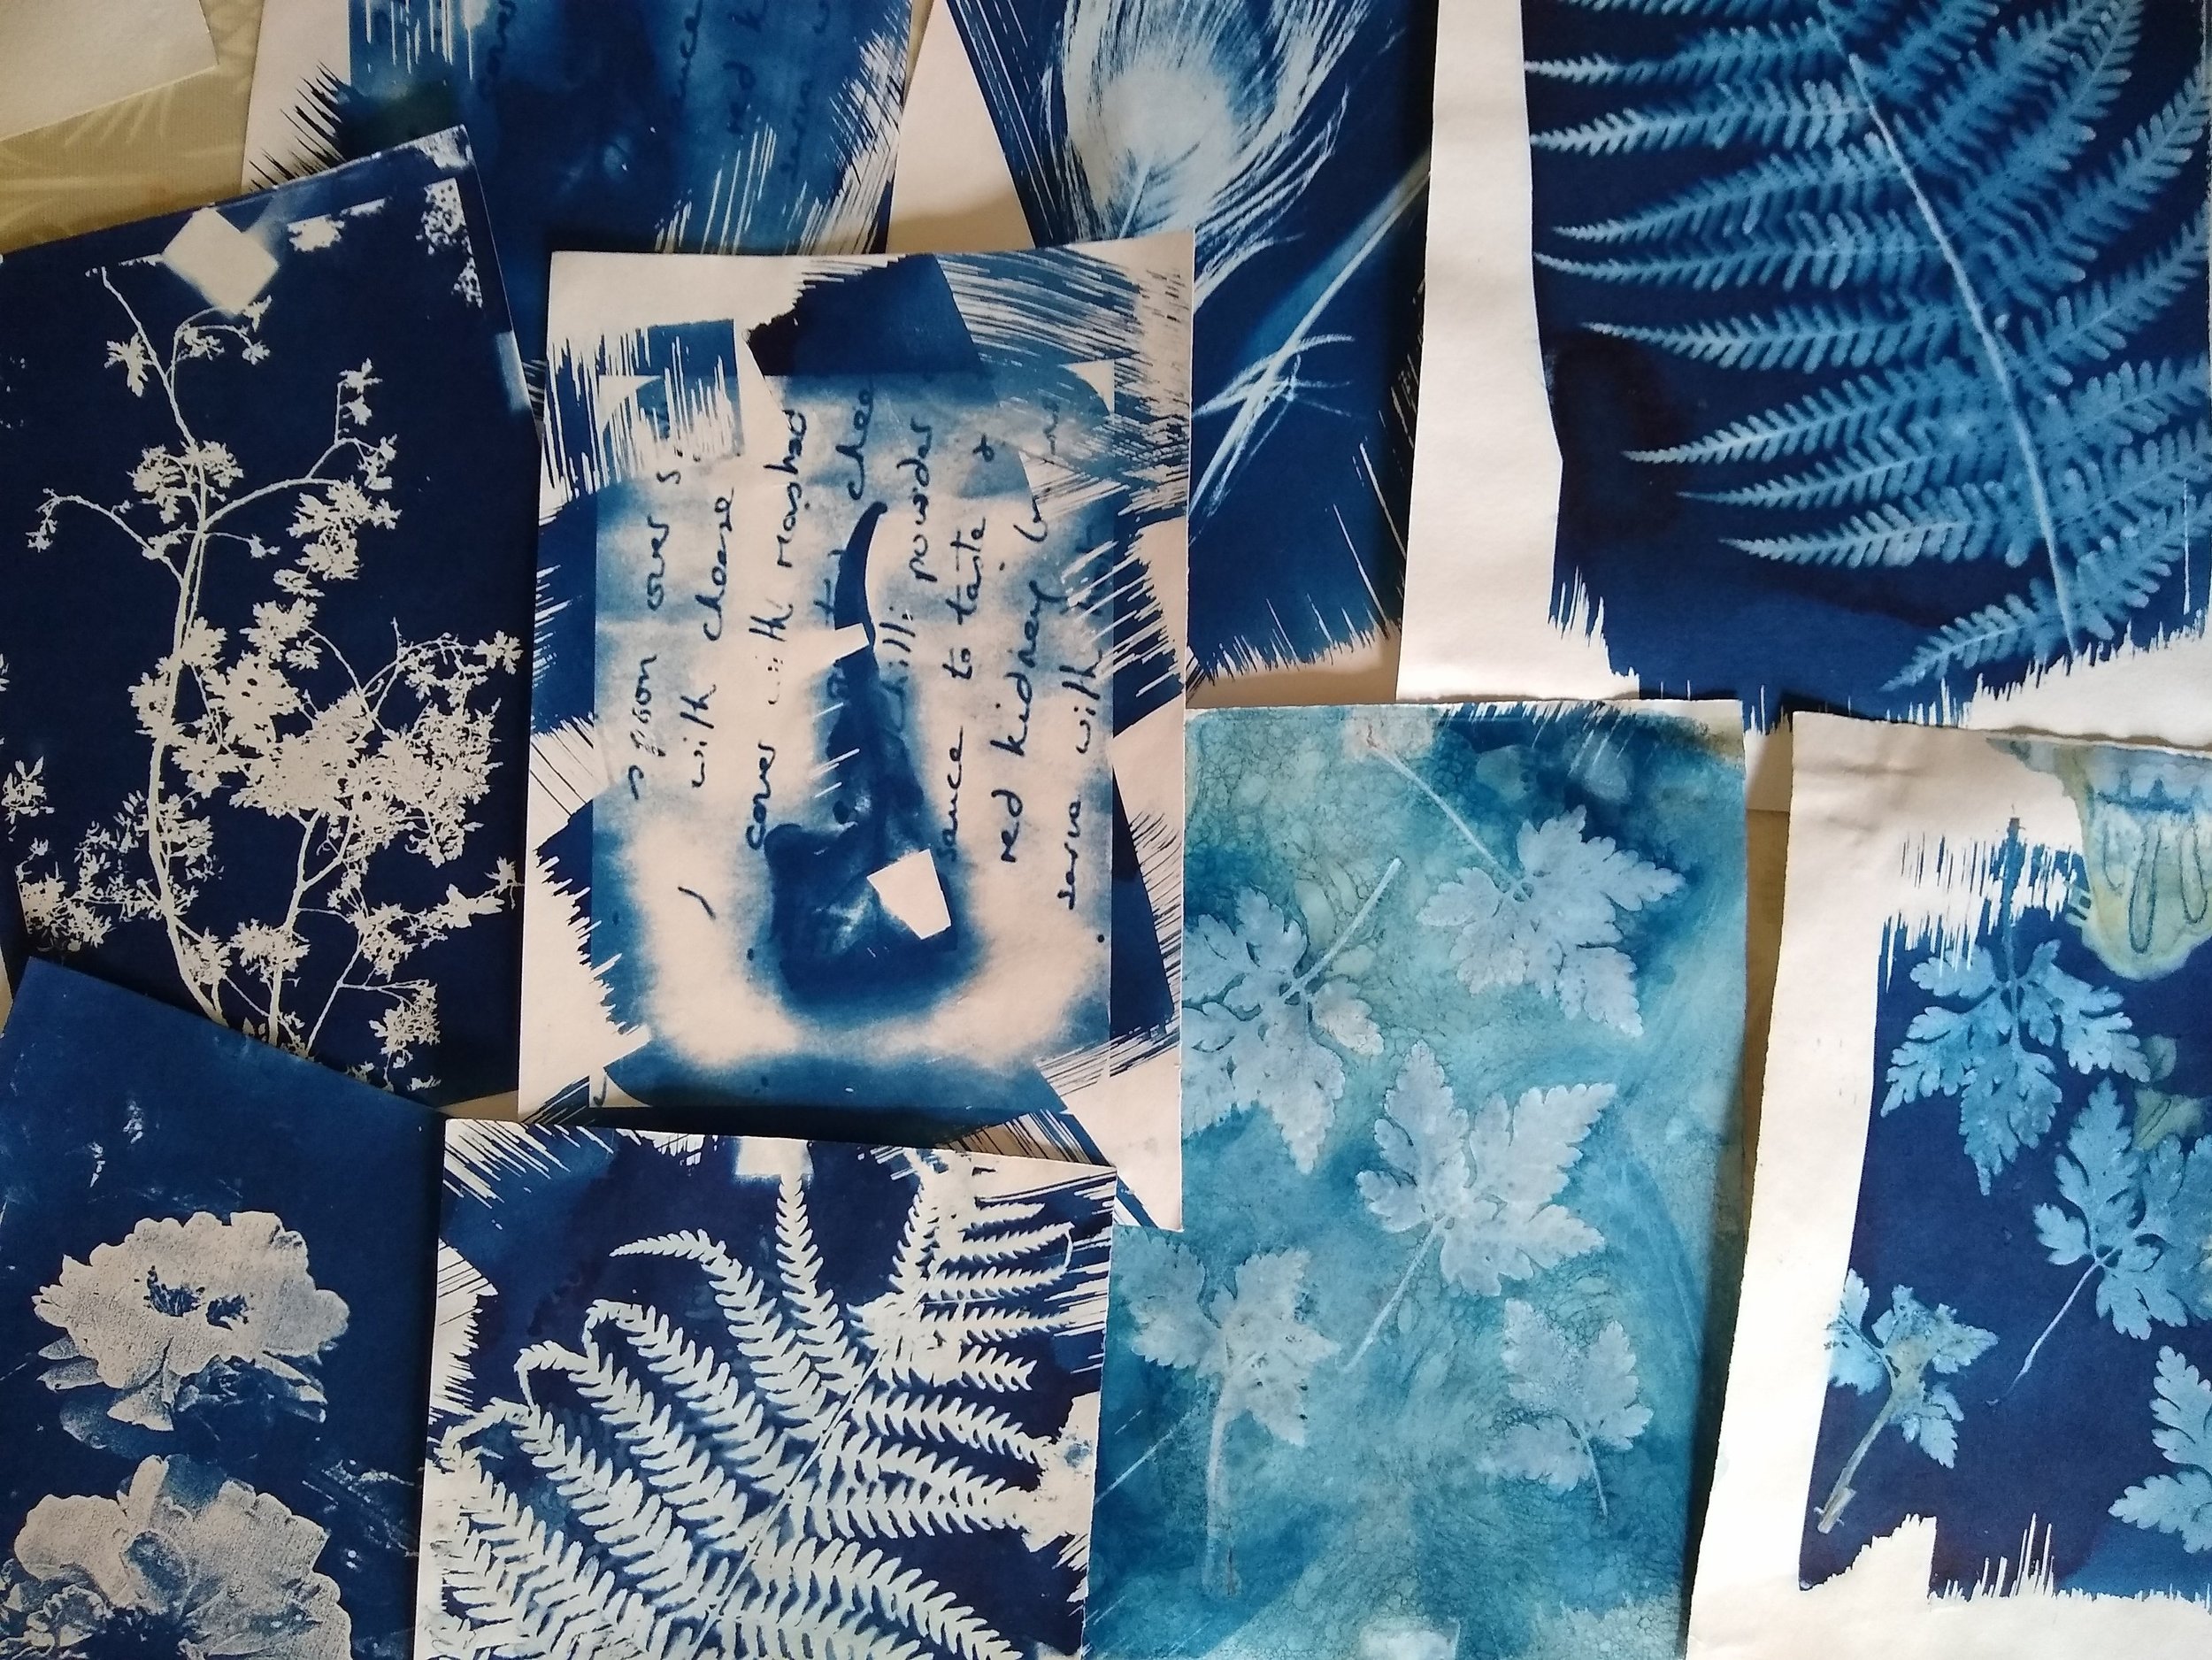
Cyanotype is a photo-reproductive technique that involves two main chemicals: ammonium iron(III) citrate and potassium ferricyanide. When these chemicals are mixed together and exposed to ultraviolet light (typically from the sun), they undergo a chemical reaction that results in a distinctive deep blue color. This process was traditionally used for blueprints in architectural and engineering drawings, but has gained popularity in the arts due to its versatility and striking results.
Materials Needed for Cyanotype Printing on Fabric
To begin with cyanotype printing on fabric, you will need:
- Fabric: Natural fibers like cotton, linen, or silk work best.
- Cyanotype chemicals: Ammonium iron(III) citrate and potassium ferricyanide.
- Brush or sponge: For applying the chemical solution.
- Transparent or translucent objects or negatives: These will create the design or image.
- UV light source: Sunlight is ideal for exposure.
- Water: For rinsing the fabric after exposure.
- Protective gear: Gloves and eyewear to safely handle chemicals.
Step-by-Step Process for Cyanotype Printing on Fabric
- Prepare the Chemical Solution: Mix the cyanotype chemicals with water according to the instructions provided with your cyanotype kit. It’s important to do this in a dimly lit area to prevent premature exposure.
- Prepare Your Fabric: Wash and dry the fabric to remove any impurities that might affect the absorption of the cyanotype solution.
- Apply the Solution: Using a brush or sponge, evenly apply the cyanotype solution to the fabric in a dark room. Ensure that the fabric is thoroughly coated but not overly saturated. Allow the fabric to dry completely in the dark.
- Create Your Design: Arrange your objects or negatives on the treated fabric. You can use items like leaves, flowers, lace, or cut-outs to create interesting patterns and shapes.
- Expose to Sunlight: Once your design is in place, expose the fabric to sunlight. The exposure time can vary from a few minutes to several hours, depending on the intensity of the sun and your desired depth of color.
- Developing: After exposure, remove the objects and rinse the fabric in cold water. This stops the chemical reaction and washes away the unexposed chemicals, leaving a vivid blue print.
- Dry and Cure: Allow the fabric to dry completely. Some artists recommend letting the fabric cure for a few days to deepen and set the color.
Cyanotype Printing on Clothes
Cyanotype printing on clothes follows the same process. It offers an excellent way to add personalized designs to t-shirts, dresses, scarves, and more. The key is to choose clothing items made of natural fibers to ensure the best results.
Conclusion
Cyanotype printing on fabric is not only an enjoyable artistic process but also an excellent way to create personalized items and gifts. Whether you are creating cyanotype sun prints, customizing clothes, or experimenting with new designs, the possibilities are endless. With a bit of practice and creativity, you can master the art of cyanotype printing and produce stunning works of art that are as unique as they are beautiful.
By incorporating these techniques and tips into your creative repertoire, you can explore the boundless potential of cyanotype printing and discover the joy of creating handcrafted blueprints on fabric.


