Christmas Decor Made Easy!
Christmas is just around the corner, and as we feel the festive surrounding us we can’t help but decorate our tiny little spaces. Not just our surroundings but we also like to bedazzle ourselves with Christmas-themed outfits and fashion. Well break no sweat, we have compiled a list of ideas and steps to make your Christmas extra Christmas-y!

Christmas Art Ideas
Following are some art ideas to give a pop to your Christmas decorations and outfits!
1. Christmas Nail Art
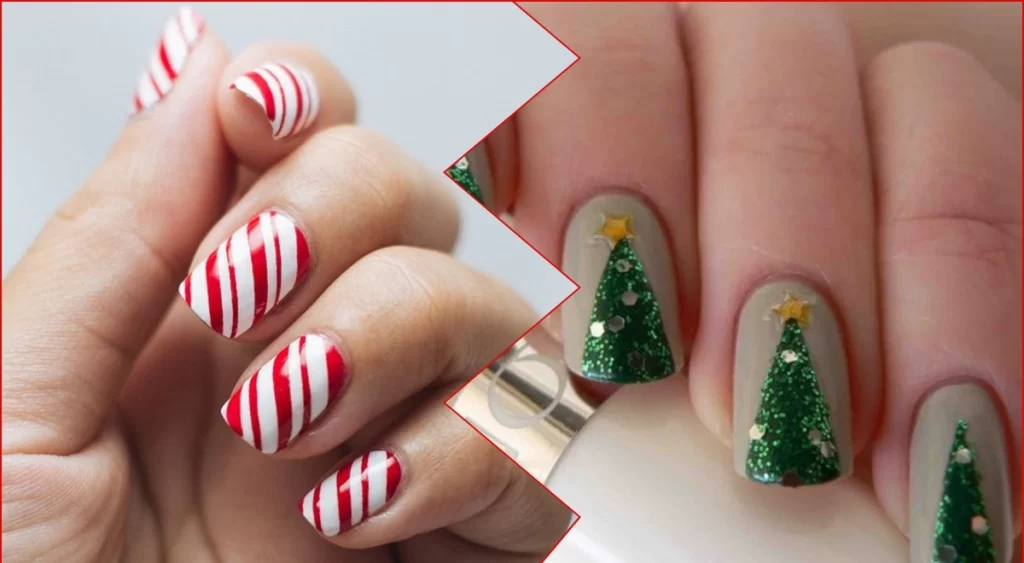
Creating festive Christmas nail art is a fun way to celebrate the holiday season. Follow these short and easy steps to achieve a merry manicure:
- Prep Your Nails: Start by shaping and cleaning your nails. Trim and file them to your desired length, then push back your cuticles.
- Base Coat: Apply a clear base coat to protect your nails and help the polish adhere better.
- Choose Colors: Select traditional Christmas colours like red, green, and white for a classic look. Alternatively, go for metallic shades or glitter for a glamorous touch.
- Paint the Base: Apply the chosen base colour to each nail. Allow it to dry completely before moving on to the next step.
- Create Patterns: Use a contrasting colour to add festive patterns like candy canes, snowflakes, or Christmas trees. You can use a thin brush or nail art pens for precision.
- Add Details: Enhance your design with details like tiny rhinestones or glitter accents. This step adds a touch of sparkle and dimension.
- Seal with Top Coat: Once your nail art is dry, seal it with a clear top coat to protect the design and add a glossy finish.
- Clean-Up Edges: Clean up any polish on your skin using a small brush or cotton swab dipped in nail polish remover.
Voila! You now have fabulous Christmas-themed nails to showcase your holiday spirit. Share your festive manicure with friends and family, and enjoy the joyous season!
2. Christmas Tree Art
The following steps will enhance the overall look and feel of your Christmas tree:
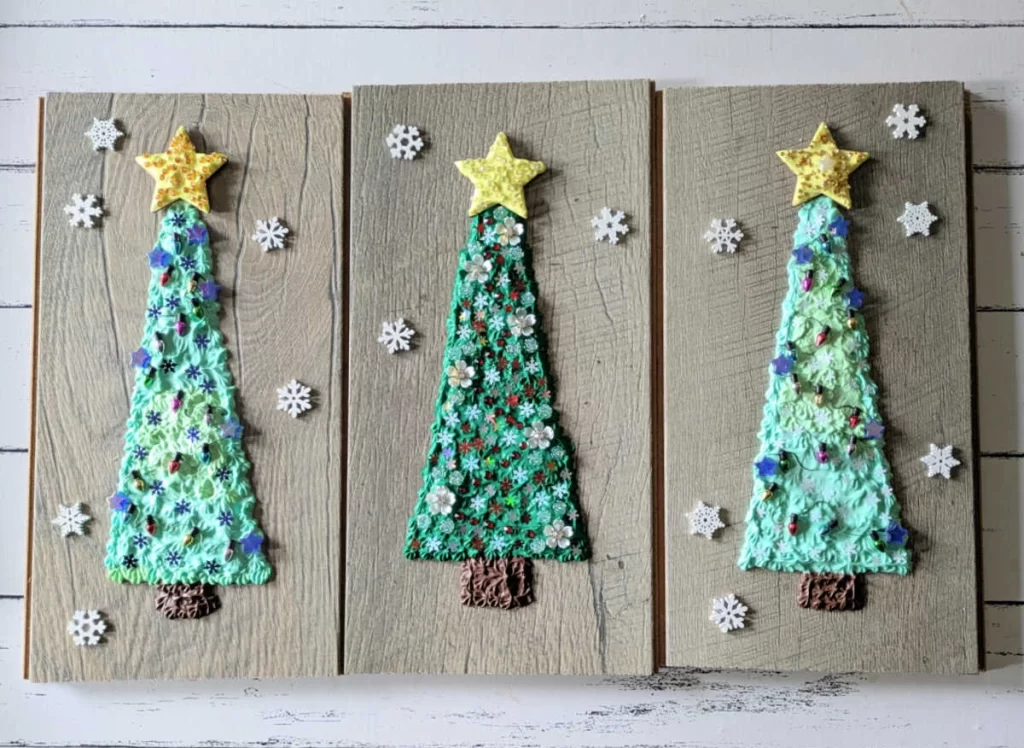
- Start with a sturdy tree base and string festive lights. Decorate with traditional ornaments like glass balls, or personalize with DIY decorations.
- Add garlands, tinsel, or ribbons for extra flair. Incorporate a tree topper – it could be a classic star, an angel, or even a whimsical ornament.
- For a rustic touch, consider wooden ornaments, pinecones, and burlap bows.
- Alternatively, go for a theme like a winter wonderland with snowflakes, silver ornaments, and blue accents.
- If you’re feeling crafty, create handmade ornaments with family photos, glitter, or paper cutouts.
- Involve the whole family by making it a decorating event. Assign specific tasks like hanging ornaments or placing garlands. To make your tree smell festive, add cinnamon sticks, orange slices, or pinecones.
Finally, step back and admire your masterpiece!
3. Christmas Wall Art
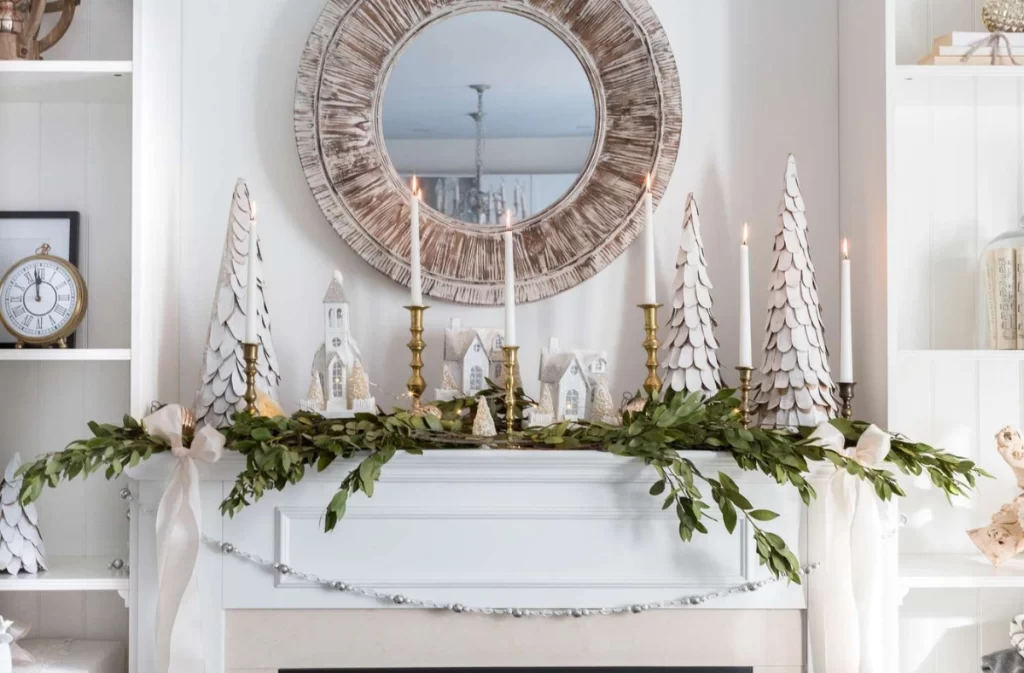
Create charming Christmas wall hangings with these easy DIY steps. Start with a wooden or canvas base for durability.
- Gather Materials: Collect festive fabrics, ribbons, and holiday-themed embellishments. Purchase a pre-made blank canvas or repurpose an old frame.
- Wrap in Fabric: Cover the canvas with a Christmas-themed fabric. Secure it tightly to the back using a staple gun or adhesive.
- Create a Focal Point: Use a large, decorative item like a wreath or a wooden cutout as a focal point. Attach it to the centre of the fabric-covered canvas.
- Add Ribbons and Bows: Enhance the festive feel by attaching ribbons and bows. Arrange them around the edges or drape them diagonally across the canvas.
- Hang Ornaments: Attach small ornaments or decorative trinkets to the fabric using hot glue or small hooks. This adds dimension and visual interest.
- Personalize with Words: Incorporate holiday messages or quotes by adding letter decals or stencilling directly onto the fabric.
- Mount and Display: Once the decorations are in place, mount the finished piece on the wall. Consider grouping multiple smaller hangings for a visually appealing display.
- Light It Up: For an extra festive touch, add string lights around the edges or behind the fabric, creating a warm and inviting glow.
With these simple steps, you’ll have a delightful Christmas wall hanging that adds a touch of holiday magic to your home.
Image Courtesy – Clicbrics

