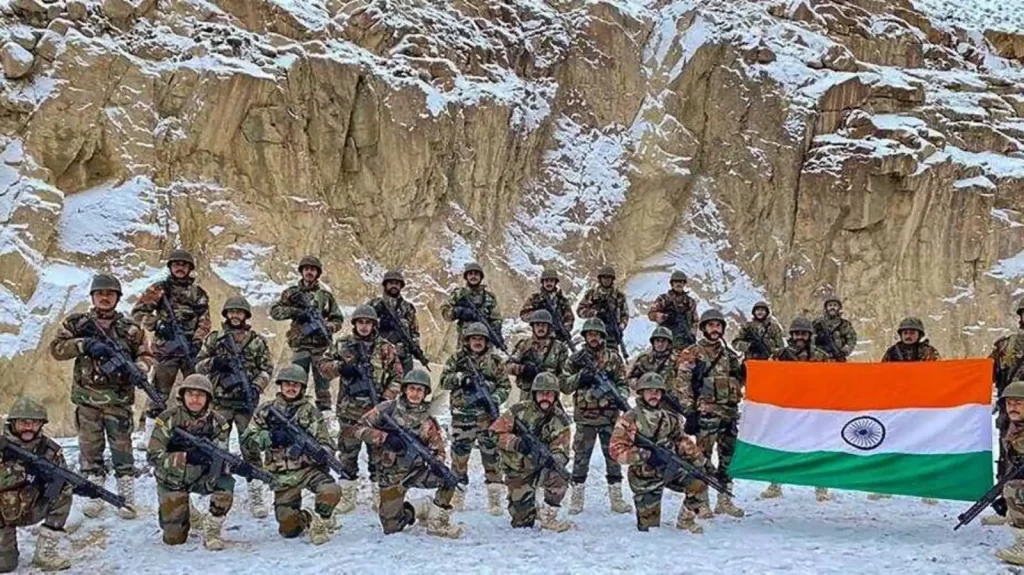
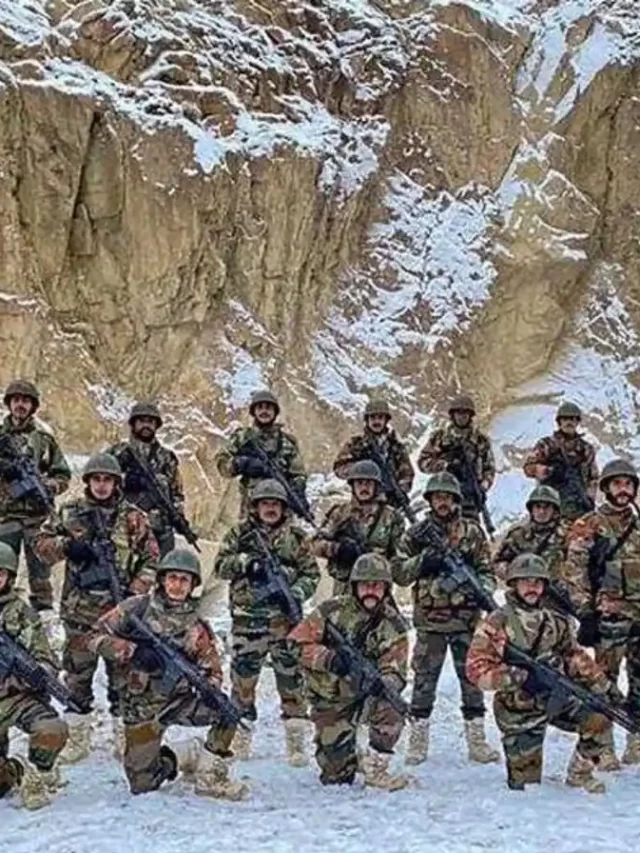
Drawing of Indian Army is undoubtedly an educational experience, especially for those interested in military art or simply wishing to pay tribute to the brave soldiers who protect our nation. Whether you’re a beginner or an experienced artist looking for a simple approach, this step-by-step guide will help you create a meaningful and easy drawing of the Indian Army.
Drawing of an Indian Army
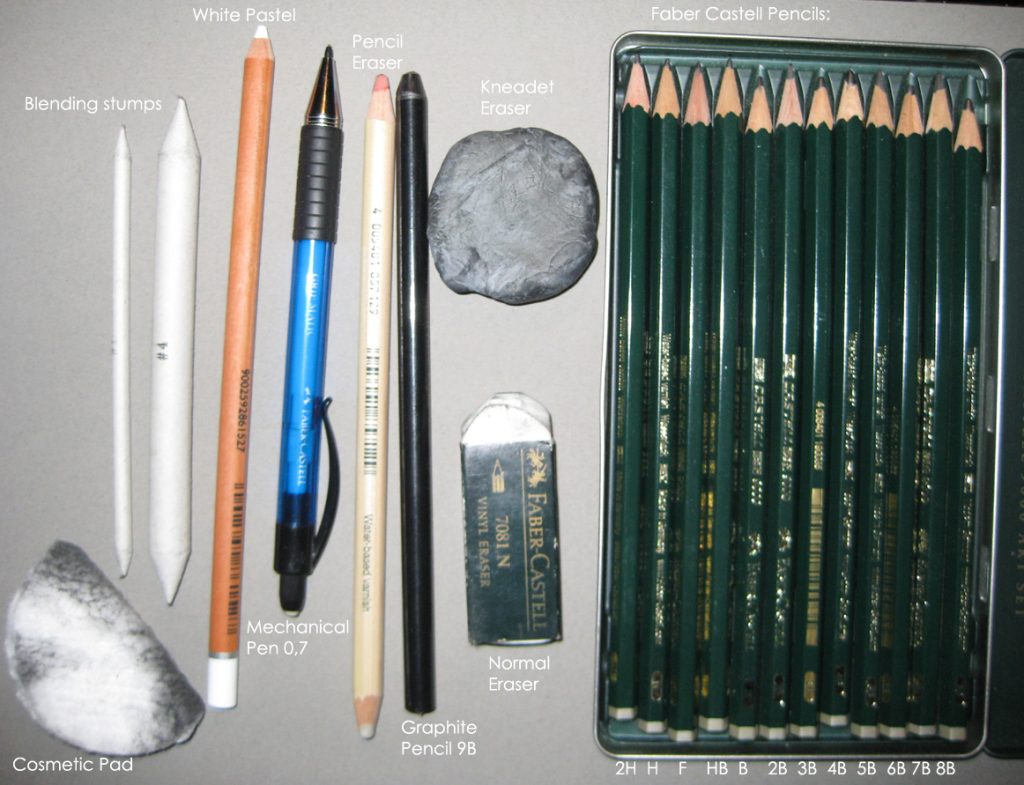
While you can go for a detailed drawing of Indian army, we’d rather have you pay tribute most easily. You can keep the drawing of Indian army easy, but you will have to grab the following drawing materials from your local art supply store.
Materials Needed
Make sure you have drawing paper, pencils (preferably HB and 2B), an eraser, a black pen or fine-tip marker (optional, for outlining), and coloured pencils or markers (optional, for adding colour) at hand for your simple drawing of Indian army.
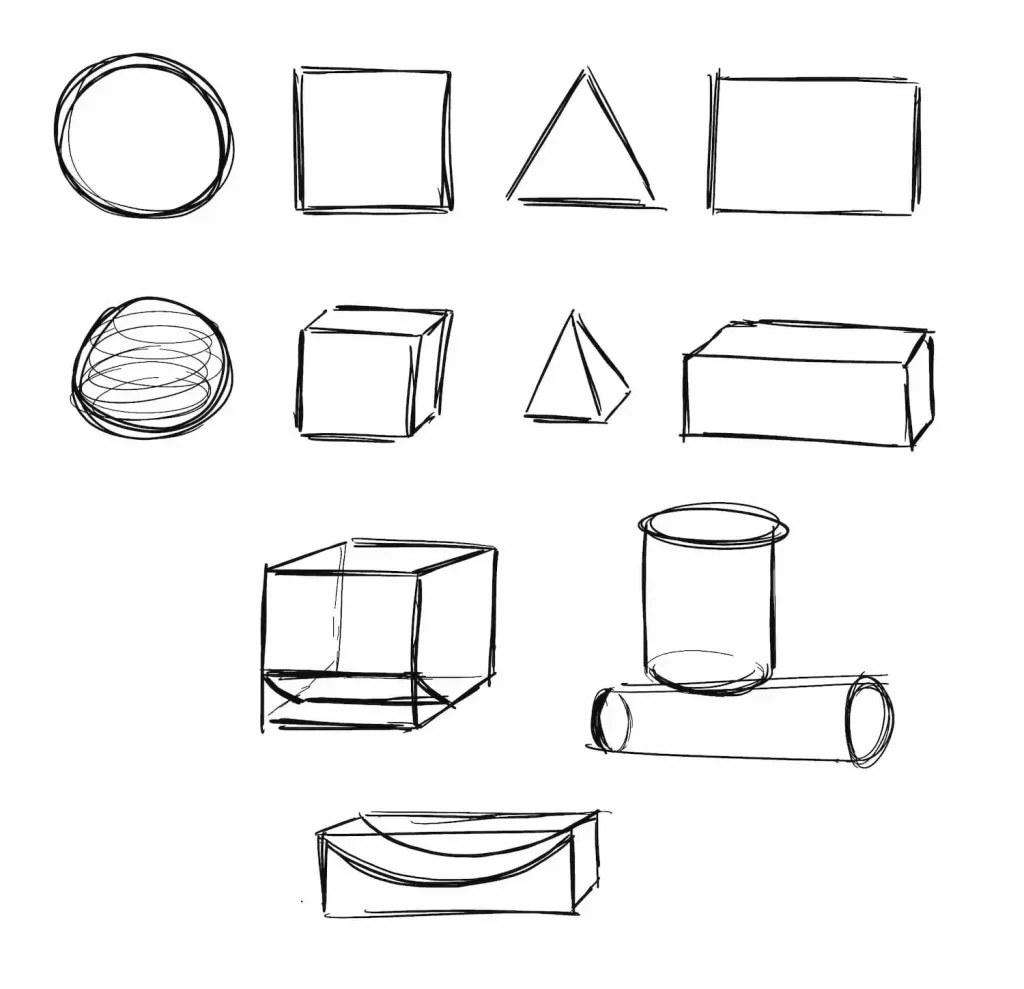
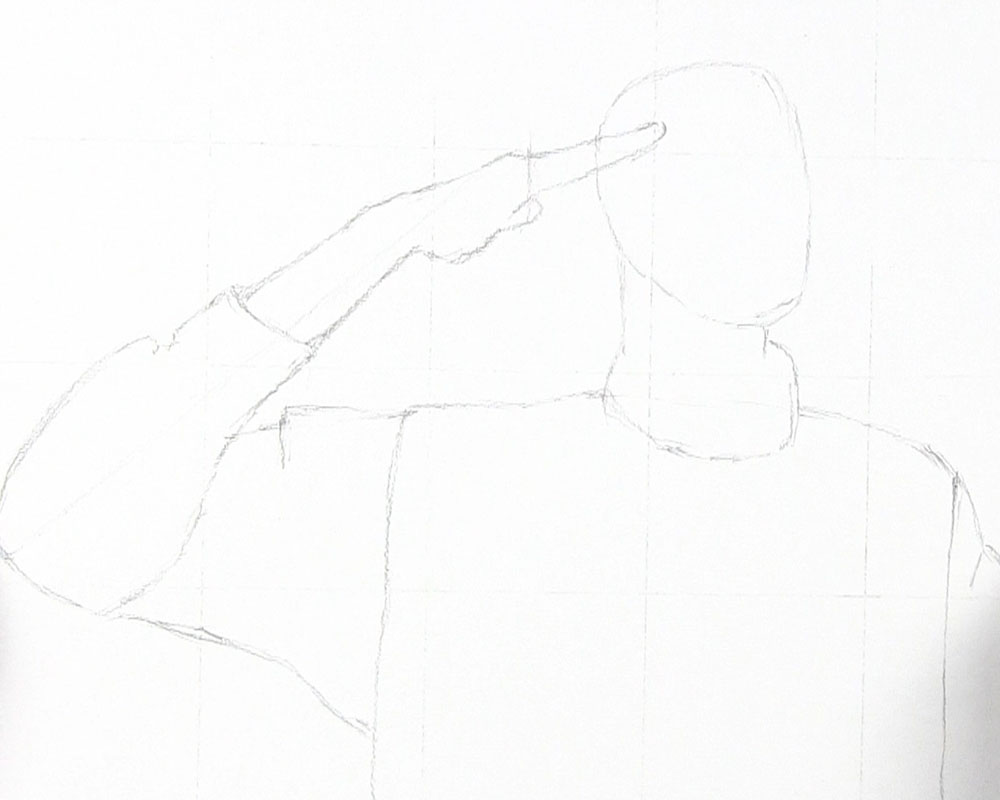
Step 1: Basic Shapes
Start the drawing of an Indian army or soldiers by sketching basic shapes. Start with a simple oval for the head and a rectangular shape for the torso. Add lines to indicate the arms and legs in a relaxed standing position.
Step 2: Refine the Outline
Using your HB pencil, refine the outline of the soldier. Focus on detailing the shape of the uniform, which typically includes a shirt with sleeves, pants, and boots. This simple drawing of Indian army uniform includes epaulettes on the shoulders and a belt.
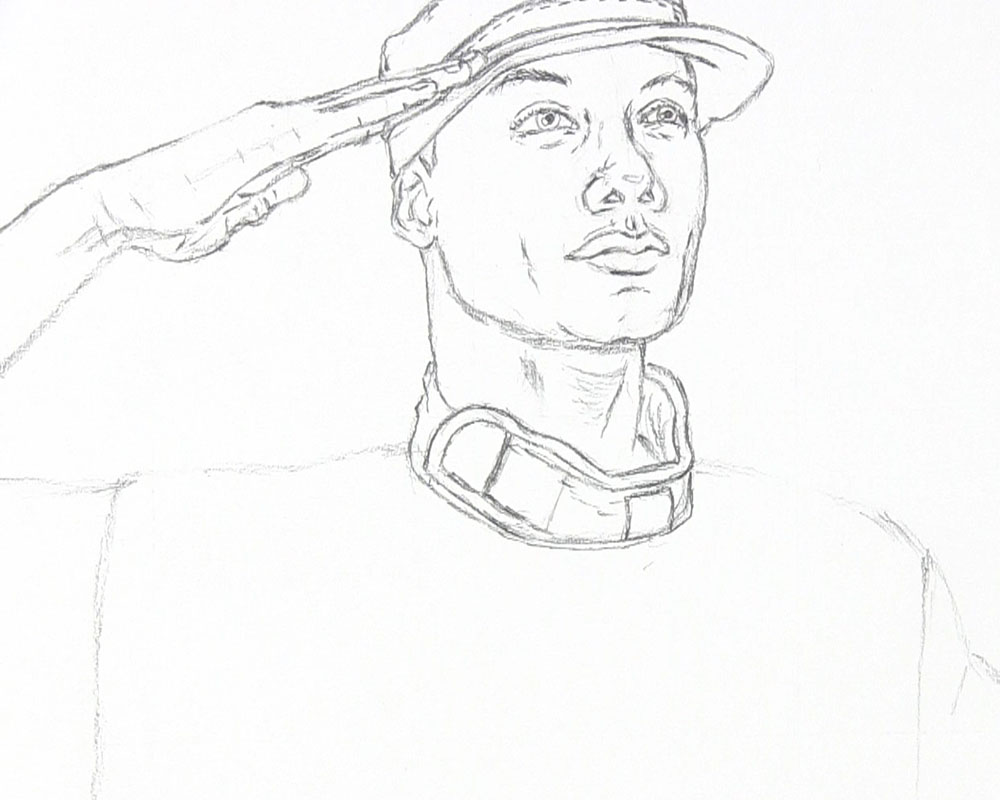
Step 3: Add Facial Features
Sketch the facial features lightly. The soldiers are known for their disciplined and stoic expressions, so keep the facial features simple. Use basic lines for the eyes, nose, and mouth.
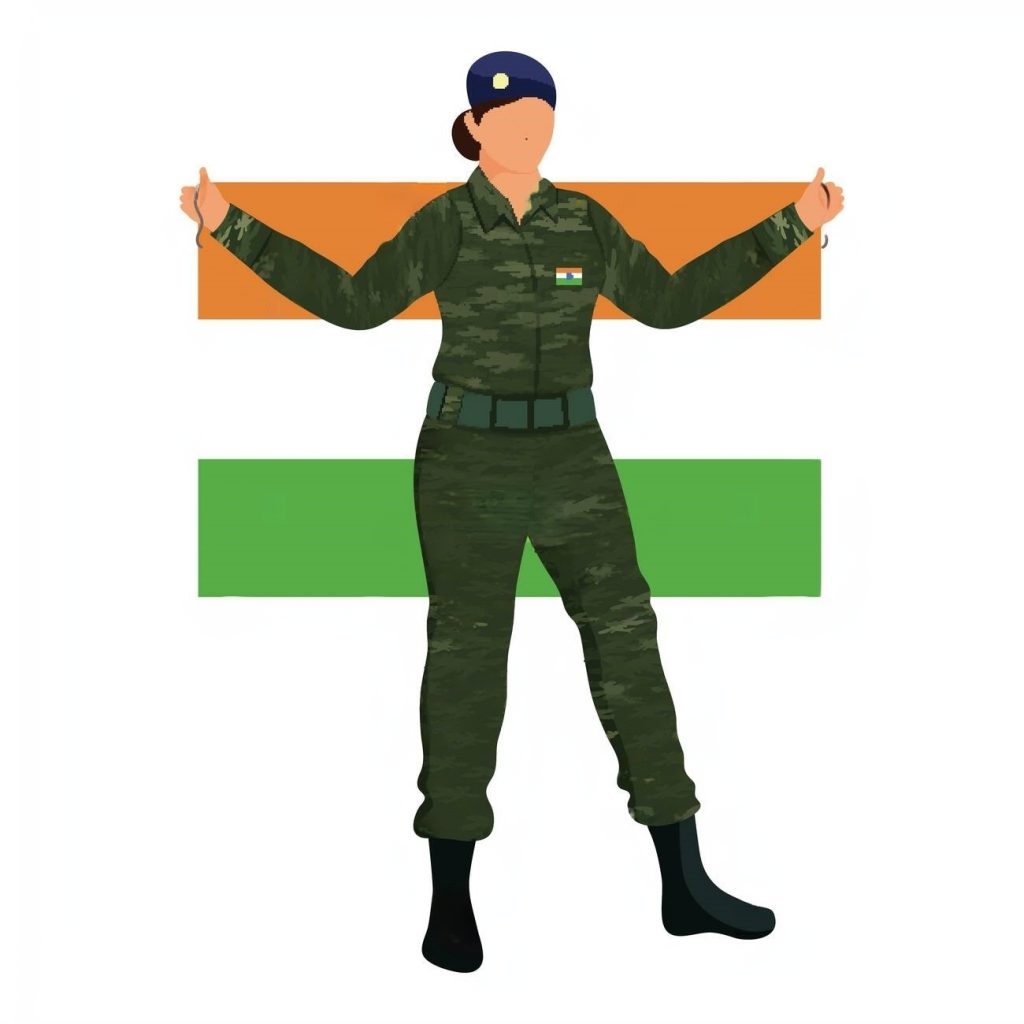
Step 4: Detail the Uniform
The important parts of this drawing of Indian army are the details. Add pockets, buttons, collars, and specific insignia or badges that might be visible on the uniform.
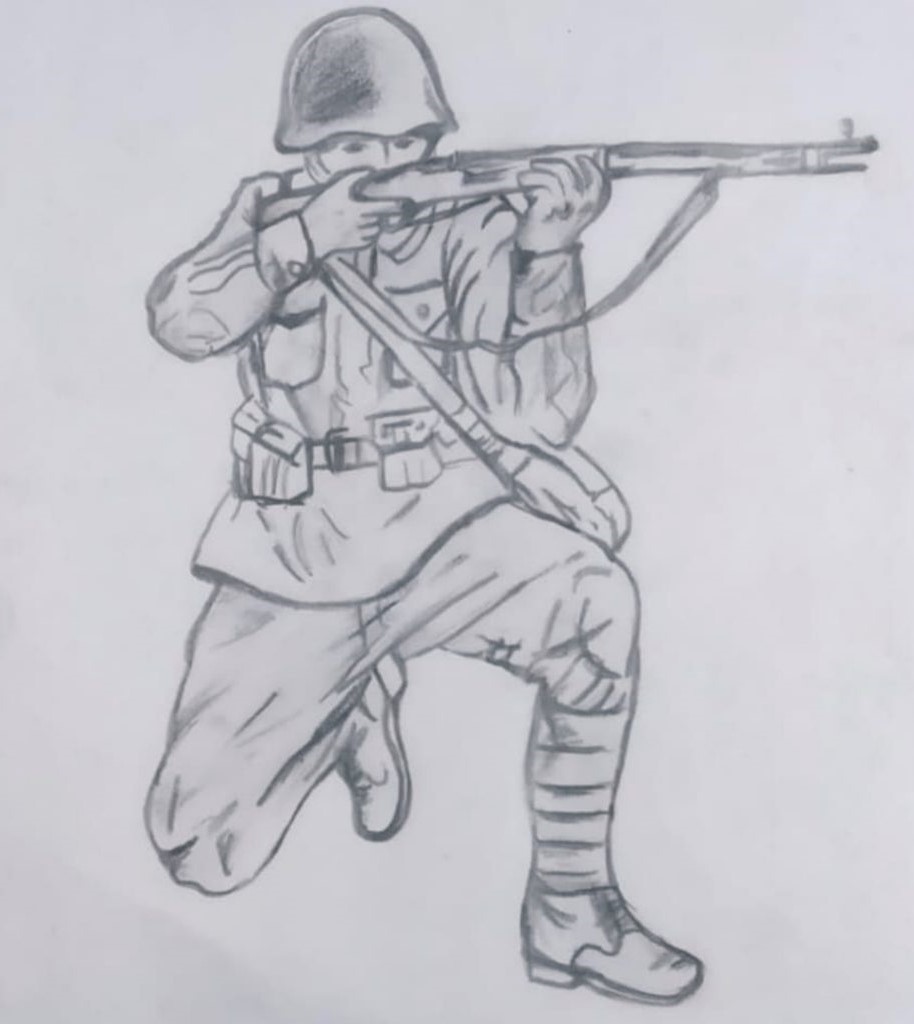
Step 5: Draw the Weapon (Optional)
If you wish to depict the soldier holding a weapon, sketch it in the soldier’s hand. Common weapons include rifles and pistols. Keep the weapon’s shape simple and proportional to the soldier’s body.
Step 6: Outline with Pen (Optional)
Once you are satisfied with your simple drawing of Indian army, you can outline it with a black pen or fine-tip marker. Take your time and trace over the pencil lines carefully. Erase the pencil guidelines.
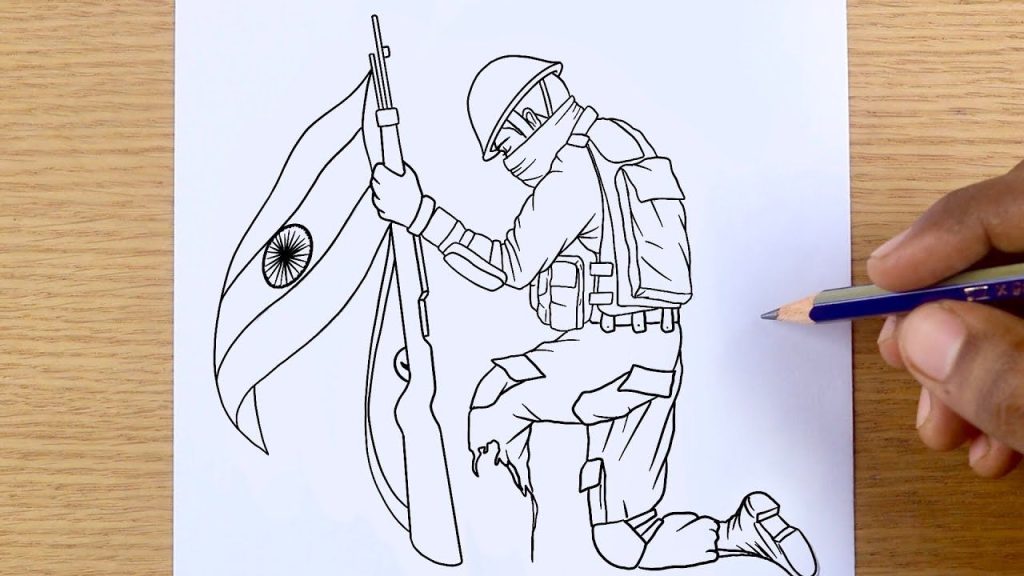
Step 7: Add Shading and Details
If you want to add depth to your drawing of an Indian army, use your 2B pencil to add shading. Shade areas where shadows would naturally fall, such as under the arms, beneath the collar, and around the uniform’s folds.
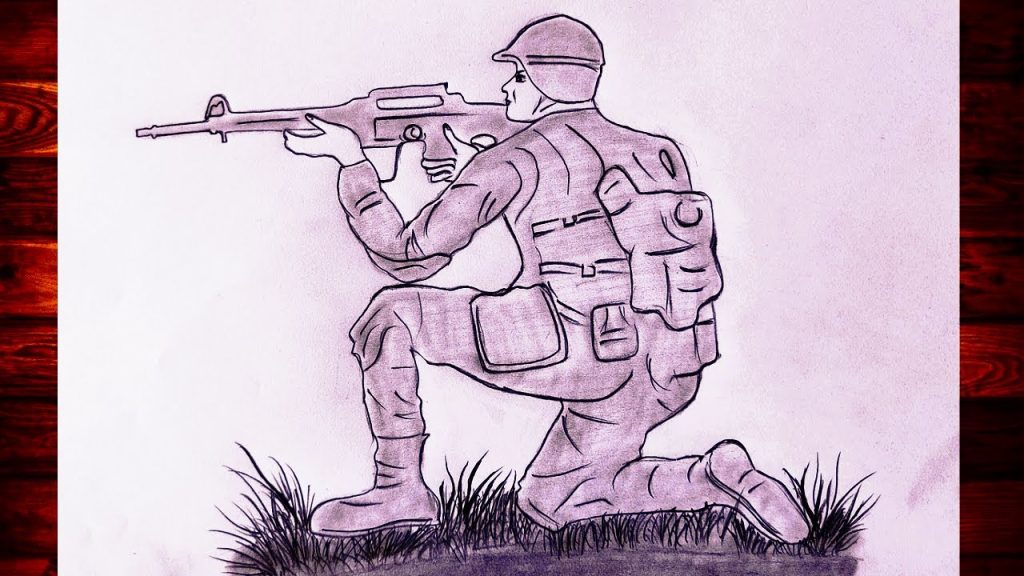
Step 8: Colour (Optional)
For a more vibrant finish, use coloured pencils, markers, or oil pastels to add colour to your drawing. Typically, the uniform includes shades of green and brown.
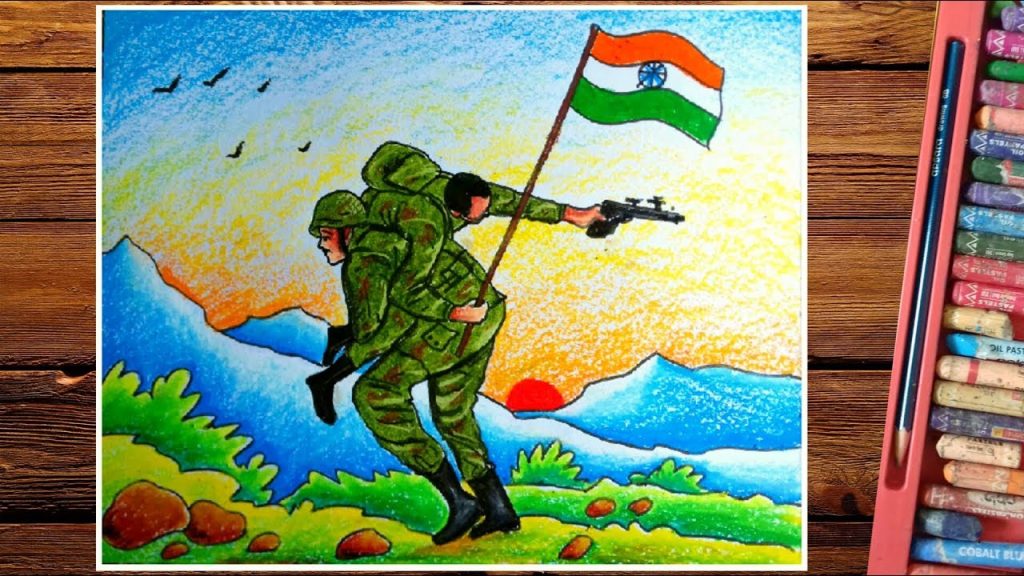
Step 9: Background (Optional)
To complete your simple drawing of Indian army, consider adding a simple background. You could sketch a sky or a landscape to create a context for the soldier. Keep the background minimalistic to ensure that the focus remains on the soldier.
Drawing the Indian Army is a wonderful way to show respect and appreciation for the brave men and women who serve our country. By following these steps, you can create a simple yet meaningful artwork that captures the essence of the Indian Army soldier. Remember, practice makes perfect, so don’t hesitate to try this tutorial multiple times. Happy drawing!
Image Courtesy – Mint

