They say ‘Don’t judge a book by its cover’. Guess what? It doesn’t hurt if the book cover is captivating. Book covers or jackets are a powerful way to enchant the audience and draw them in through their magnetic allure. Not only are they designed to entice, but they also convey a story’s essence, inviting the readers to explore the pages within. Book covers are an essential marketing tool and have to pass several checks before being announced to the public. But that shouldn’t stop you from making your own book covers. In this step-by-step guide on how to make a book cover, we will chronicle everything you need to embellish your old books.

What are Book Covers?
Book covers are also known as ‘dust jackets’, ‘book wrappers’, ‘dust covers’, or simply ‘covers’. They act both as a protection and decoration. Common book covers are made from paper or cardboard, featuring vibrant artwork, vivid typography, and other design elements by the book’s theme and plot. But why is it referred to as a ‘dust jacket’? The reason is – book covers protect the book from dust and grime which may deteriorate them.
Why Do We Need Book Covers?
The book covers play a crucial role in the literary world. They are a protective layer, shielding the books from wear and tear. They elevate the overall aesthetics of the book making it visually appealing. In the competitive publishing business, the significance of book covers cannot be admonished. A book cover can gravely affect its sale. Since it is the first point of contact between the reader and the book, a well-designed cover can evoke latent emotions, create nascent intrigue, and communicate.
How to Make A Paper Book Cover
A book cover is not hard to make. All you need is a thorough understanding of crafts. Since you are making a personal book cover, you can be as creative as you desire. You may either delve into creating an intricate book cover or use a clipart motif. If you are making a book cover on software, say Adobe InDesign, you must familiarize yourself with the tool. So get your books out and follow the instructions on how to make a book cover to unleash your creativity.
Items Needed for a DIY Book Cover
Doing DIY instils a sense of accomplishment. Making a DIY book cover is a cost-effective venture. To do so, you will need the following items.
- Paper or Cardboard: Since the cover will protect your book, make sure to select a sturdy material such as cardboard, cardstock, or any thick paper. You may use solid colours or one with a fancy print.
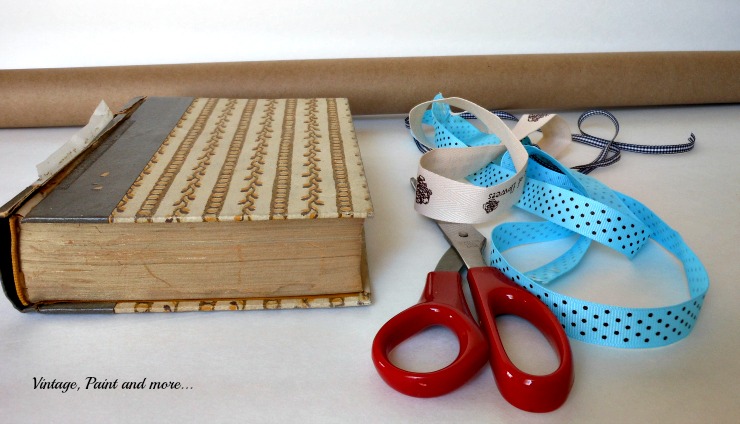
- Art & Craft Supplies: Gather your pens, paints, and glue sticks to decorate your book cover. Don’t forget the mighty tool – a pair of scissors.
- Ruler: A ruler will help you measure the length of paper/cardboard required and ensure clean and straight cuts.
- Other Embellishments: If you wish to decorate your books, you may use popsicle sticks, fabric scraps, pom poms, or other decorative elements.
How To Make A Dust Jacket For A Book
Once you have gathered all the requisites onto your desk, you can start working. Here is how to make a book cover.
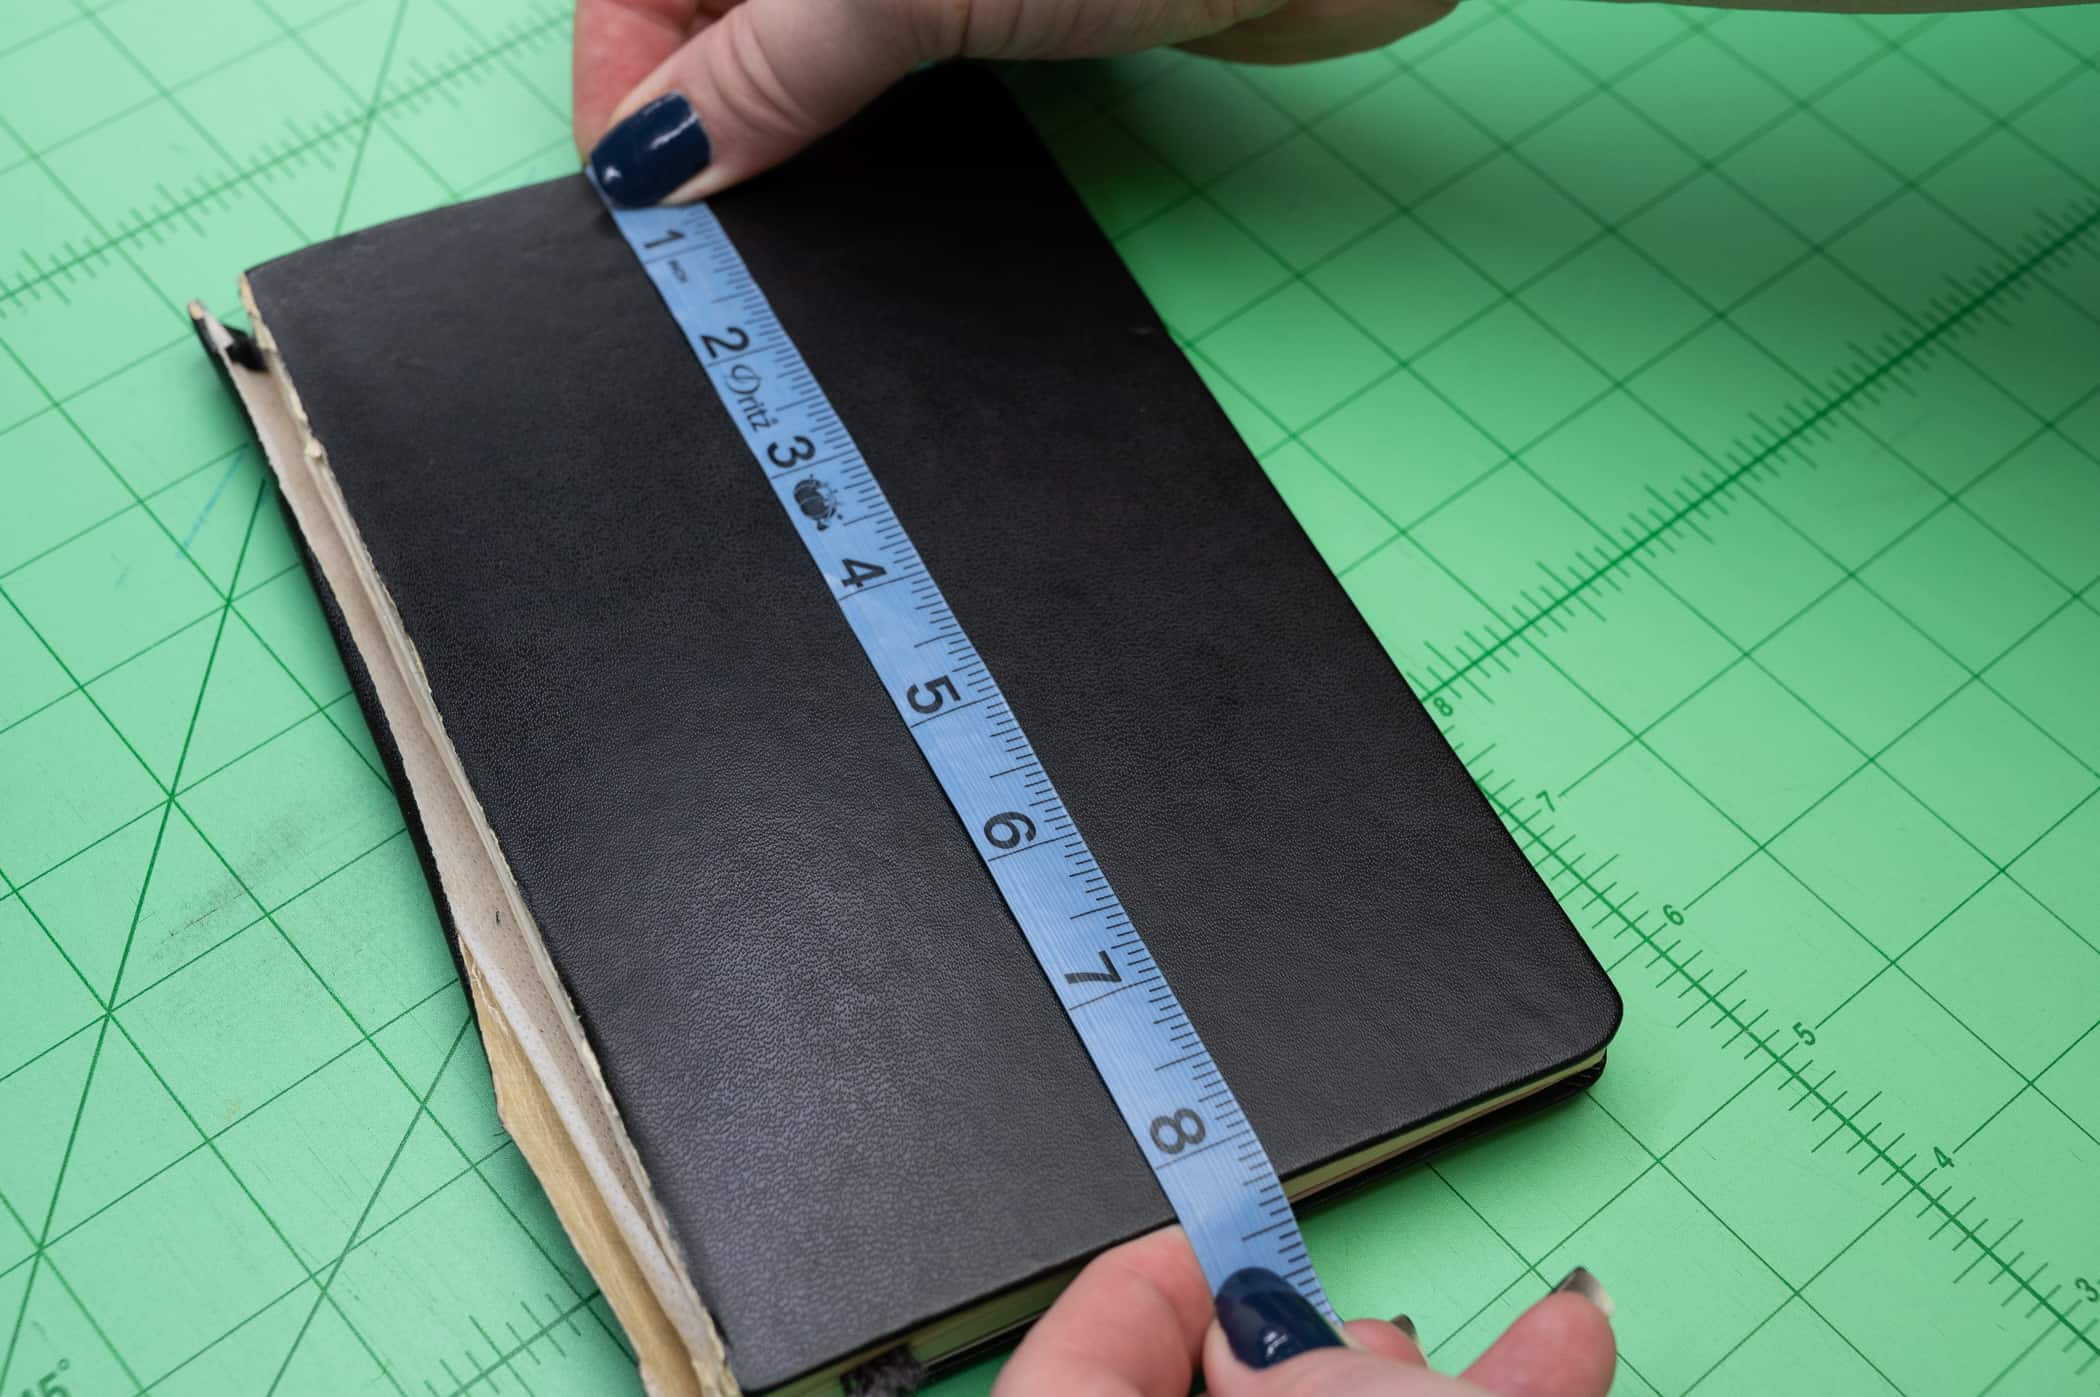
Step 1: Measuring Dimensions
Get your rulers out and measure the dimensions of your book. Note down the height, width, and thickness. Add extra inches to account for the flaps, which fold over to the front and the back of the book.
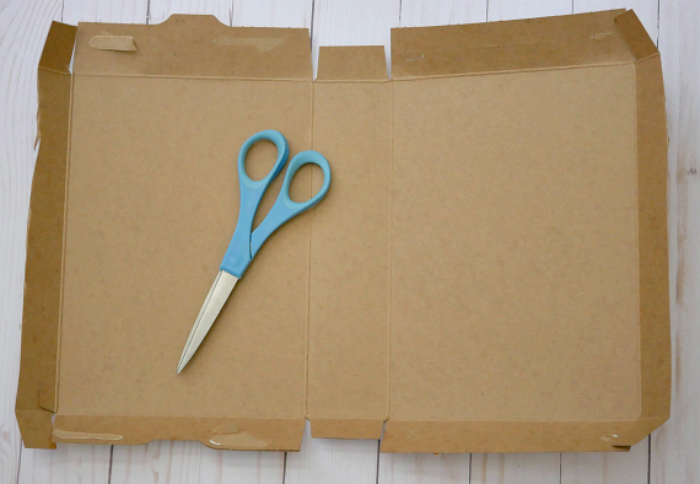
Step 2: Applying Measurement
With the measurements in place, cut your chosen paper or cardboard to the required size.
Step 3: Designing the Book Cover
Now it’s time to transform the boring cover into a work of art. Based on the genre, theme, and general mood of the book, illustrate the front and the back. However, if you plan on keeping the book simple, you may simply decorate it with calligraphy (Japanese, Arabic, the choice is yours) or repeated motifs. If you are satisfied with the design of the printed paper and wish to keep it as is, minimalism can work wonders for book covers as well.
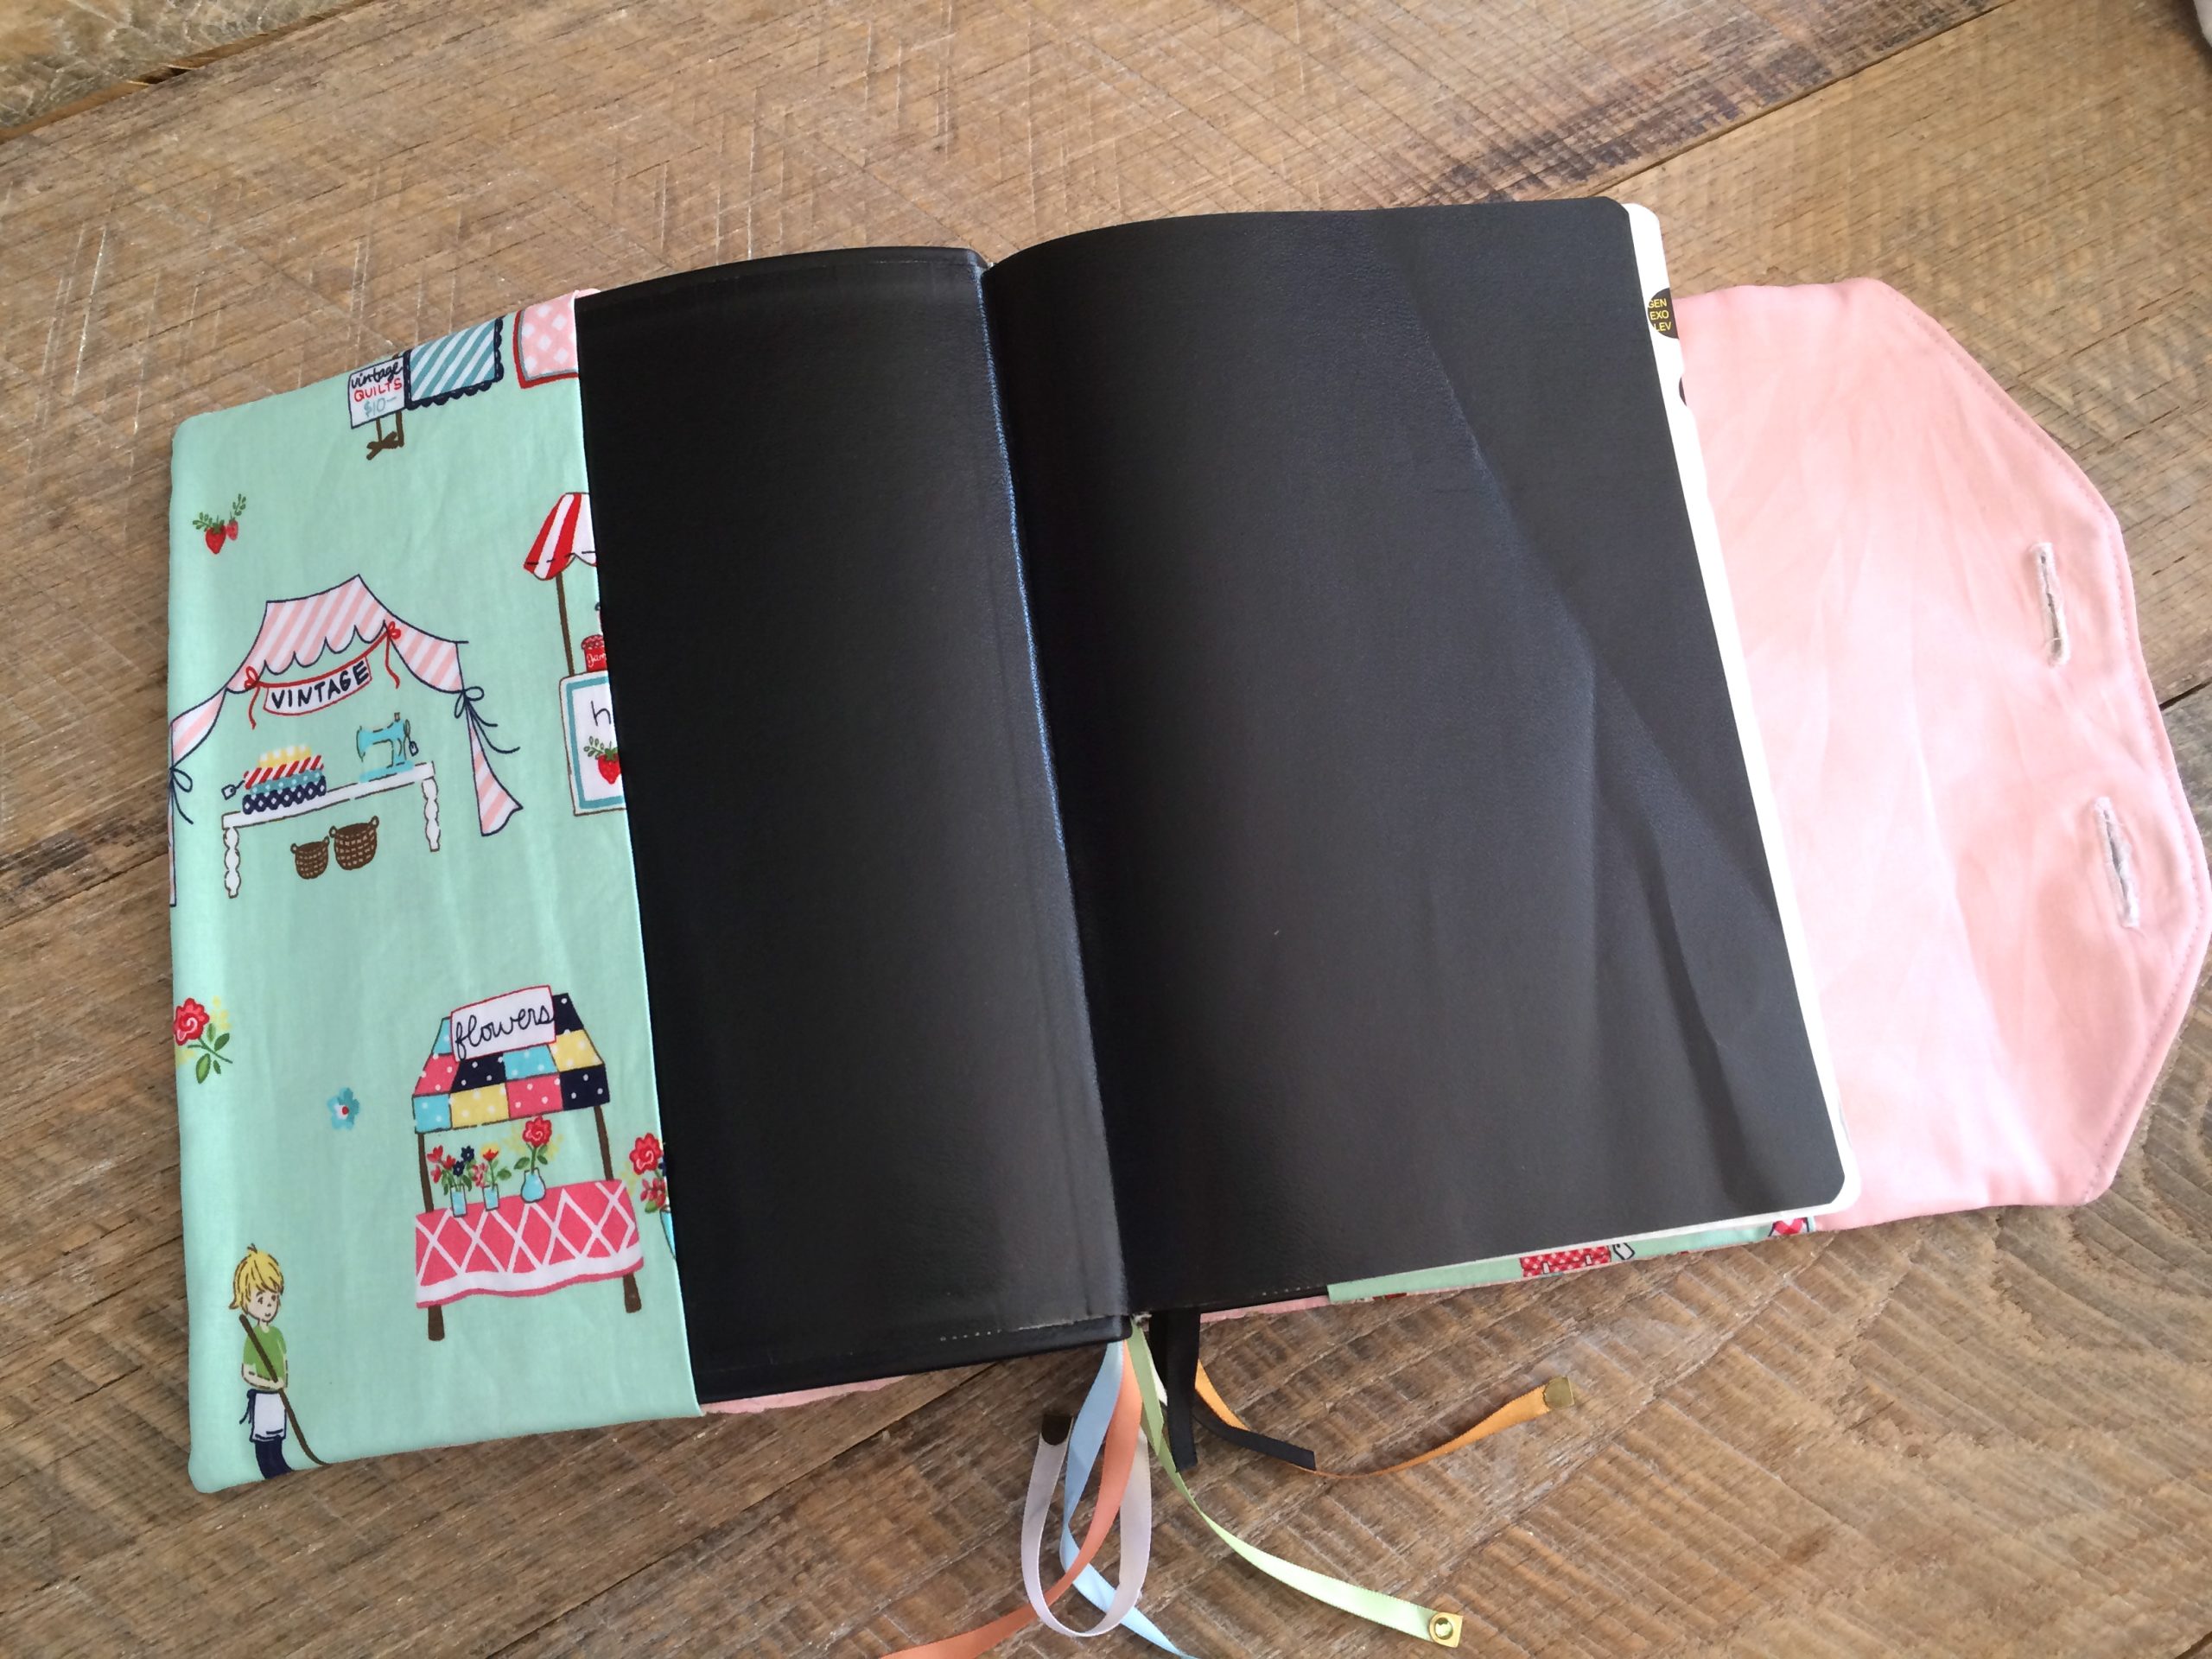
Step 4: Adding Flaps
Since you have extra length, utilize them to make flaps for the front and the back. Fold the excess paper/cardboard and tuck them inside neatly. Use a strong adhesive or tape to secure the flaps. Make sure that the glue is even, lest there be any wrinkles or bubbles, taking away from the polish.
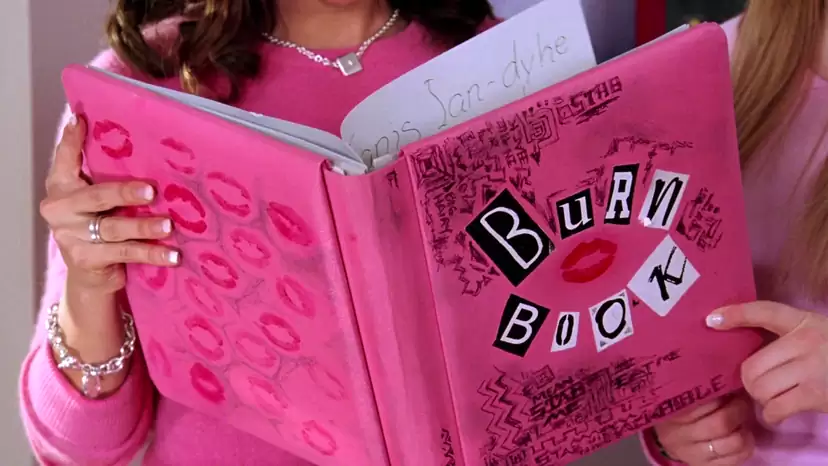
Step 5: Adding Final Touches
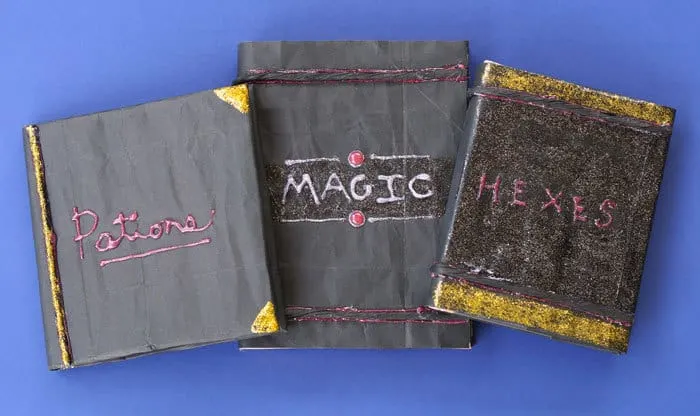
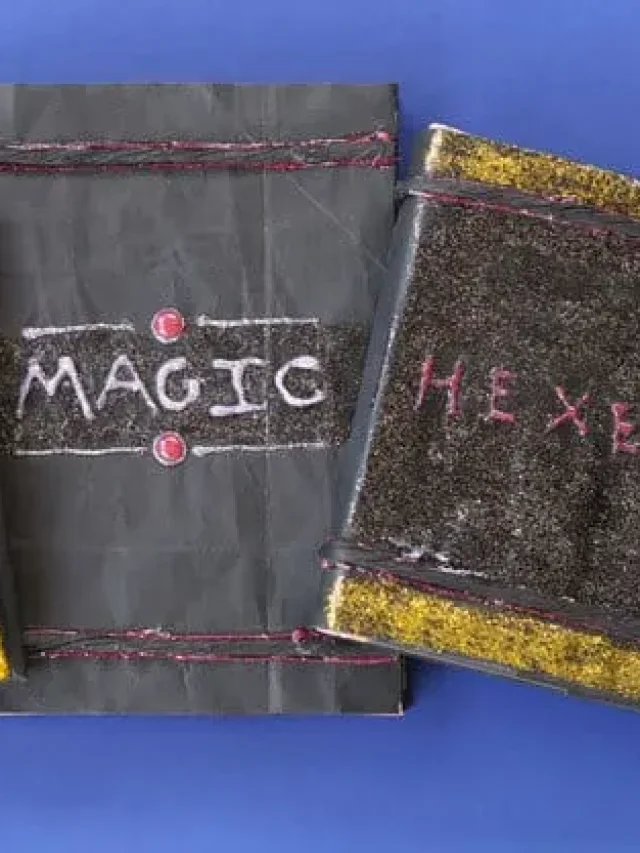
Your book jacket is now complete, but that mustn’t stop you from ornamenting it further. Add any final touches to intensify the aesthetic appeal of your book cover. For example, if you are aiming for a classic ‘Burn Book’ book cover, hunt down old newspapers and cut the alphabet. Seal it with a classic red kiss.
Now that you have followed each step on how to make a book cover, you may rest while the glue dries out. Keep it in sunlight for a few hours and then enjoy a classic tale in a modern package.
Image Courtesy – stlMotherhood
The Art of Book Painting: Erasures, Adult Colouring Books and Much more.