How to Make Home Made Rakhi?
Raksha Bandhan is a cherished festival celebrating the bond between brothers and sisters. One of the most beloved traditions is the tying of the rakhi, a sacred thread symbolizing protection and love. If you’re looking to add a personal touch to this year’s celebrations, learning how to make rakhi at home can be both fun and meaningful. In this guide, we’ll explore various methods, including how to make handmade rakhi designs, instructions on how to make home made rakhi and even a tutorial on how to make rakhi cards.
How To Make Rakhi At Home: Basic Materials and Preparation
Before diving into the different methods on how to make beautiful rakhi, gather the following basic materials:
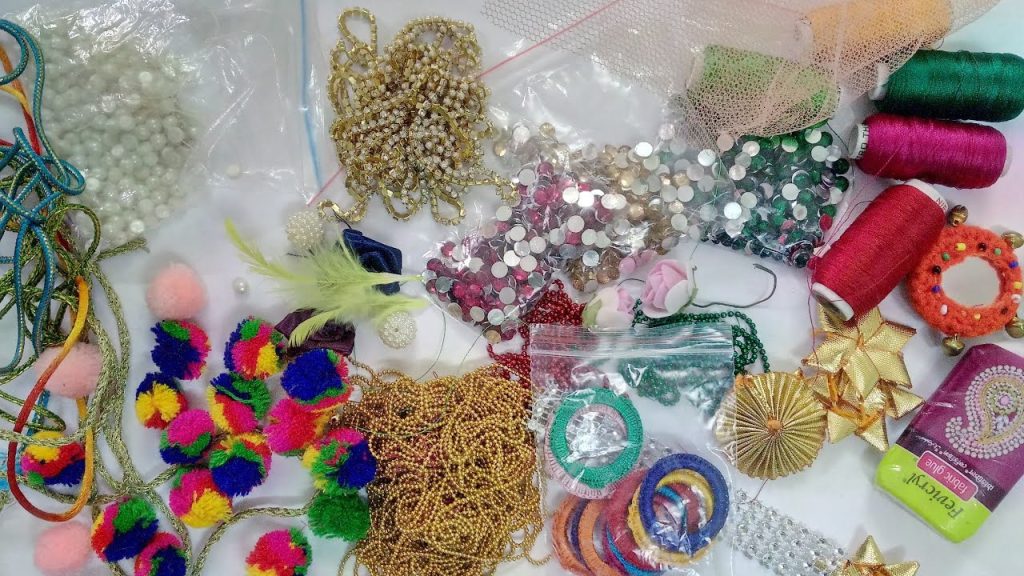
- Threads (embroidered, silk, or cotton)
- Beads (colourful, metallic, or wooden)
- Glue (fabric glue or craft glue)
- Scissors
- Needle and thread
- Decorative items (ribbons, sequins, charms, or stickers)
- Cardstock (if following ‘how to make rakhi with paper’)
How To Make Rakhi At Home Easy And Beautiful
You can easily make a beautiful rakhi at home with these easy steps.
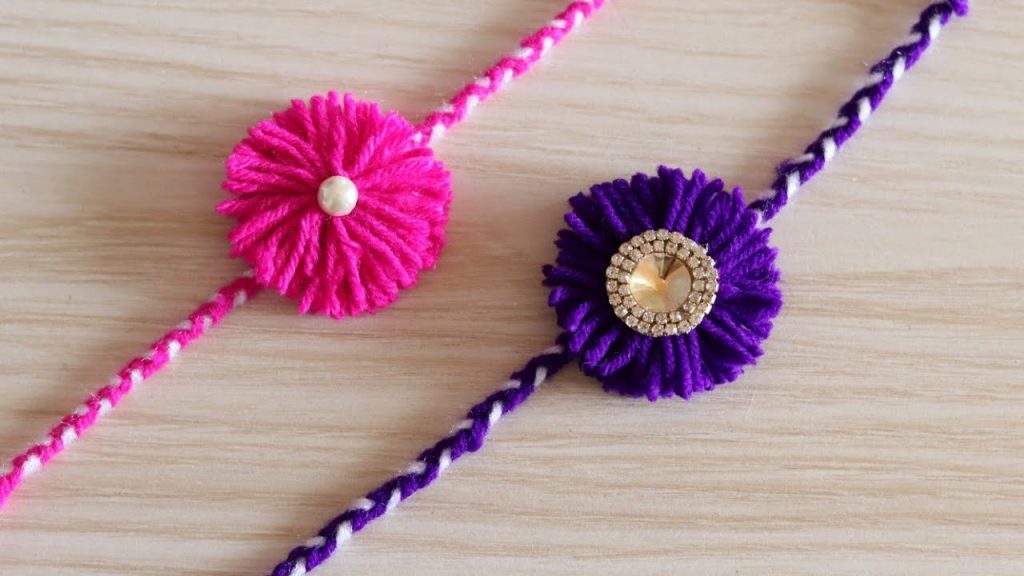
- Cut the Thread: Measure and cut a piece of thread about 12 inches long. This will be the base of your rakhi.
- Prepare the Beads: Thread the beads onto the thread, creating a pattern that you find visually appealing.
- Secure the Beads: Once you’re satisfied with the pattern, tie a knot at the end to prevent the beads from sliding off.
- Attach the Thread: Use glue to secure any loose ends and let it dry. If you prefer a more secure method, sew the ends of the thread onto the rakhi using a needle.
How To Make Rakhi With Paper
If you wish to experiment with paper and learn how to make rakhi with paper, you must follow the given steps.
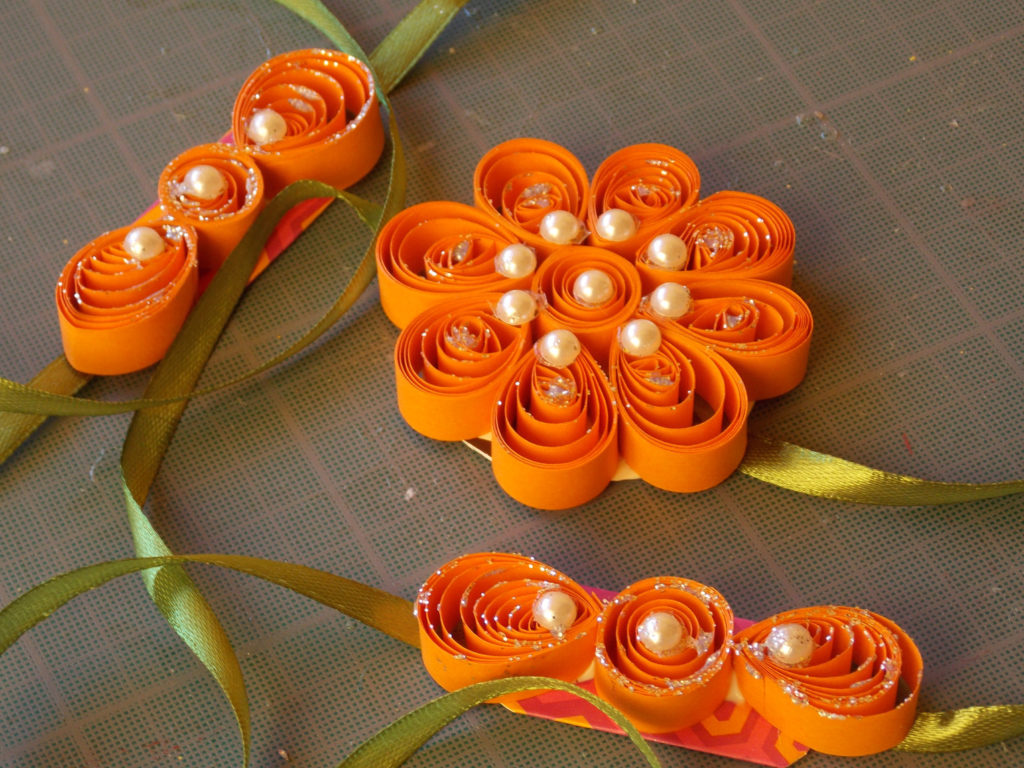
- Cut the Paper: Cut the coloured paper into strips about 1 inch wide and 6 inches long.
- Fold and Glue: Fold the strips into loops and glue the ends together. Arrange these loops into a circular pattern.
- Add Decorations: Decorate the paper loops with glitter, craft foam stickers, or other embellishments.
- Attach a Ribbon: Glue a ribbon to the back of the paper rakhi loop to create a tie. Allow the glue to dry thoroughly.
How To Make Rakhi Card
If you wish to elevate your basic paper into a meaningful greeting card, you should follow the guide on how to make rakhi card.
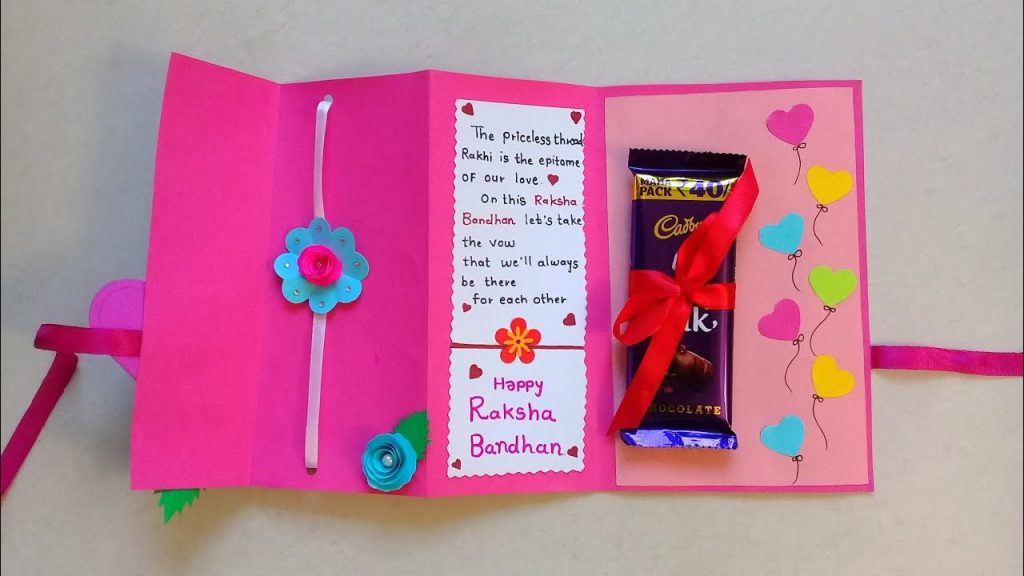
- Cut the Cardstock: Cut the cardstock into the desired shape and size for your card.
- Design the Card: Use markers, pens, and stickers to decorate the front of the card with messages and designs.
- Attach the Rakhi: Glue a small rakhi to the card. Ensure it’s securely attached so it doesn’t come off.
- Write a Message: Inside the card, write a heartfelt message to your sibling.
Image Courtesy – HerZindagi

