Why Should You Invest in NFTs
With art theft, copyright issues, and vandalism at their peak, it is sufficient to say that art spaces have become (just a little) complicated. Then comes Web3, which has decentralised technologies, ensuring that the power rests with the users regarding their data, privacy, and experience. A big part of Web3 is blockchain technology on which NFTs and Cryptocurrencies work.
Gone are the days when artists had to worry about gallery distributing their art; or climate protestors throwing soup at it. With NFTs, your art, or rather digital art is safer than ever. Setting up an NFT is also an exciting way to enter the digital art market and monetise your creations. But before we can begin, we need to understand what NFTs and blockchain are.
What are NFTs and Blockchain?
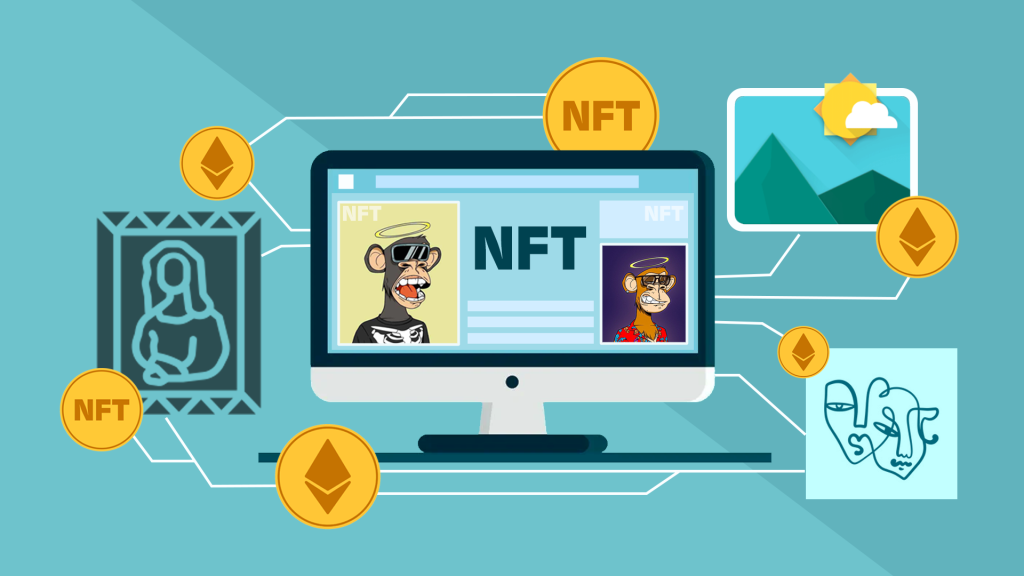
NFTs or Non-Fungible Tokens are unique digital assets stored on a blockchain that represent ownership of a specific item or piece of content. Unlike cryptocurrencies, NFTs are indivisible and each one has distinct information that makes it unique. The Ownership however can be transferred through blockchain transactions. But the fact is, there is always a record of the current owner. The special thing about NFTs is that they can only be owned by one person at a time.
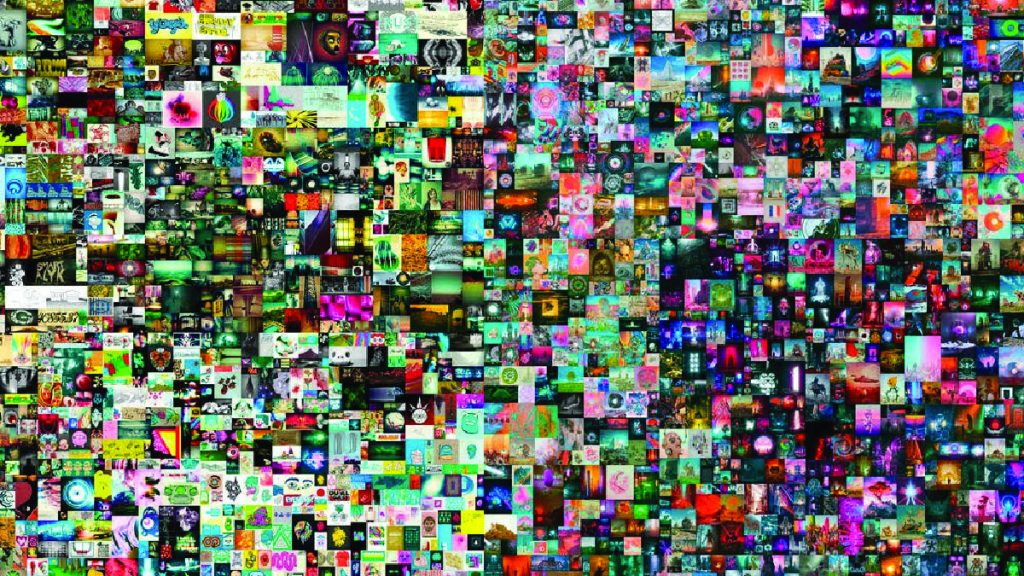
Once an NFT hits a blockchain, it cannot be copied. This ensures that whichever NFT you have your eyes set on is verified, unique, and authenticated. These NFTs are traded with cryptocurrencies which can be converted into cash. While ownership has indeed transferred, the rights to intellectual property remain with the original minter.
How do you Create an NFT?
Even though we have thrown around technical jargon, ‘minting’ NFTs is not a daunting task. If you are an artist, who works with photographs, digital art, GIFs, small videos, or even physical art (canvas, drawings, and such) you can easily make an NFT and diversify your income sources and revenue streams. Let us guide you through the process.
STEP 1: Choosing Your Artwork
You can make an NFT out of literally anything, provided it is in a digital format. If you are good at architectural design and programming, you can even make a virtual real estate property and create an NFT. However, the only requirement is that it be original. You must possess full rights to the artwork or the necessary permissions if it involves collaboration.

STEP 2: Select a Blockchain
You mint an NFT on the blockchain. It is essentially creating a digital certificate. Remember, an NFT cannot be changed once it has been minted. While Ethereum is the most popular blockchain for NFTs, there are alternatives like Binance Smart Chain, Solana, Tezos, and Flow. Each has its security, gas fees, and compatibility with cryptocurrency wallets and marketplaces
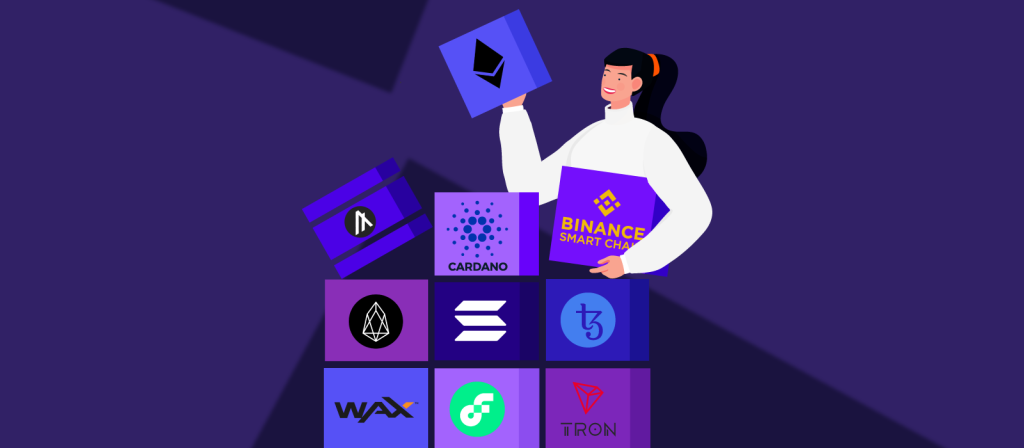
You have to pay gas fees on a blockchain to conduct transactions on it. The blockchains may use three methods to validate transactions, which include Proof-of-Work, Proof-of-History, and Proof-of-Stake. These have varying effects on gas prices, processing times, security, and even the environment because minting NFTs demands energy.
STEP 3: Setting Up a Digital Wallet
You’ll need a digital wallet that supports the blockchain you’ve chosen. This wallet will store your NFTs and any cryptocurrencies you might need for transactions. For example, MetaMask (Ethereum), Trust Wallet (Binance), and Temple Wallet (Tezos). These crypto wallets encrypt your NFTs till the time you decide to trade them.

STEP 4: Choose an NFT Marketplace
Once you have successfully created your crypto wallet, you must find a marketplace to link it with. You may try OpenSea, Rarible, and SuperRare. Each of these platforms has its features, fees, and audience, so pick one that aligns with your goals. Connect your digital wallet with the chosen one.
STEP 5: Minting NFT
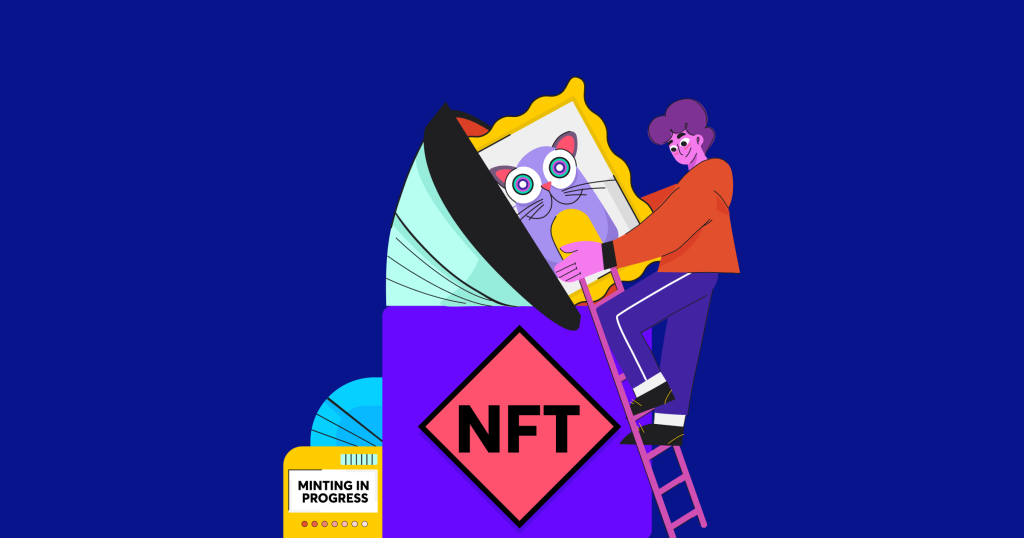
Once you have your wallet set up and you’ve linked with the blockchain, it’s time to mint your NFT. Follow the marketplace’s instructions to upload your artwork. Add metadata, including title, description, image size, and other special attributes. Decide how you want to sell your NFT—through a fixed price, auction, or as part of a collection. Confirm the minting process, and pay the gas fee. Once processed, your NFT will be created, stored, and listed.
STEP 6: Promotion and Managing Your NFT
Now that you have minted your NFT, you can promote and manage it. Utilising social media platforms like Twitter, Instagram, Discord, Reddit, and TikTok and with your network of artists, gallerists, and collectors, showcase your artwork. Keep track of any offers or sales. Be prepared to engage with buyers, and consider providing additional benefits (like exclusive content or future discounts) to increase its appeal.
Image Courtesy – Analytics India Magazine
