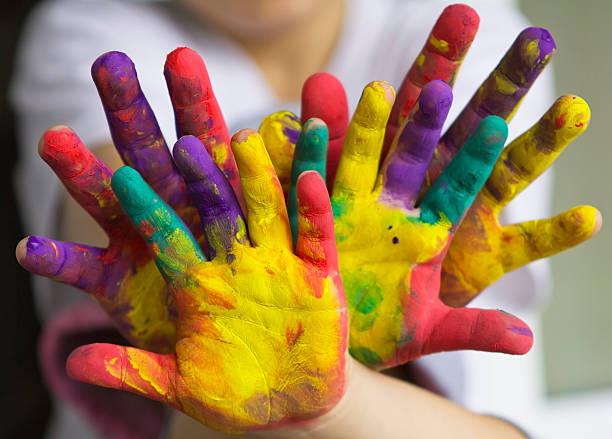
Infants and toddlers are always excited. Whether it is to chase after a butterfly or scribble on your walls, they can barely be stopped. But instead of restricting them, it is important to give their creativity a boost. If your child loves to drench themselves in myriad colours and make an artwork akin to Jackson Pollock, it is your responsibility to lead them in the right direction. You may either choose to make a chalkboard wall, a dedicated space for them to doodle, and realize their vision or you may help them hand paint or finger paint. Child psychologists consider hand painting and finger painting to be excellent sensory activities that can benefit a child’s motor skills, hand-eye coordination, and emotional well-being. In this article, we will answer two questions that our new parents often ask us – ‘How to do Finger Painting?’ and ‘How to do Hand Painting?’

Difference between Finger Painting and Hand Painting
As the name suggests, hand painting is done by hands whereas finger painting is done using fingers. Another major difference is the art pieces created by these two mediums. Since the hands have a larger surface area, the resultant artwork is more towards abstraction. Finger painting is more manageable and although it won’t produce intricate details, you may expect to make a much more defined painting.
Things You Need
Before you start venturing into these territories, you will need the following supplies.
- Paint (acrylic paint works the best). If you are concerned about the safety of your child, you may make homemade paint using cornflour and food colouring.
- Papers or canvas
- Pen/ Pencil/ Marker
- Cloth pieces to clean up afterwards.
How to Do Finger Painting Art
Finger painting can be quite messy, but it will not be a hassle. You must follow the given steps to produce a great piece of finger painting art.

- Place down a mat to protect your floors from any mess that your toddler may make.
- If you want to make specific designs (for example flowers or fish), paint their finger.
- Stamp down their finger on the paper. Remember to use different fingers for different colours. If you want to make a new colour (green or purple), mix the colours in a palette and then paint it on the finger.
- Outline the print and add the necessary details.
Et voila, now you have a fun little piece of your child’s creativity.
Finger painting isn’t exclusive to children and even adults may try their finger (get it?) at this artform. However, you may elevate your finger painting art by following the given steps.
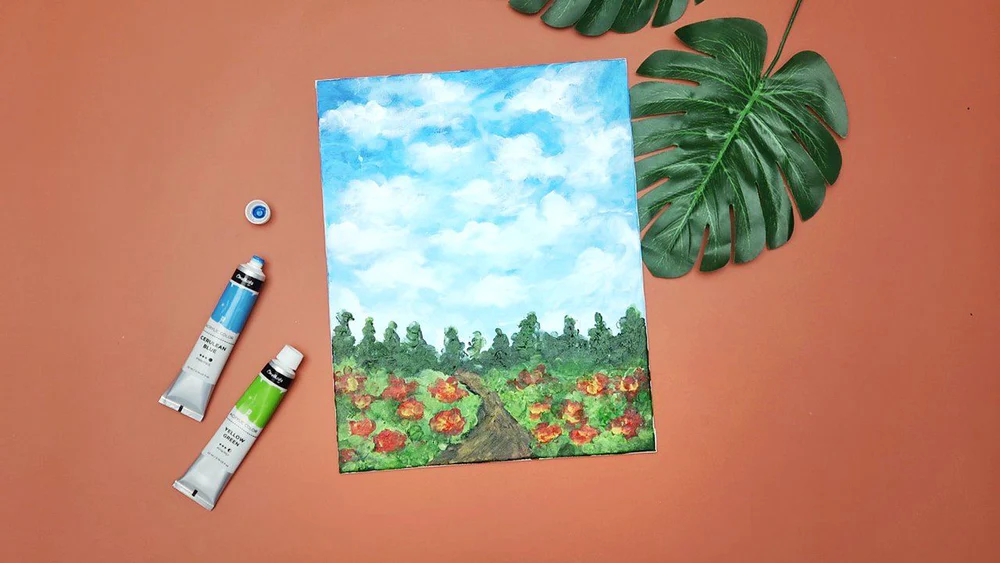
- Spritz the paper with some water to ensure that the colours blend easily.
- If you have to draw a specific landscape, assemble the colours. For example, to make a simple landscape can be achieved with sky blue, white, dark green, yellow, and brown.
- Dip the fingers in the colours and slide them over the canvas. To make the sky with a gradient effect, mix water with sky blue. A gradient effect can be achieved by generously dousing white with your finger.
- For the lower part (comprising trees and forests), use dark green and brown and apply them in the shape of vertical trees. You will be able to make magnificent textures in your artwork. Once done, lightly tap the yellow to brighten your trees.
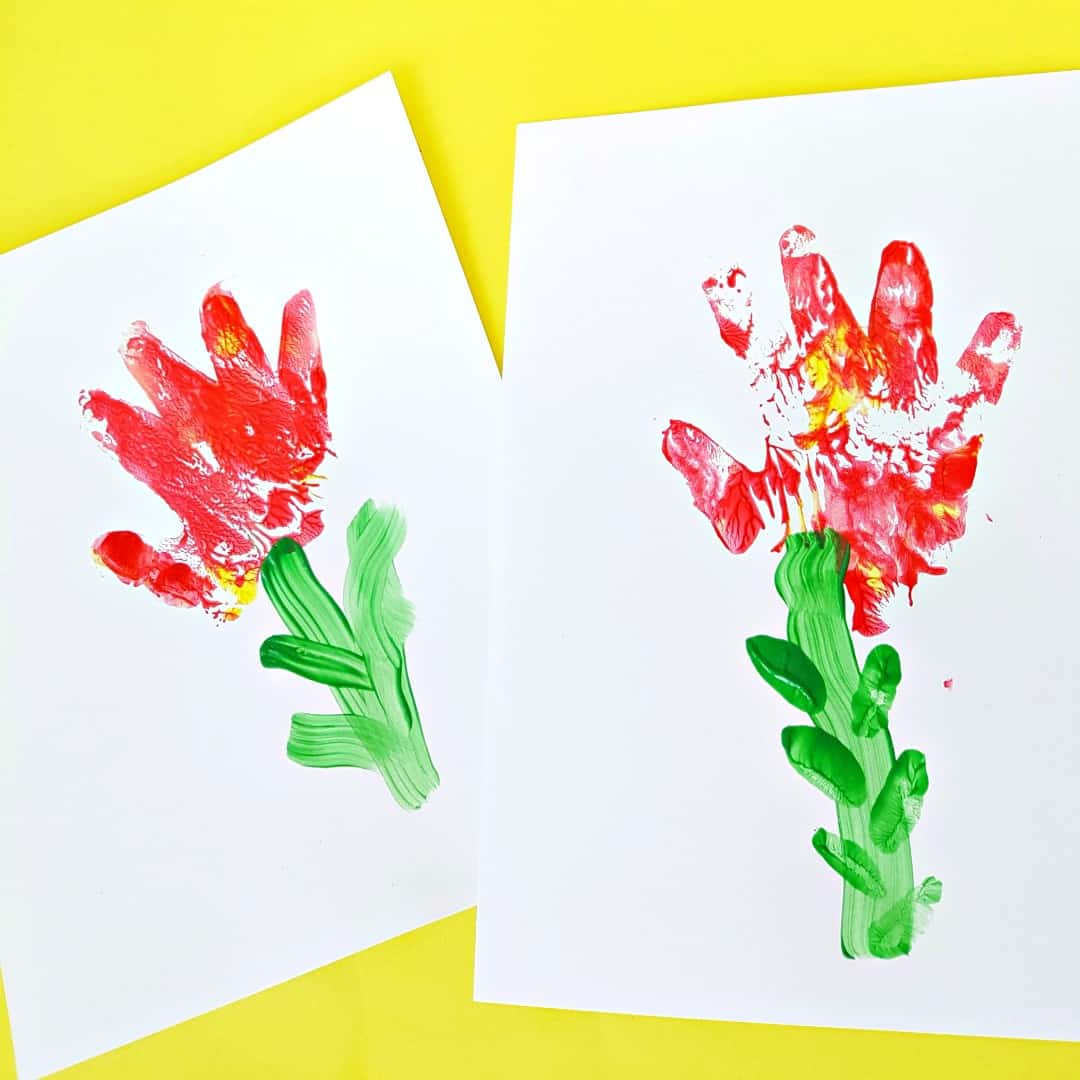
How to do Hand Painting
Hand painting is another great way to unleash your child’s imagination onto paper. Although a little messy, it is immensely fun. To hand paint, you need to follow the given steps.
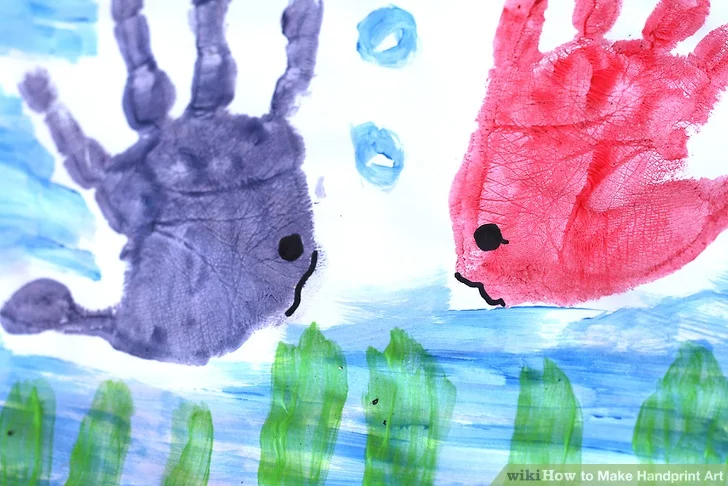
- Place down a mat or a newspaper. Set the canvas.
- Cover your child’s hand with paint.
- Stamp it down on the paper.
- Outline the shape (optional) and add details to the handprint to transform them into fun shapes.
- Now cover the remaining portion with color to resonate with the hand-printed subject.
How to make Hand Painted Plates
We are all wary of Los Angeles Boulevard, a place filled with celebrity handprints, footprints and signatures. Michael Scott took it a step further and immortalized his gorgeous face into the cement near the Dunder Mifflin, Scranton office (although we advise against it). Hand-painted plates make a great personal keepsake, something solid that stands tall against the transient time. The following steps chronicle how to make hand-painted plates.
- Ovenproof ceramic plates make the best canvas for hand painting.
- Clean and air dry your plates to remove any unwanted residue.
- Using non-toxic ceramic paint, paint the design of your choice. You may even put a handprint on them.
- Bake the plate in the oven at 163 degrees Celsius for about 40 minutes. Do not preheat the oven for it may crack.
- Let the plate rest for approximately three days before hand washing it.
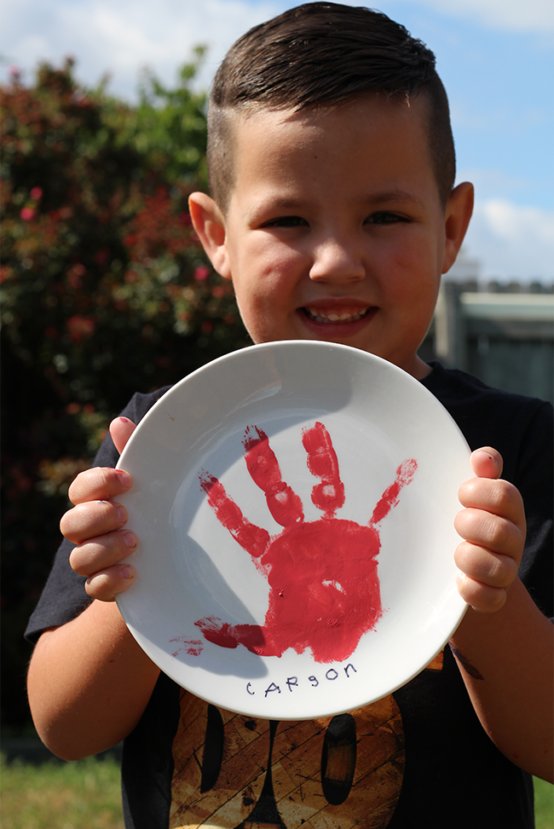
Your hand-painted plate is now ready to use. While you can definitely enjoy your food on them, we recommend them to display your artistic journey over the mantlepiece; somewhere where everyone can be awe-struck by them.
Image Courtesy – iStock
Recycle and Upcycle Daily Plastic Trash into Plastic Plant Pots