Whether you are a Baby Boomer, Gen X, Millennial, Gen Z, or Gen α, one fact we can all agree on is Disney Supremacy. Disney has undoubtedly made our childhood worthwhile. Whether it is classics such as Bambi or the Y2K series like Wizards of Waverly Place, Disney left no crumbs when it came to kid entertainment shows. Since the creation of ‘Oswald The Lucky Rabbit’, The Walt Disney Company has been climbing up the ranks as one of the premier and bespoke family entertainment providers. The company has since proliferated into films, TV shows, theme parks, and resorts.
While there have been many Disney characters to achieve fame, one of our all-time favourites will be Mickey Mouse. It shouldn’t come as a surprise since we are singing along to the tunes of ‘Mickey Mouse Clubhouse’ as we write. Since we have made our obsession with Mickey Mouse known, it is time to bring out our sharp graphite pencils and our beloved sketchbooks, for this article will teach you how to draw Mickey Mouse step by step.
Step By Step How To Draw Mickey Mouse
Before we begin to draw Mickey Mouse, we need to understand what makes Mickey, Mickey. He is characterized by his signature ears, wide eyes, button nose, and his wide smile. In this instructional guide, we will chronicle all the steps on how to draw a Mickey Mouse head.
STEP 1
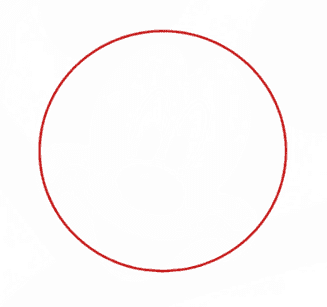
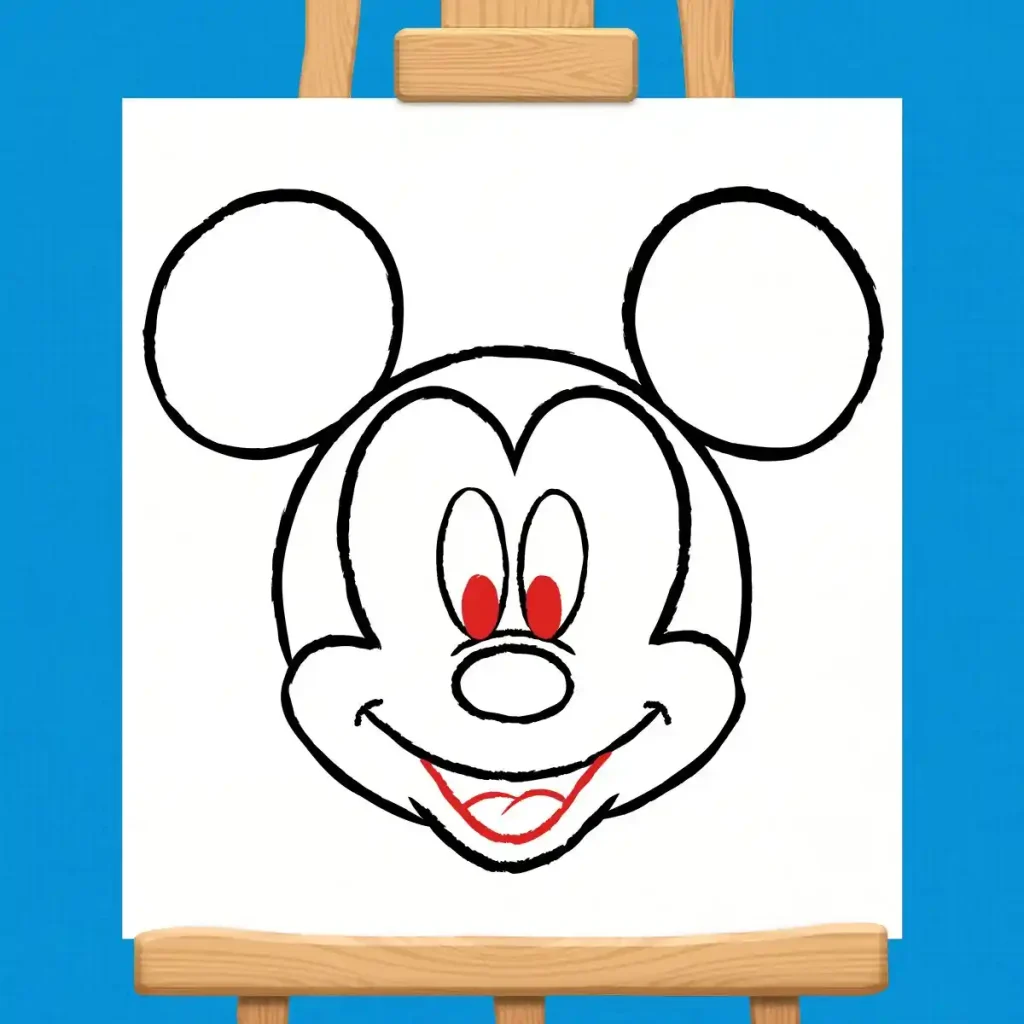
Draw a circle, which will serve as Mickey Mouse’s head.
STEP 2
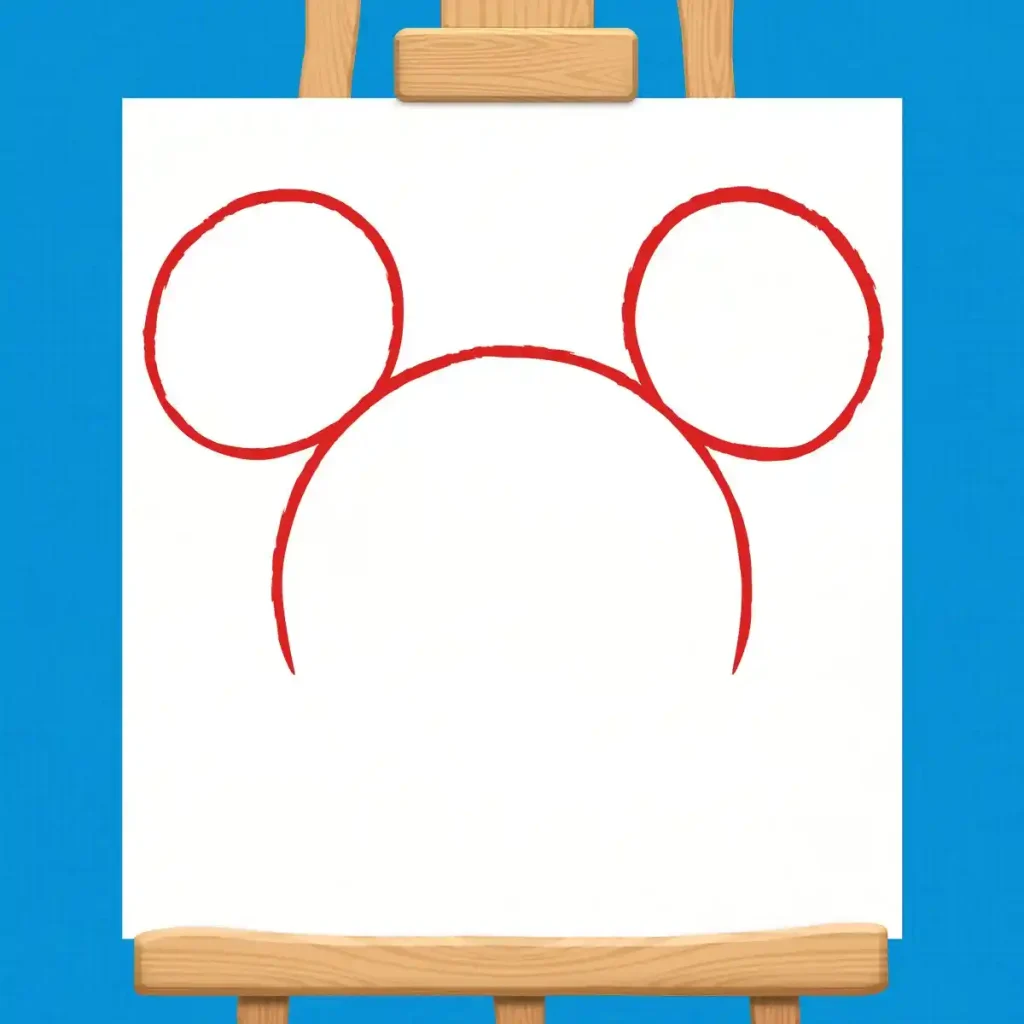
Draw two equal circles on top of the circle to act as Mickey’s ears.
STEP 3
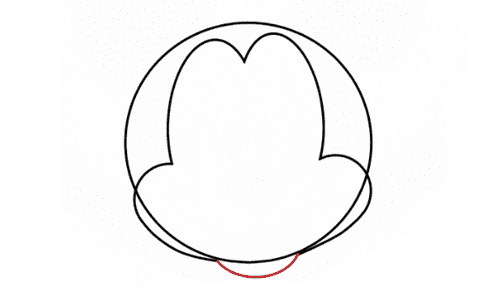
But how to draw Mickey Mouse face? Simply make a 3 (tilted to 90 degrees) at the top of the main circle. Draw his cheeks in the shape of the alphabet ‘C’ on both sides. Draw his chin in the form of a wide ‘U’.
STEP 4
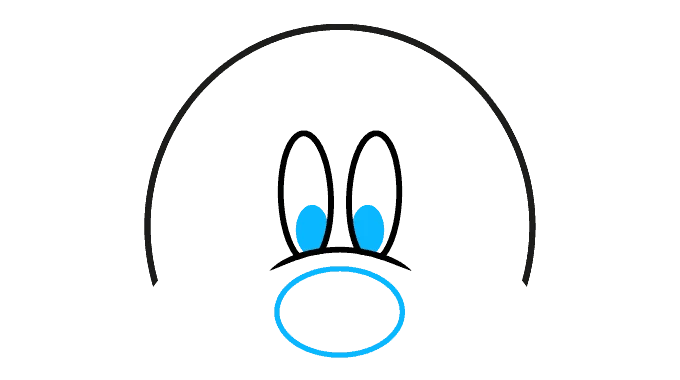
Draw his eyes by making two elongated ovals sitting on a parabolic curved line. Draw smaller ovals inside the big ones and shade them black. To make his nose, make yet another oval.
STEP 5
Draw his smile using a wide ‘U’. Under this curve, make yet another elongated ‘U’. Now draw his tongue.
STEP 6
Erase of excess lines and voila, you have successfully completed the tutorial on how to make Mickey Mouse drawing and we must admit, with impeccable results.
How To Draw Mickey Mouse Easy Ideas
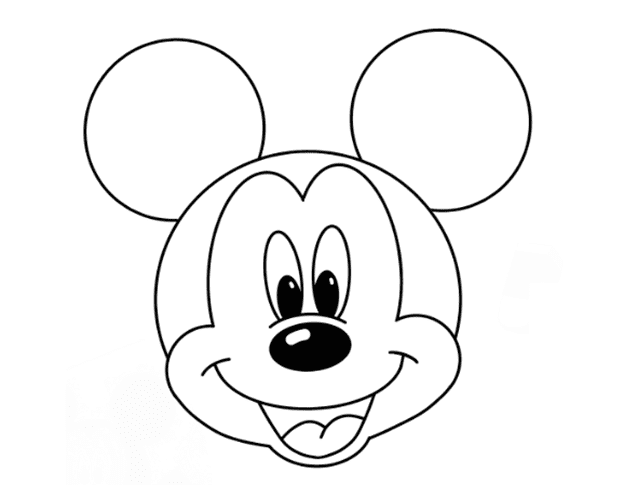
Although you may subscribe to a how to draw Mickey Mouse video, they will preach only one way of drawing our beloved character. Hence, for you to explore further avenues, we present to you a brief tutorial on some of the most popular and easy ideas on how to draw Mickey Mouse.
How To Draw Mickey Mouse’s Side Face
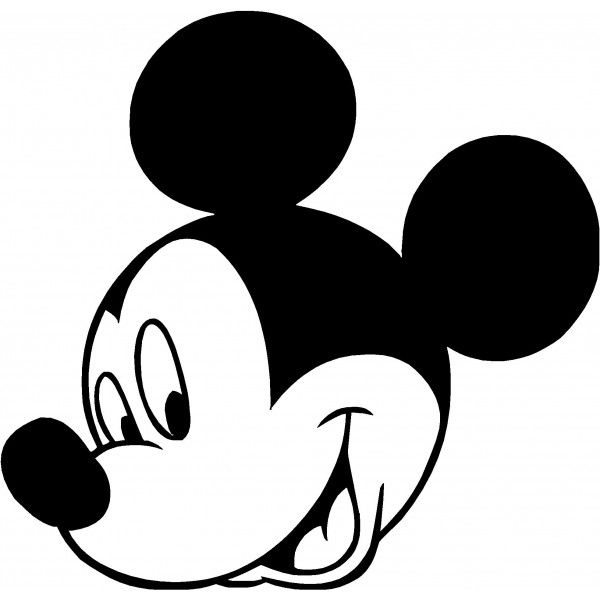
Draw a big circle to represent Mickey’s head. Continue drawing several circles to represent his ears and nose. Top the nose up with an oval. Now draw a tilted 3 on the main circle. Draw a smile starting from the bottom of the circle intended for the nose and ending a few cm away from the ‘3’. Draw his mouth and his tongue. Draw a curved line to represent his chin. Now draw his eyes, but mind the perspective. Draw one eye a little bigger than the other. Erase excess lines and colour him with your favourite coloured pen sets.
How To Draw Classic Mickey Mouse
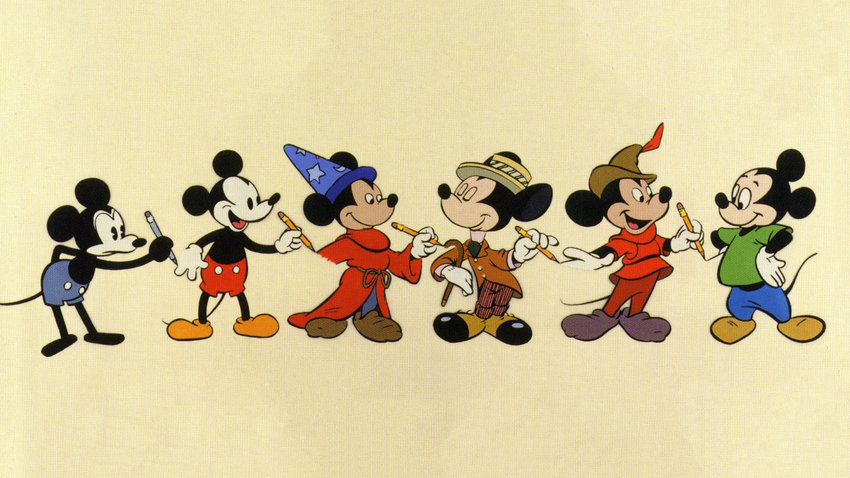
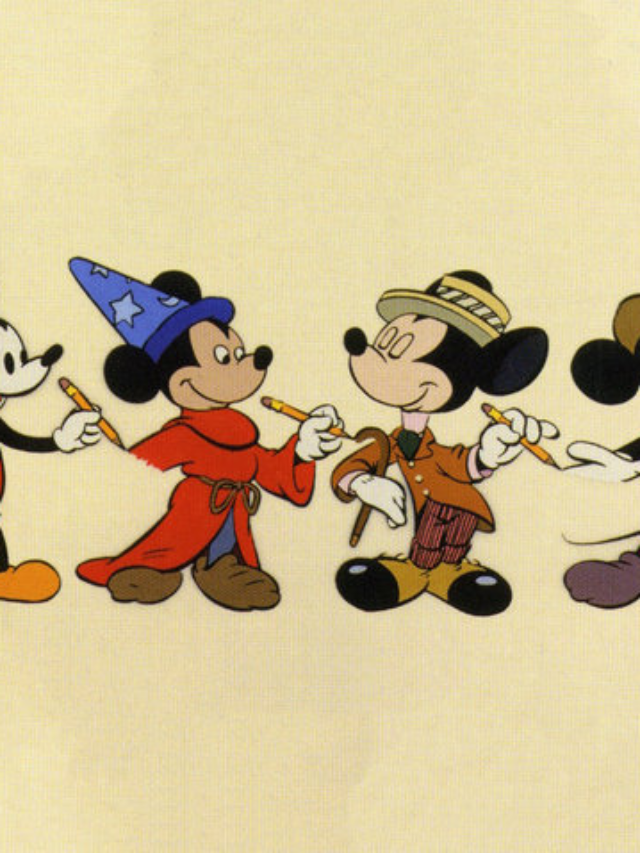
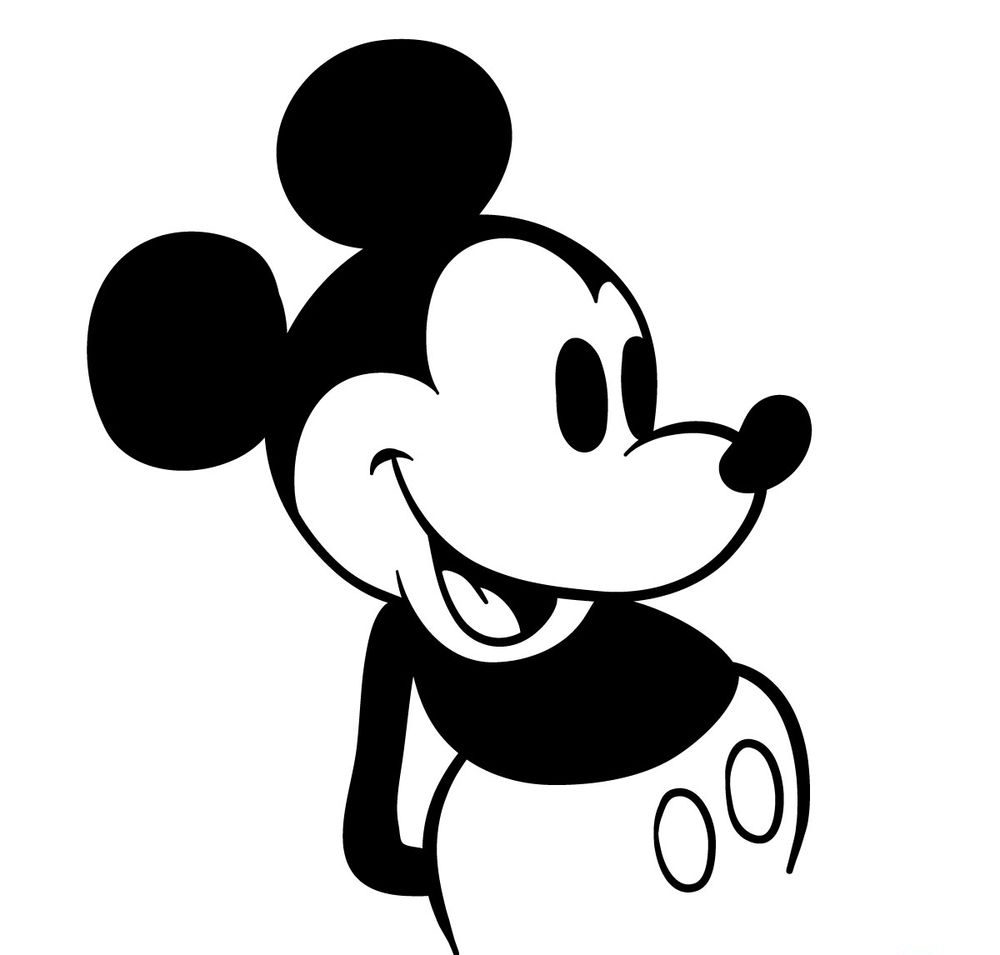
Since his creation, Mickey has gone through several design changes. But the appeal of classic Mickey Mouse remains unbeatable. To draw a classic Mickey Mouse, you need to alter some of the steps of the aforementioned ‘How To Draw Mickey Mouse’s Side Face’ segment. Instead of using a circle for the nose, use an elongated oval. Darken his eyes completely. Make the chin a little longer to accommodate his bigger smile and tongue. A classic Mickey Mouse would look good with some charcoal powder.
How To Draw Mickey Mouse Full Body
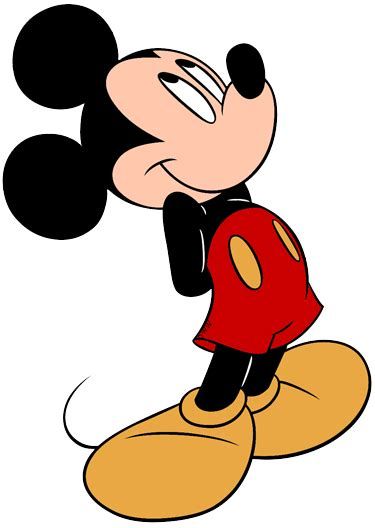
To draw Mickey’s full body, start by drawing him facing towards the side. Start by drawing his short pants. Do not forget to add big buttons in the shape of ovals on his pants. Connect the pants to the face by drawing his body using two curved lines. Draw his arms folded behind his back. Draw his legs and BIG shoes.
You may also choose to draw his hands. Draw his arms as if saying ‘Hurrah’ in the shape of cylindrical pipes. Draw two small circles at each end of the pipes to serve as joints. Draw two BIG gloves. Make sure to only draw three fingers and one thumb.
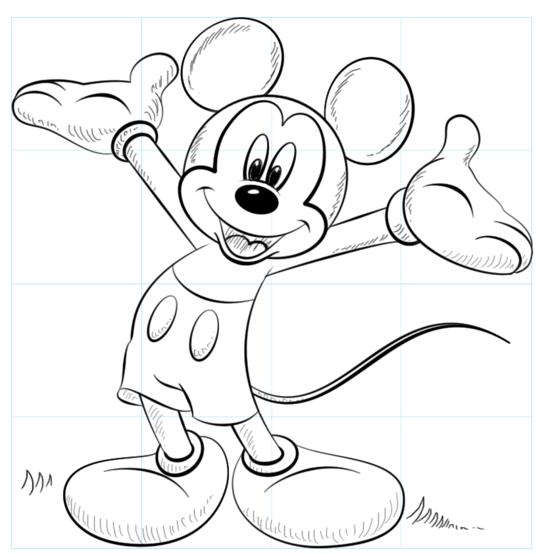
Image Courtesy – Research Gate

