Balloon Drawing Images
Have you ever seen a hot-air ballon or steampunk ballon transport? God knows we have and have been fawning ever since. Thus, we are here with steps to draw gorgeous ballon drawing images. These eye-catching ballon drawing images are sure to beat the real thing.
A Balloon? Is it a Sphere or an Oblong?
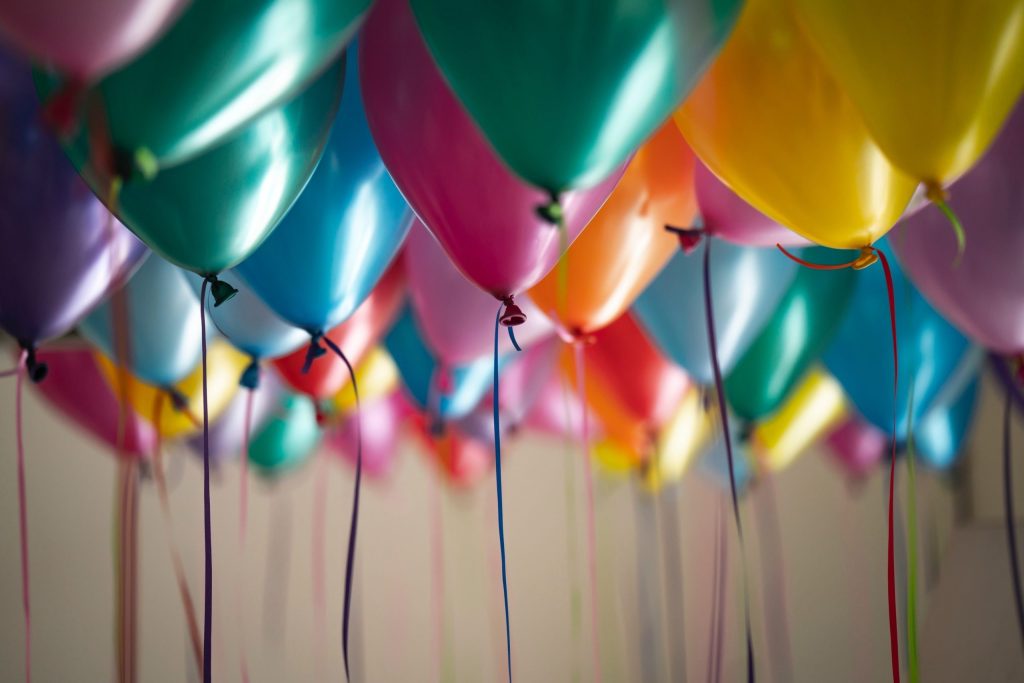
Before you can furnish your ballon drawing images, you need to have an idea about what a ballon looks like. A typical ballon has a smooth, rounded shape, often with a slight taper at the bottom where it’s tied. Ballons are usually attached to a string, which can be drawn in various positions.
Materials You’ll Need for Balloon Drawing Images
To start drawing your ballon, gather the following materials:
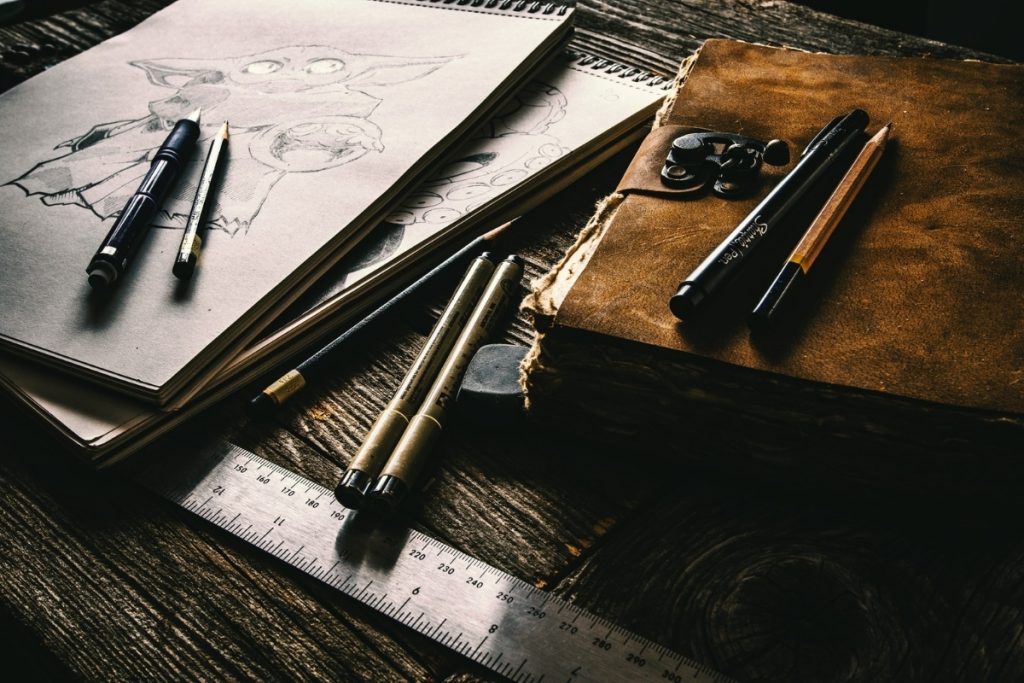
- Pencils
- Erasers
- Ink Pens or Markers
- Colored Pencils
Step-by-Step Guide for Balloon Drawing Images
If you cannot wait to fly high with these ballon drawing images, you need to follow the given steps.
STEP 1: Sketch the Balloon
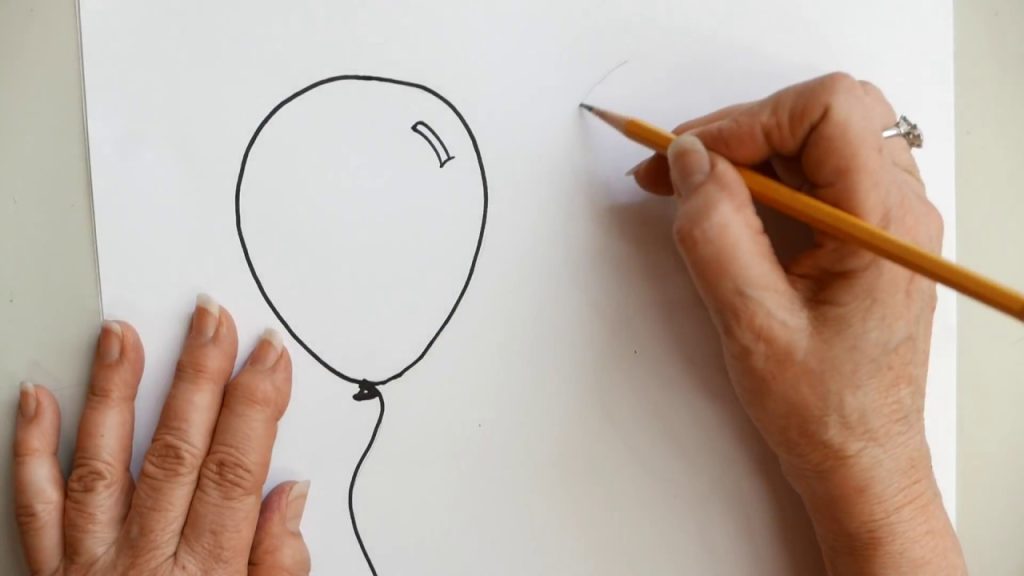
Draw a simple oval or rounded shape for the ballon’s body. Don’t worry about getting it perfect on the first try; you can always refine it later. Next, sketch a smaller, tapered oval at the ballon’s bottom. Make sure the tapering looks smooth and natural. Draw a string (any simple or curved line will do) coming from the tapered end of the ballon.
STEP 2: Outline the Balloon
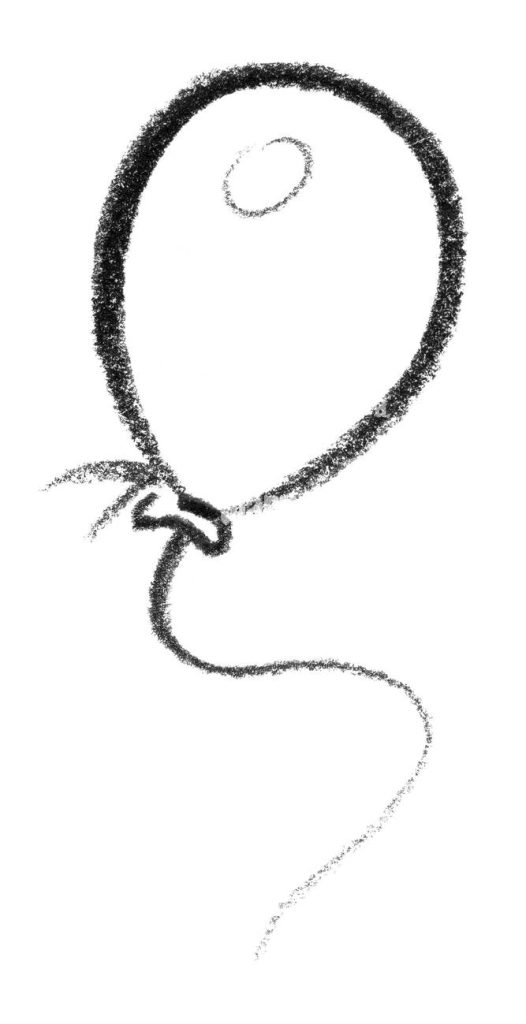
Outline your ballon drawing images with an ink pen or darker pencil. For a cleaner line trace over all the lines, including the ballon’s body, bottom taper, and string. For a dimensional effect add shading to one side of the ballon. Use a blending stump. Add highlights on the opposite side.
STEP 3: Color Your Balloon
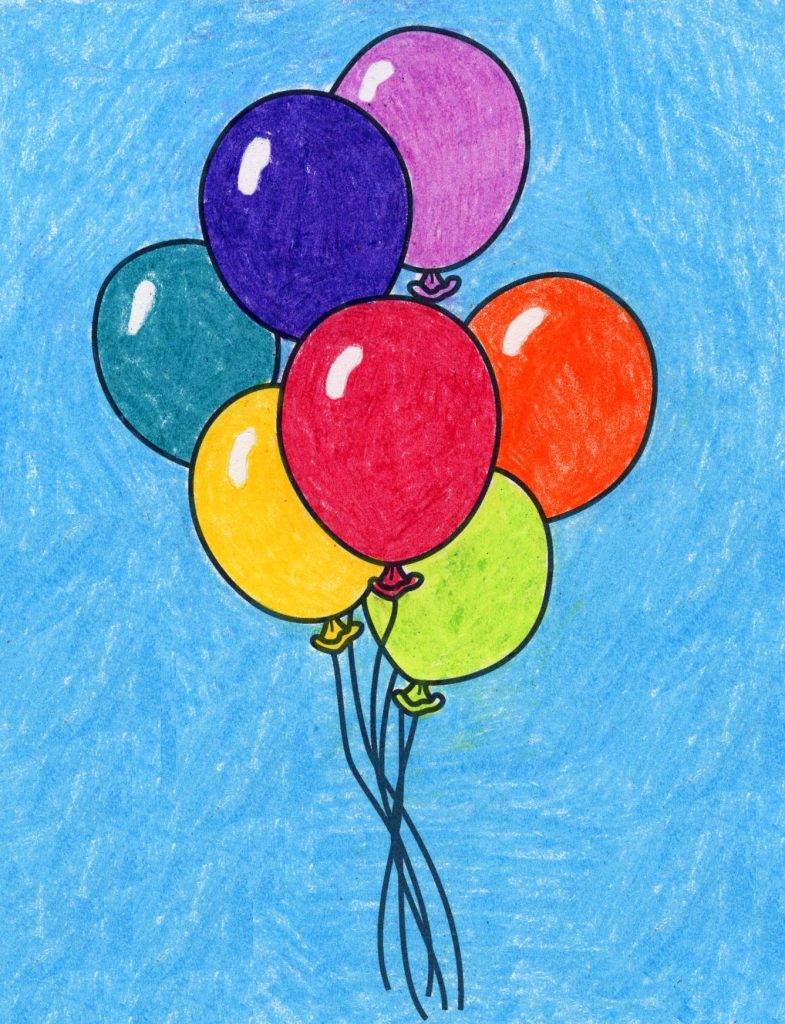
While the hatching techniques or shading are totally fine to exuberate the 3D effect, you can also paint it in bold colors. Bright reds, blues, or yellows are hands-down statement pieces. Use colored pencils or markers to fill in the ballon. This is the time to pull out multiple shades of the same color.
STEP 4: Finalize Your Balloon Drawing Images
Review your ballon drawing images and make any final adjustments. You can elaborate on the textural lines and erase any unsuspecting sketch lines. If you are enchanted by the beauty of your painting, frame it.
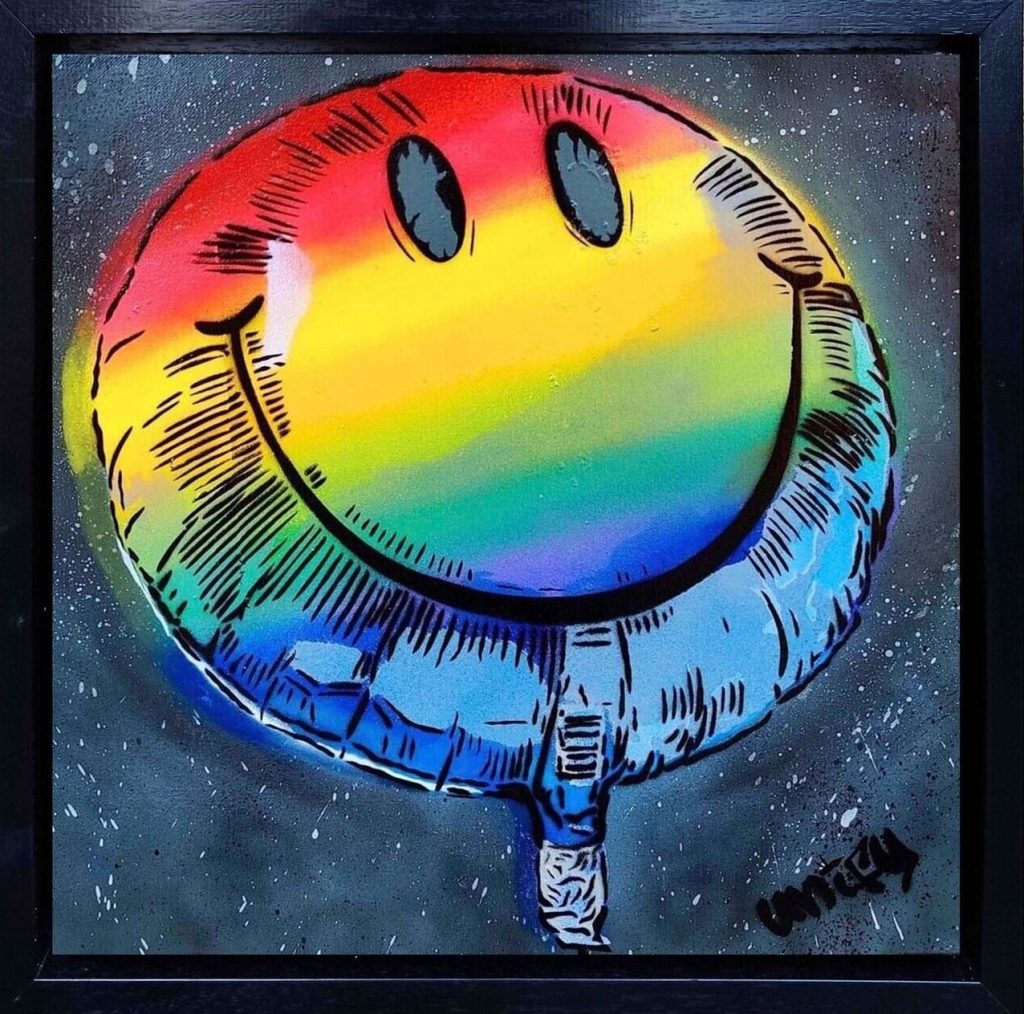
Whether you’re creating ballon drawing images for a personal project or just having fun, these techniques will help you achieve impressive results. So grab your pencils and start sketching—your next masterpiece is just a few strokes away!
Image Courtesy – WAMU

