Before you can draw any masterpiece, you need to be wary of the basics of visual art. These include a thorough study of composition and the 7 elements of art and design. The knowledge of these two concepts will make learning pencil shading for kids or beginners relatively easy. Drawing and shading with pencils is a timeless art form that allows artists to create depth, texture, and realism on paper. Whether you’re a budding artist or a parent looking to encourage artistic exploration in your child, understanding the right tools and techniques can make a significant difference in the quality of pencil shading drawings for beginners.
Which Pencil is Best for Shading
The type of pencil you use greatly impacts your shading results. There is no one pencil which gives you the desired results. For example, a Staedtler pencil in the hands of a skilled artist will bear out worldly results when compared with the work of a novice. Hence the best pencils for sketching and shading will differ from person to person. Hence, the pencil’s design, type, and grade will have rippling repercussions on a pencil shading drawing for kids.
At the end of the day, it’s all about what feels comfortable to you. Thus, it’s more about the kind of pencil rather than one particular brand. Let’s talk about which pencil is best for shading, and most importantly the best for you.
Graphite Pencils
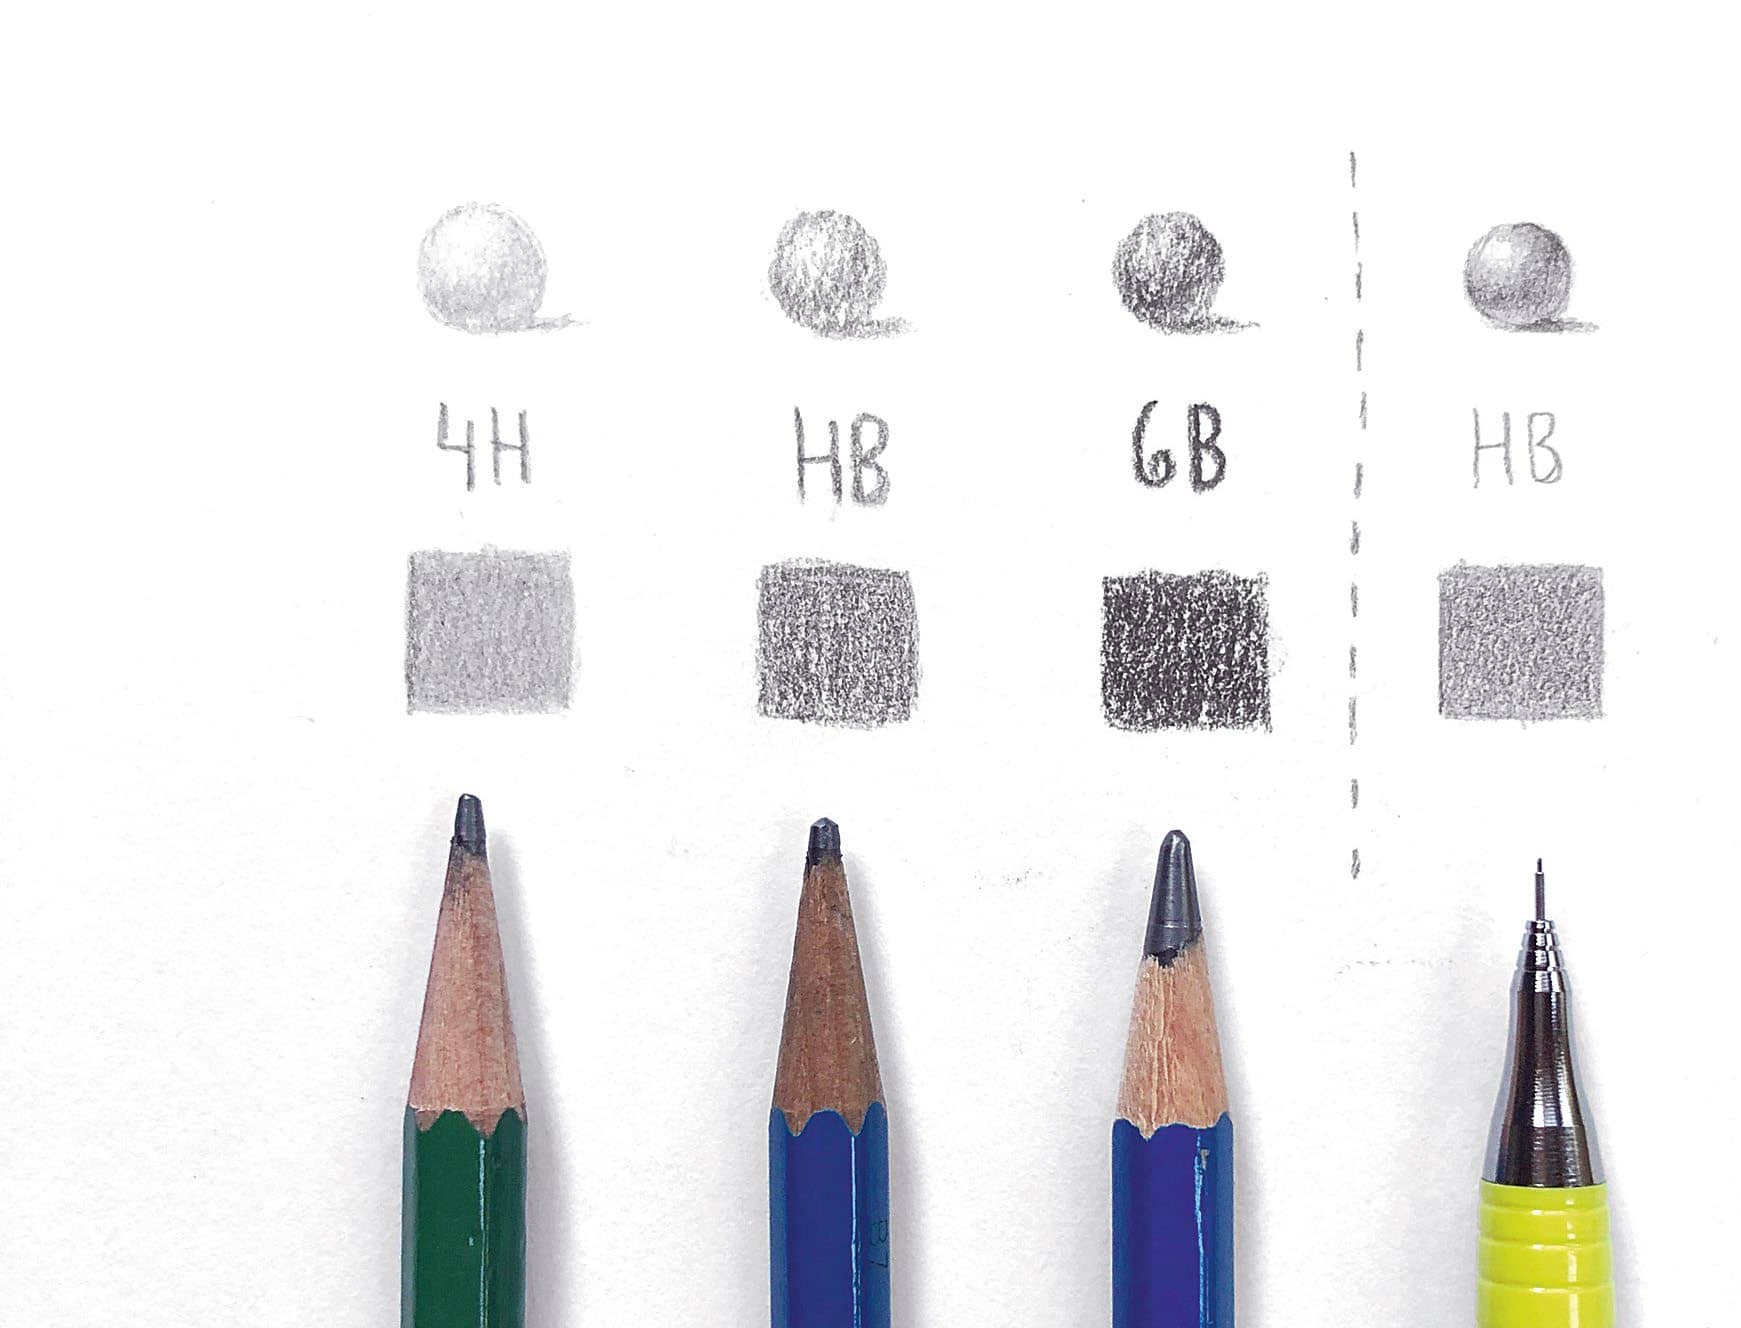
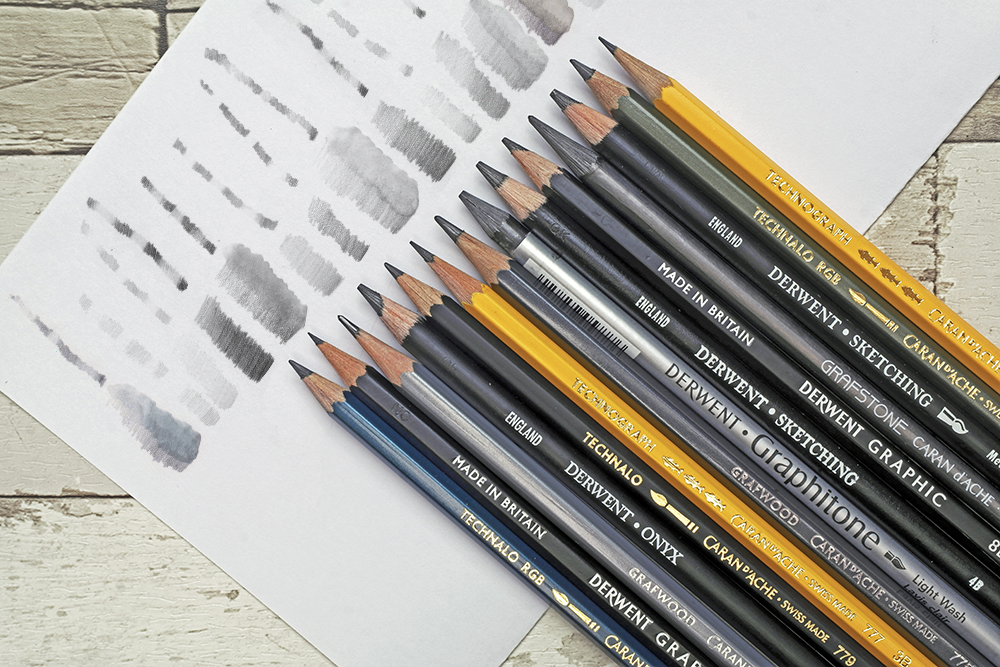
Graphite pencils are the most common and the best pencils for drawing and shading. The graphite found in any artist’s pencil is the same as found in regular pencils. The only difference is the kind and amount of filler added to the graphite to achieve varying levels of hardness. Graphite and clay are the two main powdered ingredients of any graphite pencil lead. More graphite leads to a darker swab and a softer pencil. In contrast, the more clay it has, the softer shade and the harder the lead will be. The graphite pencils for sketching and shading come in various grades:
- H (Hard) pencils (e.g., 2H, 4H) are ideal for light shading and fine details.
- B (Soft) pencils (e.g., 2B, 4B, 6B) are softer and darker, making them perfect for creating rich shadows and bold lines.
- HB (Medium) pencils strike a balance between H and B pencils and are versatile for both light and dark shading. Alternatively, they can be used for casual writing as well.
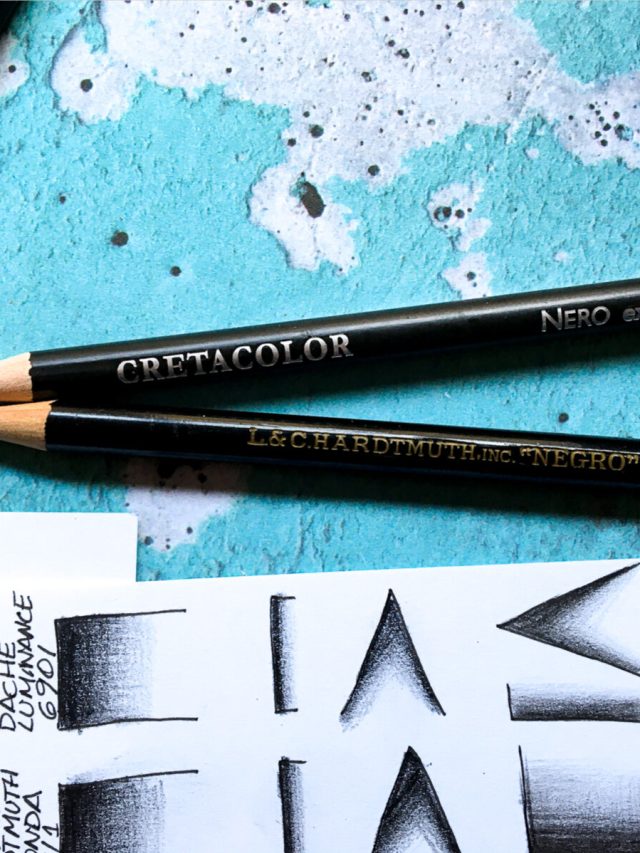
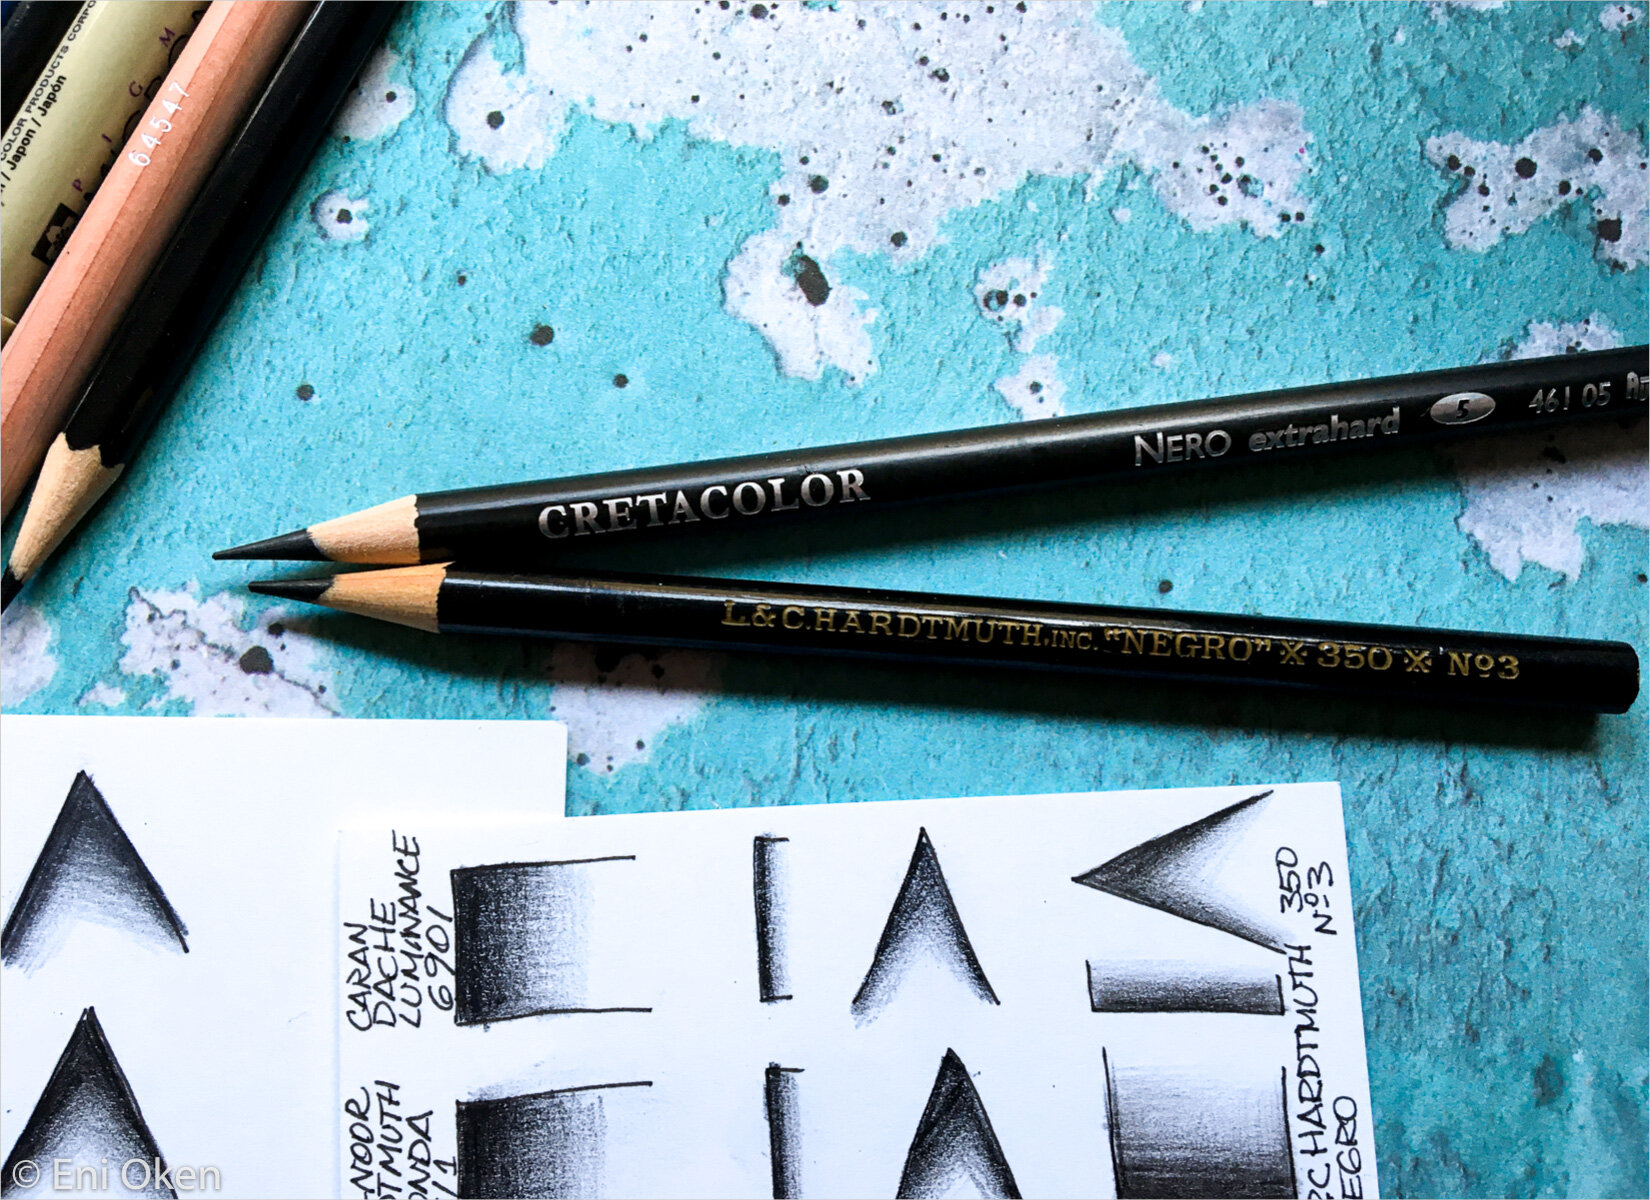
Charcoal Pencils
Charcoal pencils are made when compressed charcoal, gum, or wax binders are combined and placed inside a cedar wood jacket. Some consider charcoal pencils to be the best pencils for drawing and shading. When used, the pencil shading drawings for beginners will have crisp & clean lines, deep black matte and non-lustorous shades. These produce deep, rich blacks and are excellent for dramatic shading. They don’t break easily and can be sharpened like a regular pencil. You can also use a sandblock to mould the tip. They range from extra soft (6B) to hard (HB), in the same range of hardnesses as graphite pencils. For softer, more opulent fabrics and delicate, soft skin tones, some portrait artists use charcoal pencils.

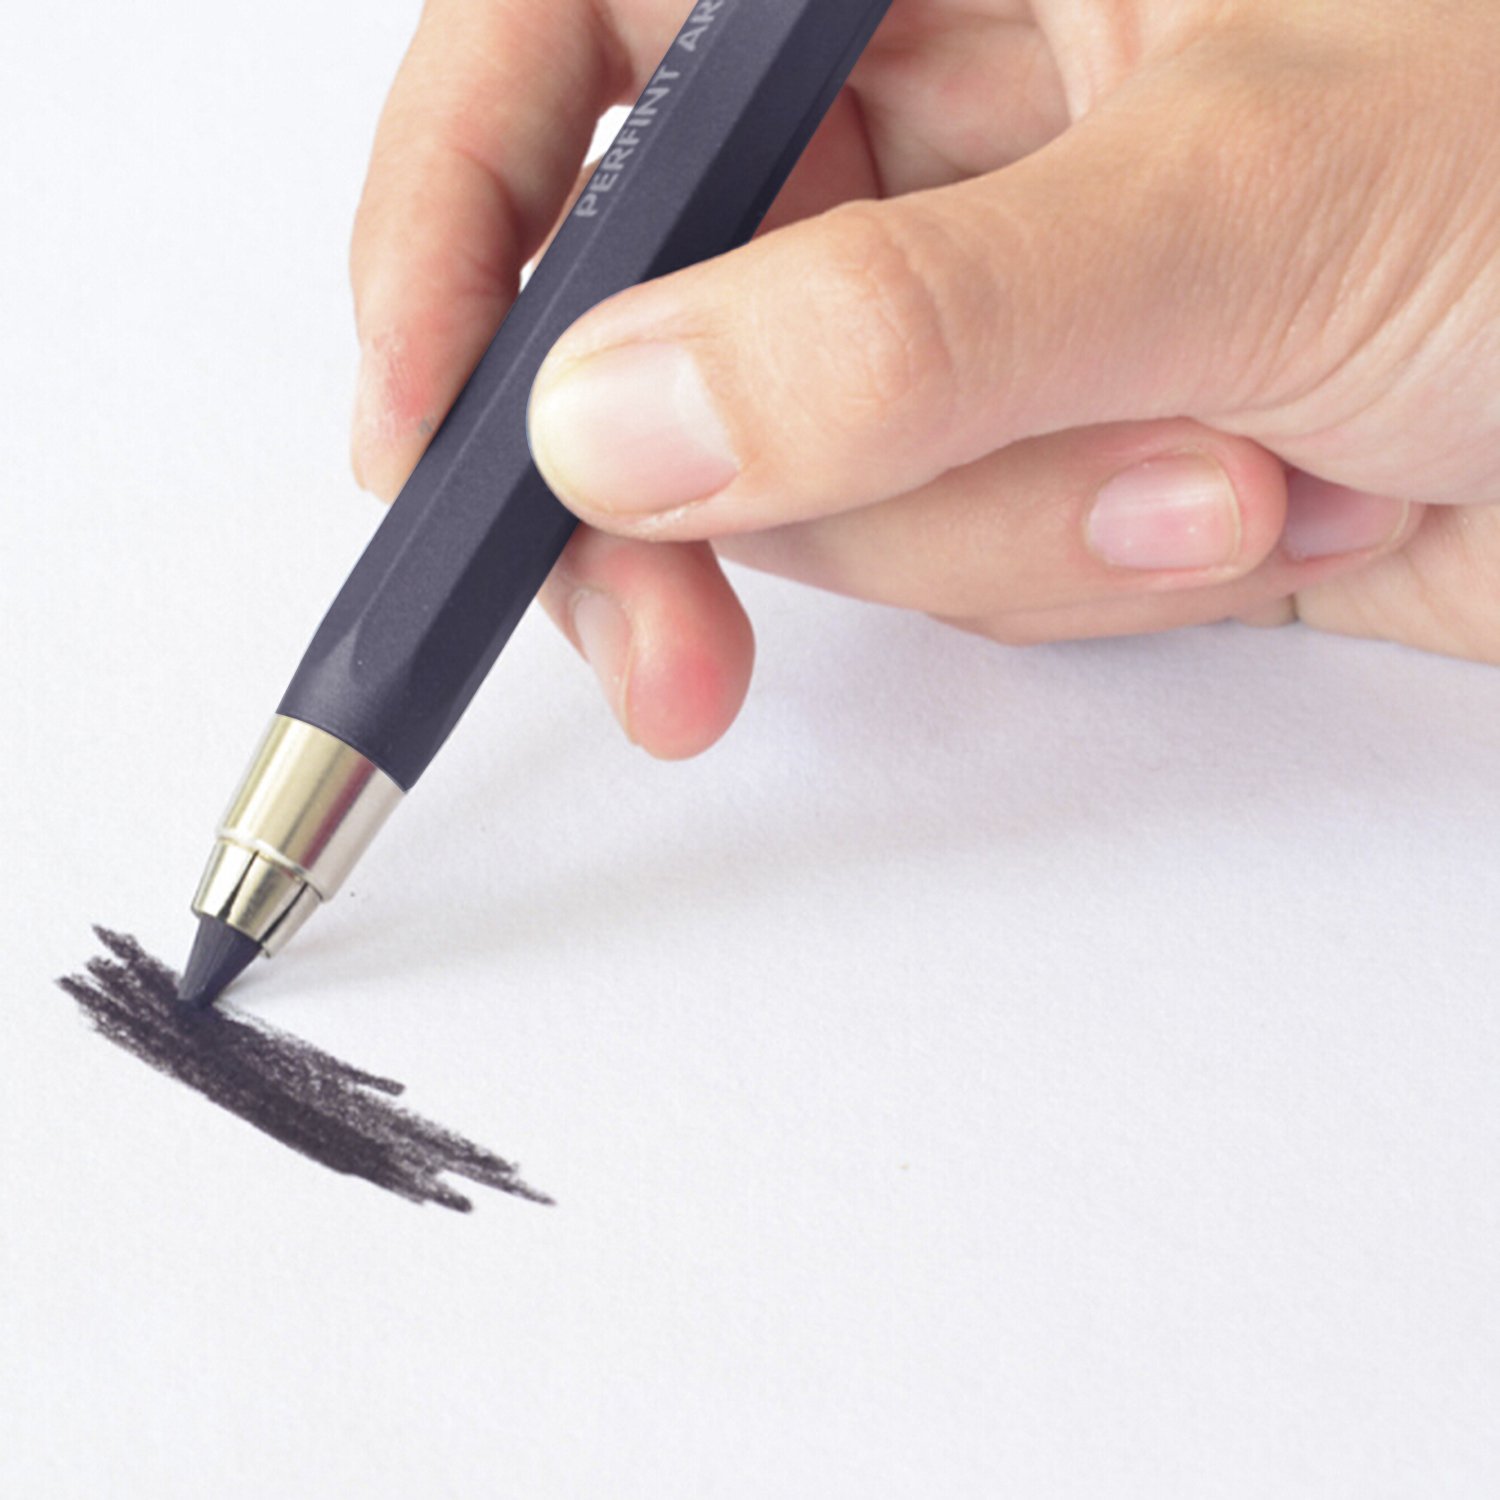
Mechanical Pencils
Any pencil with a lead-advance mechanism—a device that moves the lead forward—comprises mechanical pencils. It has a refillable and replaceable solid graphite core, commonly known as ‘lead.’ They always provide the same line width and don’t need to be sharpened. They are also more accurate, dependable, and more comfortable to hold for extended periods. These advantages make them the ideal pencils for sketching and shading. They are the best for precision shading and detail work due to their fine tips and consistent line width.
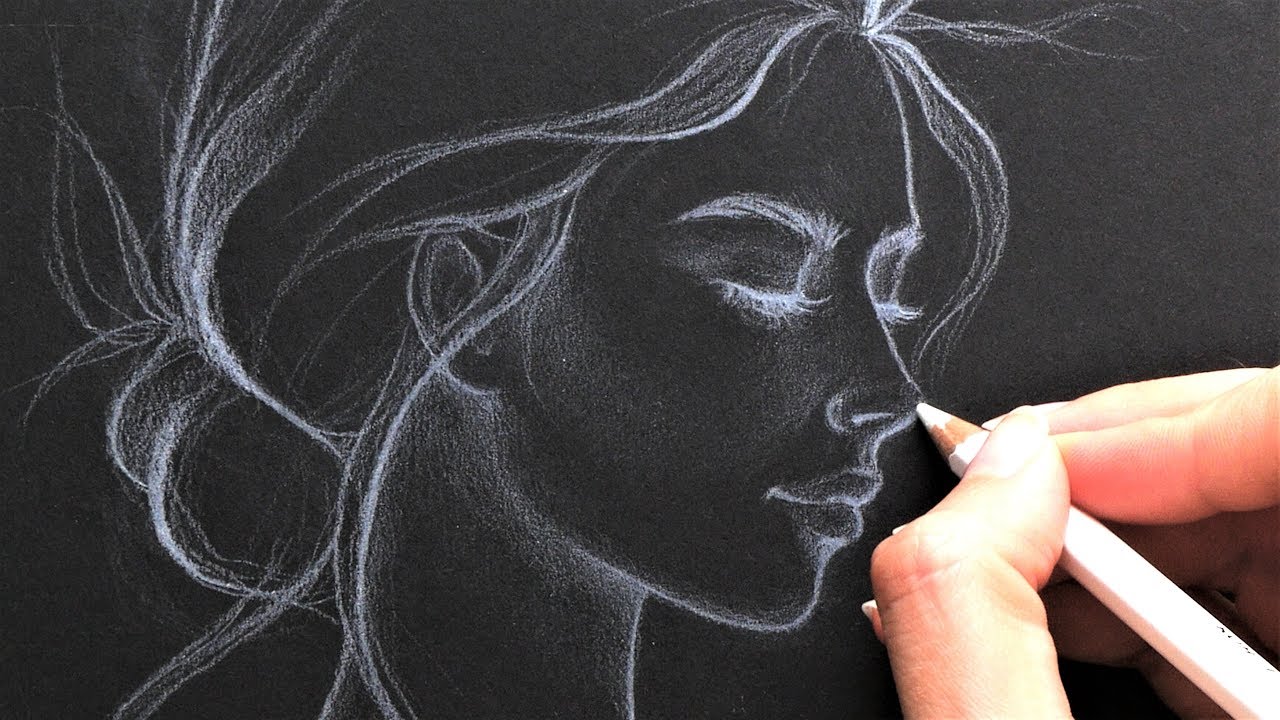
White Pencil for Shading
Shading doesn’t always require a black pencil. A white pencil for shading is just as effective and does the job. Use it to gently lighten areas that need to stand out, such as reflections, shiny surfaces, or the sparkle in an eye. You may blend it with darker shades to soften transitions and add a subtle glow to your artwork. Additionally, you may correct minor mistakes or lighten areas that have been shaded too dark.
Techniques for Pencil Shading Drawings for Beginners
Once the type has been selected for pencil shading for kids, it’s time to start making exquisite drawings. For kids and beginners, mastering basic pencil shading techniques forms the foundation for creating impressive artwork. Let’s talk about a few techniques.
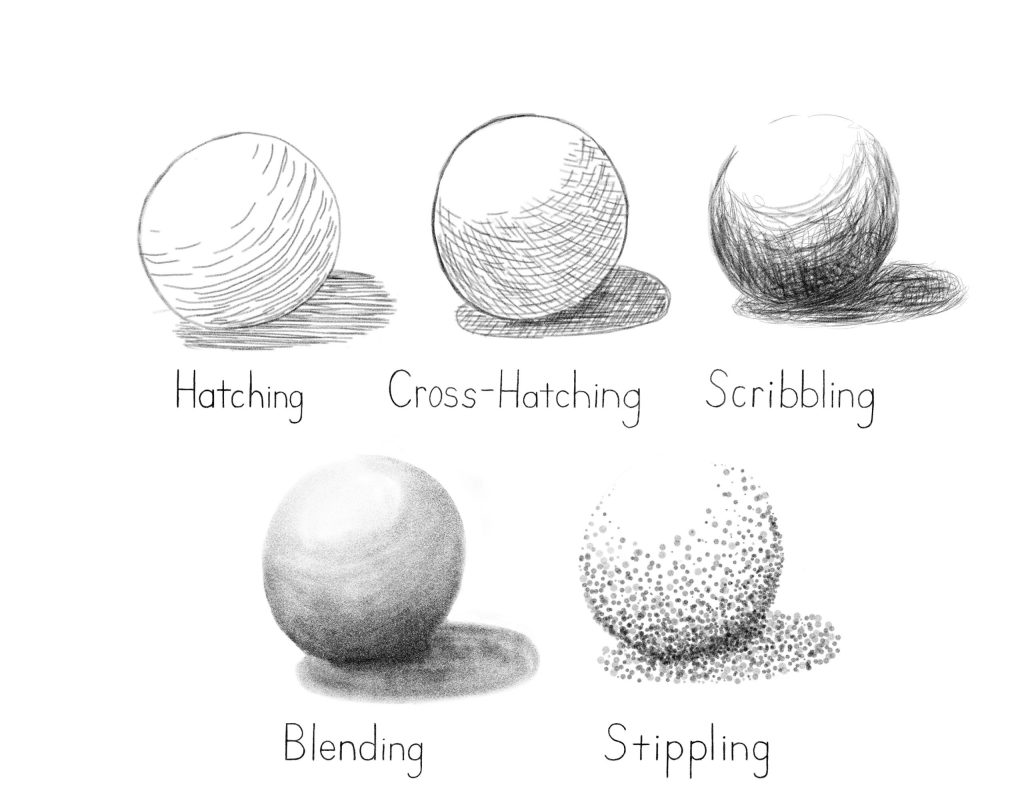
1. Hatching
Hatching is the most basic technique for making pencil shading drawings for beginners. It involves drawing a series of closely spaced parallel lines. You can draw these lines at any angle, however the direction needs to be consistent throughout the shaded area. The closer the lines are, the darker the shading Different effects can be produced by changing the line width and spacing. In addition, hatching can be used to simulate the appearance of texture on surfaces such as animal fur, wood grain, brushed metal, and fingernails.
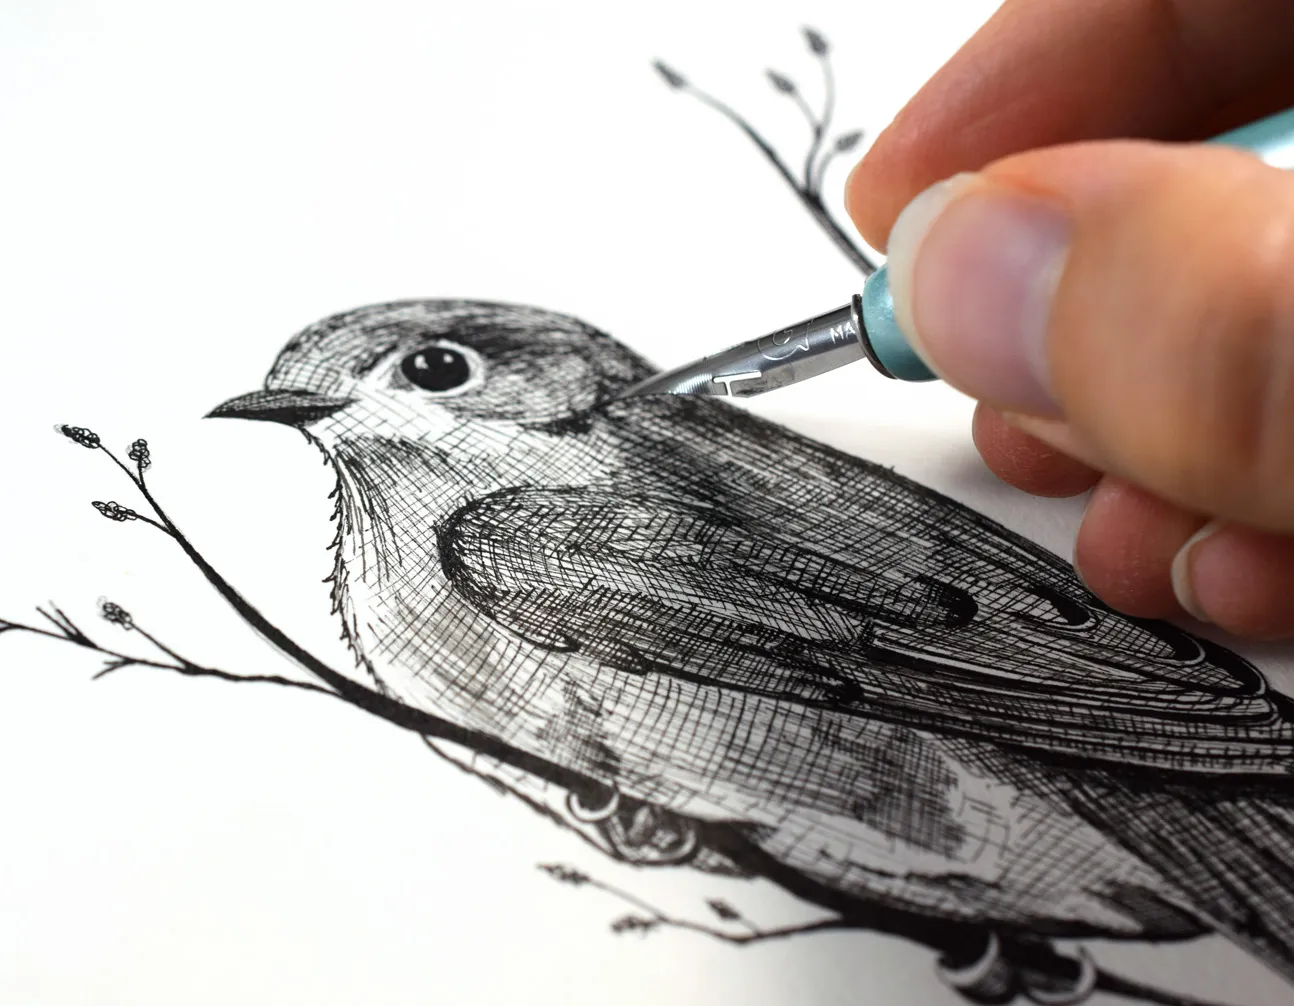
2. Cross Hatching
Cross-hatching is yet another method to make a pencil shading drawing for kids. It uses two sets of parallel lines that are crossed at an angle, often perpendicular. As a result, a mesh-like effect is produced. A darker shading will result from lines that are closer together, and a lighter shading will result from lines that are farther apart. You can achieve subtle or dramatic shading by experimenting with the line spacing and angle. It works well for producing skin or textile textures
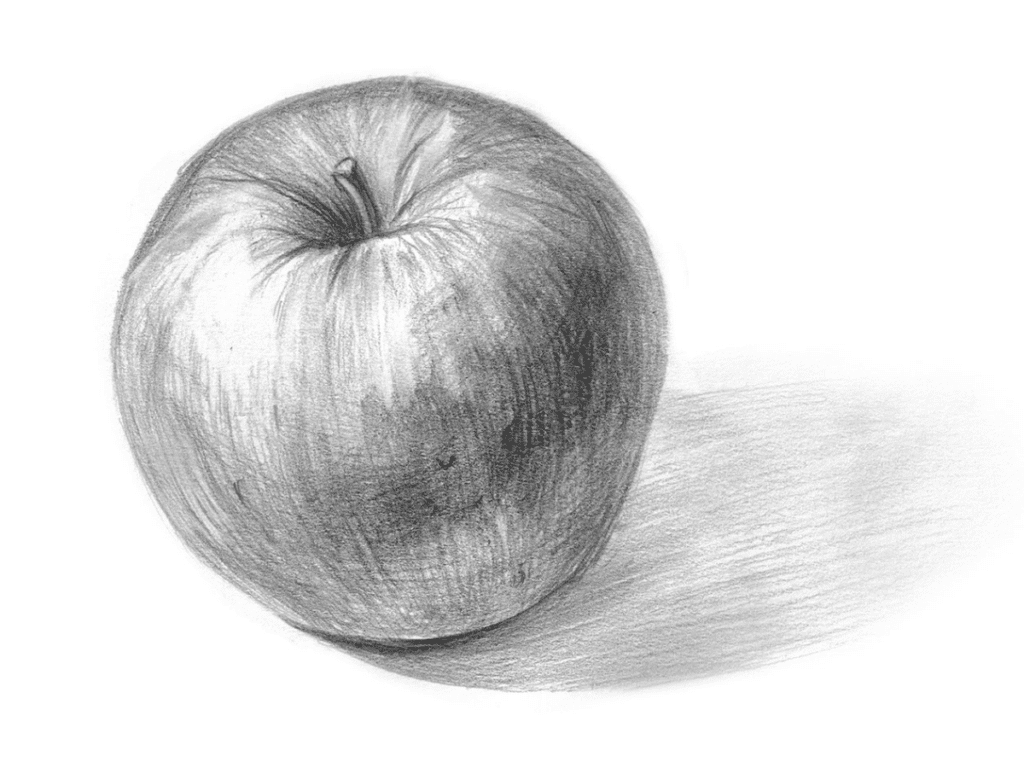
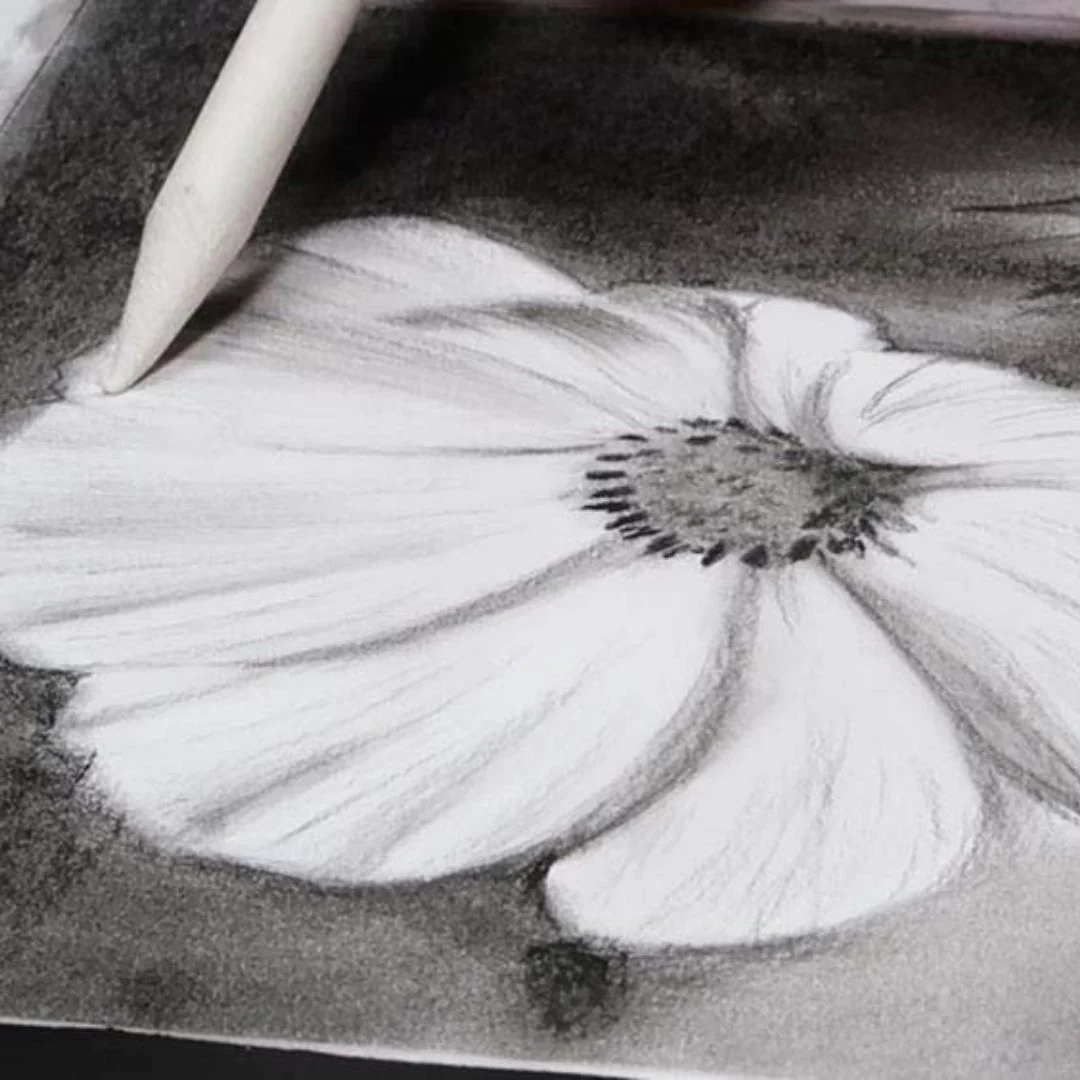
3. Blending
Blending is perhaps the most used technique for pencil shading for beginners. This method is less about making precise marks and more about hiding the application of marks. Blending aims to produce a gradual gradation. Use a blending tool (like a blending stump) or your fingers to smooth out harsh pencil lines. It’s crucial to blend with a light touch. An overly aggressive blending technique may produce a muddy or fuzzy appearance.
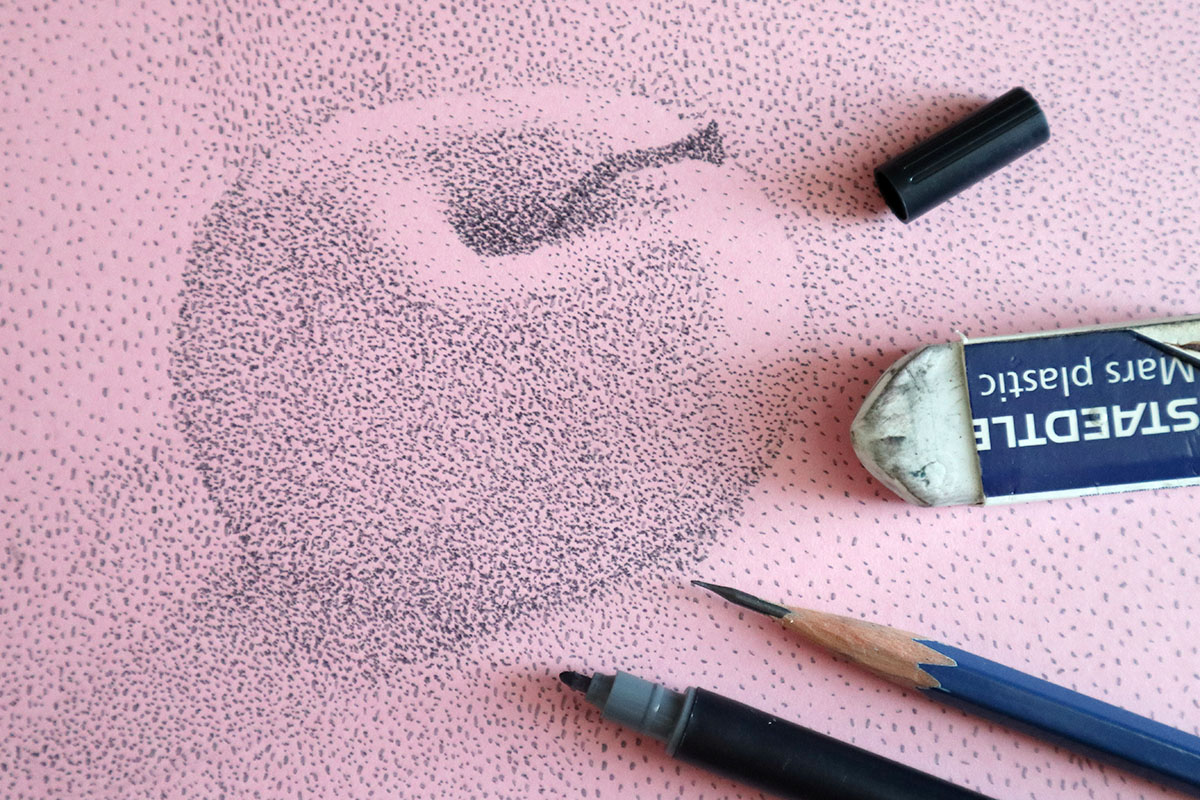
4. Stippling
Stippling is a method for pencil shading for kids that produces highlights and shadows using tiny dots. Although the dots can be any size, they are typically uniform throughout the desired region. Adjusting the quantity and arrangement of the dots will bear various textures. The closer the dots, the darker the shading. Stippling can be time-consuming and requires patience, but the results are worthwhile.
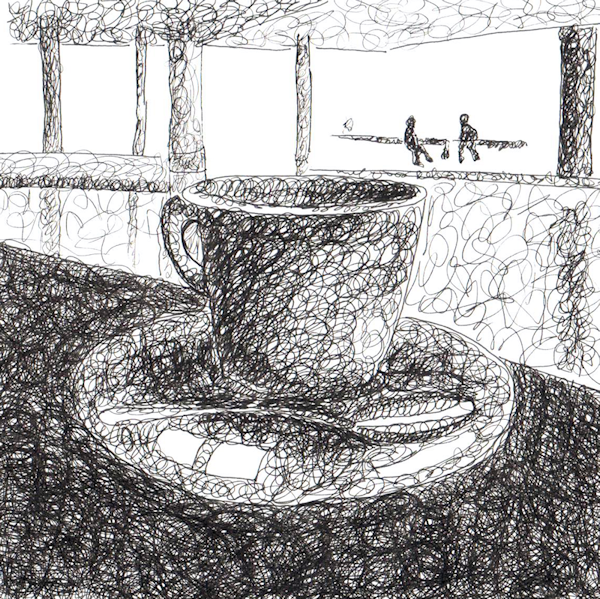
5. Scribbling
Scribbling is a shading technique to make pencil shading drawings for beginners that creates highlights and shadows with haphazard, haphazard strokes. It’s the fastest way to shade. It is usually done to denote the texture of hair or trees. The density of the scribbles can be adjusted for diverse effects. Darker shading is produced by scribbles or strokes that are closely spaced, whereas lighter shading is produced by strokes that are farther apart.
6. Circulism
Another unique technique to make a pencil shading drawing for kids is circulism. This shading method utilises numerous overlapping circular shapes. It is effective in representing hazy or soft surfaces. The texture gets smoother the more you overlap the circles. Try regulating pencil pressure so that the values of each circle are similar.
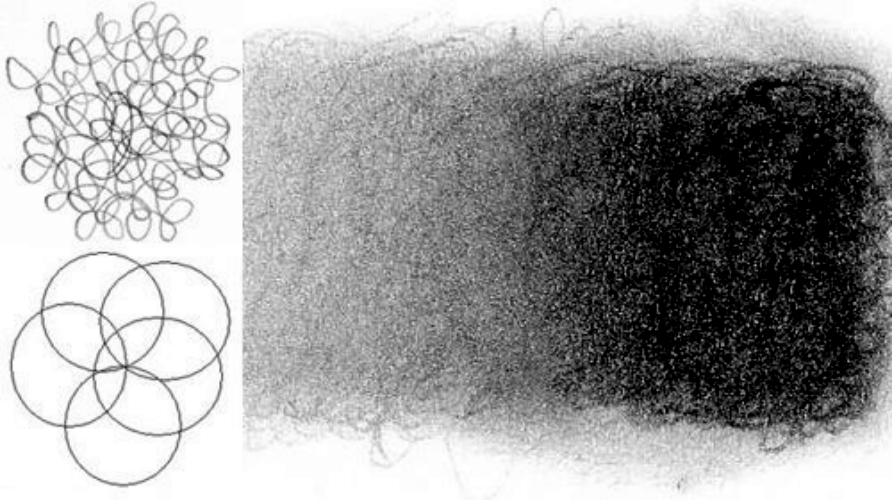
Image Courtesy – Open Orgeon Education